Creamy Homemade Chocolate Ice Cream Recipe
Have you ever craved the creamiest, dreamiest chocolate ice cream that’s just like the ones from your favorite shop? Well, I’m here to tell you it’s easier than you think to make it at home!
This creamy homemade chocolate ice cream recipe will have you hooked from the first bite. With just a few simple ingredients, you’ll make a rich, velvety treat that’s perfect for any occasion.
I love how quick and easy this recipe is, and the best part? You don’t need an ice cream maker! Imagine enjoying this smooth, chocolaty goodness whenever you want.

So, grab your ingredients, and let’s make this ice cream together! It’s time to turn your kitchen into an ice cream paradise.
Why You’ll Love This Recipe
Chocolate ice cream is a classic favorite, and this creamy homemade version takes it to the next level. It’s rich, smooth, and indulgent—perfect for a sweet treat on any occasion. This homemade ice cream recipe brings the taste of a high-end ice cream shop right into your kitchen. The best part? You don’t need an ice cream machine, and the recipe uses simple ingredients to create a creamy, smooth texture.
- Reader Favorite: “This is hands down the creamiest and most delicious homemade chocolate ice cream I’ve ever had!”
- Rich and Creamy: The combination of heavy cream and whole milk creates the perfect rich, velvety texture that everyone loves.
- Quick and Simple: No special equipment needed, just a few ingredients, and a little patience.
- Make-Ahead Friendly: Perfect for prepping ahead of time and enjoying later.
- Kid-Friendly: A perfect recipe to get the kids involved in the kitchen with!
What You Need to Know Before You Start
Prep Time & Cook Time:
- Prep Time: 20 minutes
- Cook Time: 20 minutes (chill time not included)
Total Time: About 4 hours (including chill time)
Servings: This recipe yields about 1 quart of homemade chocolate ice cream, which is enough for 4-6 servings.
Difficulty: Easy enough for beginners, but even experienced cooks will appreciate how simple yet delicious this recipe is.
Required Kitchen Tools:
- Mixing bowl
- Whisk
- Saucepan
- Measuring cups and spoons
- Ice cream container or storage tub
- Freezer-safe bowl for chilling
Ingredients for the Homemade Chocolate Ice Cream
Here’s everything you’ll need to create this creamy, dreamy chocolate ice cream:
- Whole Milk: The base for the ice cream, adding creaminess without being too heavy.
- Heavy Cream: This will give your ice cream its rich, smooth texture.
- Sugar: Sweetens the mixture to balance out the bitterness of the cocoa.
- Cocoa Powder: Dutch-processed cocoa powder for that deep, dark chocolate flavor.
- Semisweet Chocolate: Adds extra chocolate flavor and richness to the ice cream.
- Egg Yolks: They provide the creamy texture and help create a custard-like base.
- Vanilla Extract: Enhances the flavor and rounds out the chocolate notes.
- Salt: A pinch of salt helps bring out the chocolate flavor and balance the sweetness.
How to Make Creamy Homemade Chocolate Ice Cream
1. Prepare the Chocolate Base
Start by chopping the semisweet chocolate into small pieces. Set it aside.
In a medium saucepan, whisk together the whole milk, heavy cream, sugar, and cocoa powder over medium heat. Stir the mixture continuously until the sugar is fully dissolved and the cocoa powder is well incorporated.
Once the mixture is hot but not boiling, add the chopped semisweet chocolate. Stir constantly until the chocolate is completely melted and the mixture is smooth. Remove the saucepan from the heat and let it cool slightly.
2. Temper the Egg Yolks
In a separate bowl, whisk the egg yolks together until smooth. Slowly pour about half of the warm chocolate mixture into the egg yolks while whisking constantly. This step is crucial to avoid scrambling the eggs.
Once the egg yolks are tempered (i.e., gradually warmed up without cooking), pour the egg yolk mixture back into the saucepan with the remaining chocolate mixture. Stir everything together, and place the saucepan back over medium heat.
3. Cook the Mixture
Continue to cook the mixture, stirring constantly, until it thickens enough to coat the back of a spoon. This will take about 5-7 minutes. It’s important to keep stirring to prevent the mixture from burning or sticking to the bottom of the pan.
4. Strain the Custard
Once the mixture has thickened, remove it from the heat. Pour the custard through a fine mesh strainer into a clean bowl to remove any solid bits and ensure a silky-smooth texture.
5. Cool the Mixture
Let the custard cool to room temperature, then cover it with plastic wrap (making sure the wrap is touching the surface of the custard to prevent a skin from forming). Chill it in the refrigerator for at least 3 hours, or preferably overnight, to fully cool and develop the flavors.
6. Freeze the Ice Cream
After the mixture has chilled, give it a good stir and transfer it to an ice cream maker. Follow the manufacturer’s instructions for your specific ice cream maker to churn the mixture until it thickens to a soft-serve consistency (usually about 20-25 minutes).
7. Freeze Until Firm
Once the ice cream has been churned, transfer it to an airtight container and freeze for an additional 2-3 hours to firm up.
Variations for Creamy Homemade Chocolate Ice Cream
- Add Chocolate Chips: Stir in mini chocolate chips or chopped chocolate chunks after churning for extra texture.
- Peanut Butter Swirl: Swirl in creamy peanut butter after churning for a delicious peanut butter-chocolate combination.
- Mint Chocolate: Add a few drops of peppermint extract and mix in chocolate chips for a refreshing mint chocolate flavor.
- Salted Caramel: Swirl in homemade or store-bought salted caramel for a rich, salty-sweet contrast to the chocolate.
- Use Dark Chocolate: For a deeper, more intense chocolate flavor, substitute semisweet chocolate with bittersweet or dark chocolate.
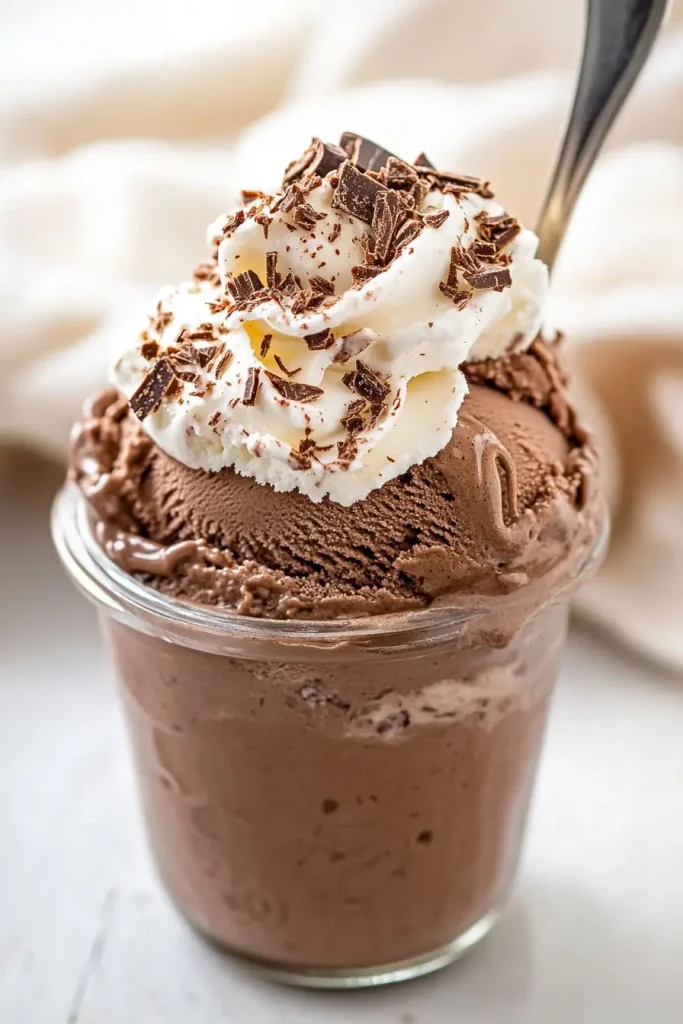
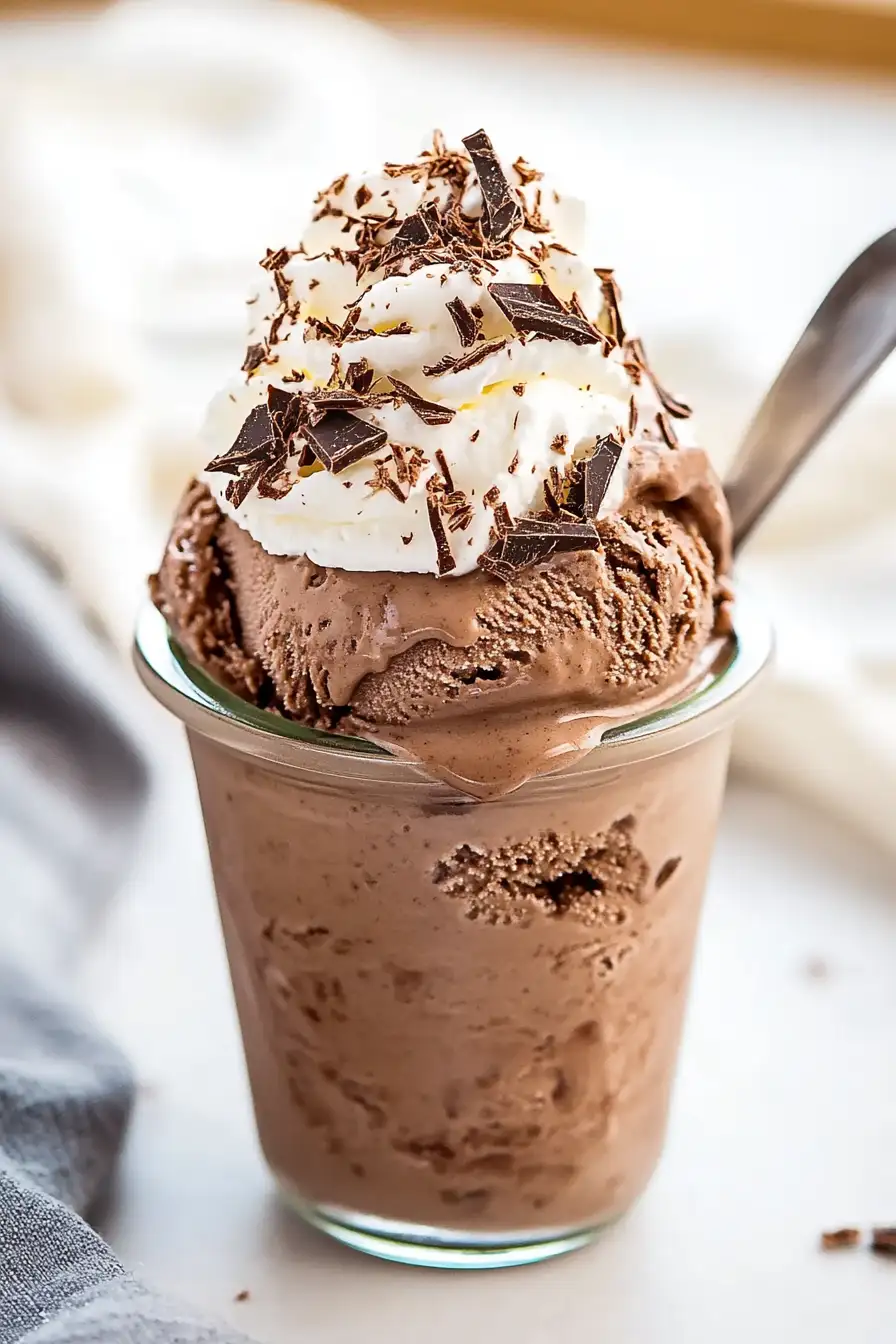
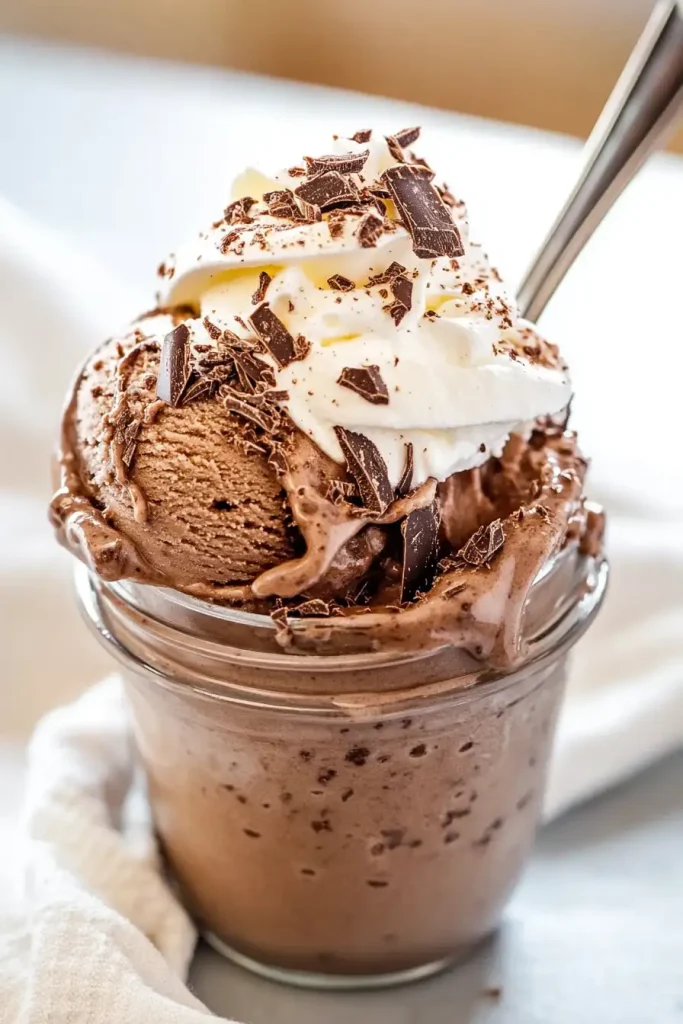
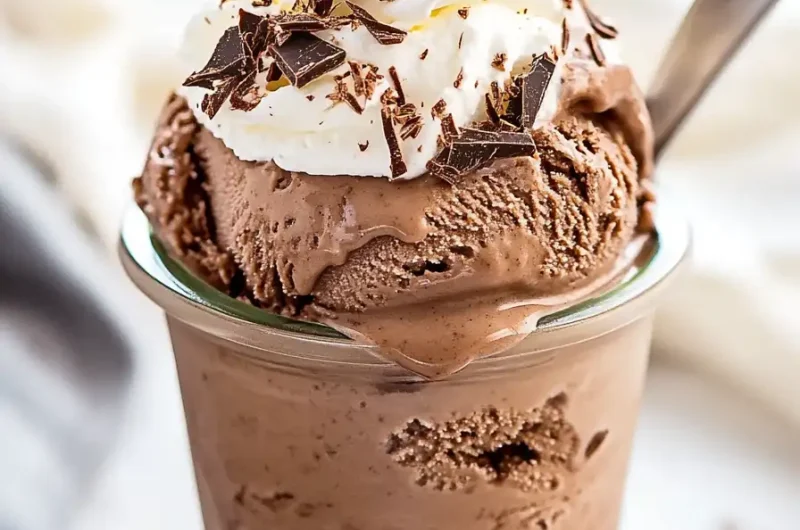
Serving Your Creamy Chocolate Ice Cream
Now that your homemade chocolate ice cream is ready, it’s time to serve it up! Here are some ideas for serving:
- Classic Scoop: Simply scoop the ice cream into bowls or cones for a traditional treat.
- With Toppings: Top with whipped cream, chocolate syrup, or sprinkles for a fun twist.
- In Sundaes: Create a sundae by layering the ice cream with your favorite toppings, like chopped nuts, hot fudge, or cherries.
- With Brownies or Cake: Serve it alongside warm brownies, cake, or pie for a decadent dessert.
- Ice Cream Sandwiches: Scoop the ice cream between two cookies to make homemade ice cream sandwiches.
Storing Creamy Homemade Chocolate Ice Cream
- In the Freezer: Store the ice cream in an airtight container in the freezer for up to 1-2 weeks. If stored for longer, it may lose its creamy texture.
- Avoid Ice Crystals: To prevent ice crystals from forming, press a layer of plastic wrap directly onto the surface of the ice cream before sealing the container.
- Softening: If the ice cream is too hard to scoop, let it sit at room temperature for a few minutes before serving.
Tips and Tricks for Success
- Don’t Skip the Chilling Step: Make sure to chill the custard base for at least 3 hours, or overnight if possible. This helps develop the flavors and ensures a smoother texture.
- Strain the Custard: Straining the custard before chilling helps remove any cooked egg bits and ensures a silky smooth texture.
- Use a Good Ice Cream Maker: If you’re serious about making ice cream, investing in a quality ice cream maker will help achieve the perfect texture.
- Be Patient: Homemade ice cream needs time to freeze properly. Don’t rush the freezing process to ensure that creamy consistency everyone loves.
Nutrition Information (Per Serving)
| Nutrient | Amount |
|---|---|
| Calories | 300 |
| Fat | 20g |
| Saturated Fat | 12g |
| Carbohydrates | 30g |
| Sugars | 25g |
| Protein | 4g |
| Fiber | 2g |
Creamy Homemade Chocolate Ice Cream Recipe
Course: Uncategorized20
minutes20
minutes300
kcal3
hourIngredients
2 cups whole milk
1 cup heavy cream
1 cup granulated sugar
½ cup cocoa powder (Dutch processed)
6 oz semisweet chocolate, chopped
4 large egg yolks
2 teaspoons vanilla extract
Pinch of salt
Directions
- Prepare the chocolate base by heating milk, heavy cream, sugar, and cocoa powder in a saucepan. Add chopped semisweet chocolate and stir until melted and smooth.
- Whisk the egg yolks in a bowl, then slowly combine with the warm chocolate mixture. Return to the heat and cook until thickened.
- Strain the mixture, cool to room temperature, and chill for at least 3 hours or overnight.
- Churn the mixture in an ice cream maker according to the manufacturer’s instructions. Freeze for 2-3 hours until firm.
Creamy Homemade Chocolate Ice Cream Recipe – FAQs
1. Can I make this ice cream without an ice cream maker?
Yes! If you don’t have an ice cream maker, you can still make this recipe. After chilling the mixture, pour it into a shallow, freezer-safe container and freeze. Every 30 minutes, stir the mixture with a fork for the first few hours to prevent ice crystals from forming. Once fully frozen, it will be ready to enjoy!
2. How long can I store homemade chocolate ice cream?
Homemade chocolate ice cream can be stored in an airtight container in the freezer for up to 1-2 weeks. Be sure to press plastic wrap directly onto the surface of the ice cream before sealing to help prevent ice crystals from forming.
3. Can I use a different type of milk in this recipe?
You can experiment with different types of milk, but keep in mind that using lower-fat milks (like 2% or skim) may result in a less creamy texture. For the best consistency, whole milk is recommended.
4. How do I get rid of ice crystals in my ice cream?
To avoid ice crystals, make sure the custard is chilled completely before churning. After churning, store the ice cream in a sealed container and press plastic wrap directly onto the surface before freezing. This will help maintain a smooth and creamy texture.
5. Can I add mix-ins like chocolate chips or fruit?
Absolutely! After the ice cream has been churned, you can fold in chocolate chips, crushed cookies, nuts, or even fruit. Just make sure to stir gently so the mix-ins are evenly distributed.
Conclusion
This creamy homemade chocolate ice cream is the perfect treat for any occasion. It’s rich, decadent, and easy to make with simple ingredients. Whether you’re serving it as a classic scoop or topping it with your favorite mix-ins, this homemade ice cream is sure to be a crowd-pleaser. Enjoy!