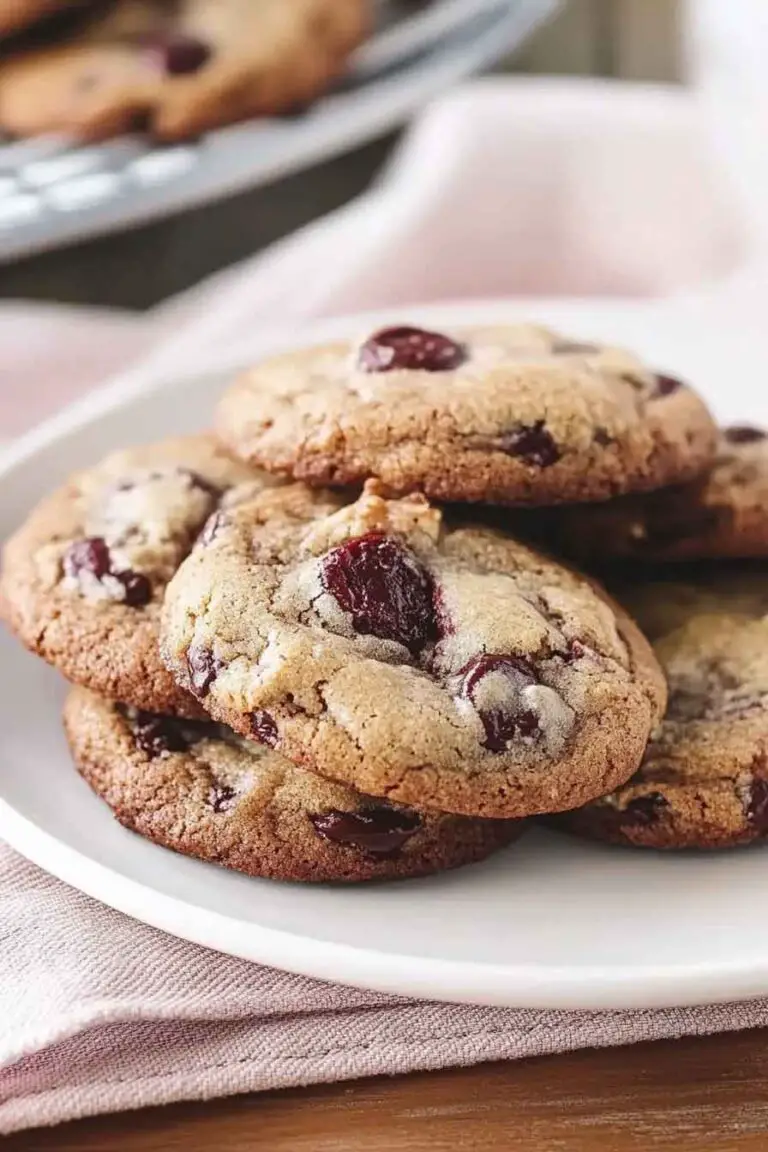
Walnut Cherry Slices
Some recipes just work. No fuss, no fancy techniques, no list of ingredients you’ve never heard of.
Walnut Cherry Slices are exactly that kind of recipe.
Think buttery, crumbly shortbread — packed with toasted walnuts and those little jewel-like candied cherries. Seven ingredients. No chilling. No special equipment. Just a bowl, a mixer, and about 45 minutes of your time.

I make these every holiday season without fail. They look gorgeous on a cookie tray, they hold up well in a gift tin, and honestly? People always ask for the recipe.
Why You’ll Love These
- Only seven ingredients — stuff you probably already have in the pantry
- No chilling required — mix, press, bake, done
- They look stunning — those red cherries against golden dough? Beautiful
- Perfect for gifting — they hold their shape like a dream in cookie boxes
- That texture though — crumbly, melt-in-your-mouth, with a little walnut crunch in every bite
Before You Start
Prep Time: 15 minutes Bake Time: 25–30 minutes Total Time: About 45 minutes Yield: About 24 slices Difficulty: Beginner-friendly. Seriously — if you can cream butter, you’ve got this.
What You’ll Need (Tools)
- 9×13-inch baking pan
- Parchment paper
- Hand mixer or stand mixer
- Large and medium mixing bowls
- Rubber spatula
- Wire cooling rack
- Sharp knife for slicing
The Ingredients
These are built on a classic shortbread base. Simple, reliable, delicious.
- Unsalted butter — softened to room temperature. This is the backbone. It gives the slices that rich, tender crumb.
- Confectioner’s sugar — also called powdered sugar. It melts right into the butter and gives you that signature shortbread texture.
- One large egg — at room temperature. It binds everything together and adds a little richness.
- Pure vanilla extract — rounds out the sweetness beautifully.
- All-purpose flour — measured the right way (more on that below). Gives the slices structure without making them heavy.
- Toasted walnuts — please toast them. It takes 8 minutes and makes a world of difference. More on this below.
- Candied cherries — the star of the show. Halve or quarter them so they spread evenly through the dough.
(Exact measurements are in the recipe card further down.)
Want to Mix It Up?
A few easy variations worth trying:
- Swap the nuts — pecans or almonds work just as well if walnuts aren’t your thing
- Use dried cherries — soak them briefly in warm water if you can’t find candied ones
- Add citrus zest — a teaspoon of orange or lemon zest stirred into the dough brightens everything up
- Drizzle with dark chocolate — once fully cooled, this makes them look seriously elegant
- Try almond extract — replace half the vanilla with almond extract for a deeper, nuttier flavor
Step-by-Step Instructions
Step 1 — Toast the Walnuts
Spread the walnuts on a dry baking sheet. Pop them in a 350°F (175°C) oven for 7–8 minutes, stirring once halfway through. You’ll know they’re ready when they smell nutty and fragrant and look a shade darker.
Set them aside to cool completely before chopping.
Raw walnuts can taste slightly bitter. Toasted ones? Warm, rich, rounded. The difference is real.
Step 2 — Prepare the Pan
Preheat your oven to 350°F (175°C). Line your 9×13-inch pan with parchment paper — leave a little overhang on the sides. This is your built-in handle for lifting the slab out later. Don’t skip it.

Step 3 — Cream the Butter and Sugar
Beat the softened butter and confectioner’s sugar together on medium speed for 2–3 minutes. You’re looking for pale, light, and fluffy.
Don’t rush this step. Proper creaming = tender, even crumb. It matters.
Step 4 — Add the Egg and Vanilla
Add the egg and vanilla extract. Beat on medium until smooth. Scrape down the sides of the bowl as you go.
Step 5 — Add the Flour
Drop the mixer to low speed. Gradually add the flour and mix just until no dry streaks remain.
Stop there. Overmixing = tough slices. You don’t want that.
Step 6 — Fold In the Good Stuff
Switch to your rubber spatula. Gently fold in the chopped toasted walnuts and candied cherries. Make sure they’re evenly spread through the dough.
Step 7 — Spread and Bake
Transfer the dough to your prepared pan. Use your hands or the back of a spoon to press it into an even layer — all the way to the edges.
Bake for 25–30 minutes, until the top is lightly golden and the edges have pulled away slightly from the sides.
Step 8 — Cool and Slice
Cool in the pan for 10 minutes. Then use the parchment overhang to lift the whole slab onto a wire rack.
Here’s the important bit: let it cool completely before slicing. I know it’s tempting. But cutting too early causes crumbling. Be patient. It’s worth it.
Serving Suggestions
Arrange slices on a flat plate or a tiered stand. A light dusting of extra confectioner’s sugar right before serving gives them a clean, polished look.
Pro tip: Press half a candied cherry on top of each slice before baking. They come out looking intentional and beautiful — great for holiday trays.
These look especially good next to darker cookies. The red cherries pop against the contrast.
How to Store Them
| Storage Method | How Long | Notes |
|---|---|---|
| Room temperature (airtight container) | Up to 5 days | Layer with parchment to prevent sticking |
| Refrigerator | Up to 10 days | Texture firms up slightly — let them come to room temp before serving |
| Freezer | Up to 3 months | Wrap individually in plastic wrap, then into a zip-lock freezer bag |
Tips That Actually Matter
- Soften the butter properly. Cold butter won’t cream well. Leave it out 30–45 minutes before you start. This step trips a lot of people up.
- Toast the walnuts. Already said it. Saying it again. Do it.
- Don’t skip the parchment. Clean removal, no overbrowning on the bottom.
- Measure the flour correctly. Spoon it into the measuring cup and level it off. Scooping directly from the bag packs in too much and dries out the slices.
- Cool completely before cutting. Patience. It pays off.
- Want clean edges? Use a ruler and a long sharp knife. Makes a real difference if presentation matters to you.
Nutrition
| Nutrient | Per Slice (approx.) |
|---|---|
| Calories | 145 kcal |
| Total Fat | 9g |
| Saturated Fat | 4g |
| Cholesterol | 25mg |
| Sodium | 35mg |
| Total Carbohydrates | 15g |
| Dietary Fiber | 0.5g |
| Sugars | 8g |
| Protein | 2g |
Estimates based on standard ingredients and a yield of 24 slices. Actual values may vary.

Walnut Cherry Slices
Course: Cookie Recipes24
slices15
minutes25
minutes145
kcalIngredients
1 cup (225g) unsalted butter, softened to room temperature
3/4 cup (90g) confectioner’s sugar, sifted
1 large egg, at room temperature
1 teaspoon pure vanilla extract
2 cups (250g) all-purpose flour, spooned and leveled
3/4 cup (85g) toasted walnuts, roughly chopped
1/2 cup (80g) candied cherries, halved or quartered
Directions
- Toast the Walnuts: Spread on a baking sheet and bake at 350°F (175°C) for 7–8 minutes until fragrant. Cool completely, then chop roughly.
- Prepare the Pan: Preheat oven to 350°F (175°C). Line a 9×13-inch pan with parchment paper.
- Cream Butter and Sugar: Beat softened butter and confectioner’s sugar together for 2–3 minutes until light and fluffy.
- Add Egg and Vanilla: Mix in egg and vanilla extract until smooth and fully combined.
- Add Flour: With mixer on low, gradually add flour and mix until just combined.
- Fold In Mix-Ins: Gently fold in chopped walnuts and candied cherries with a rubber spatula.
- Spread and Bake: Press dough evenly into the prepared pan. Bake 25–30 minutes until golden on top.
- Cool and Slice: Cool in pan for 10 minutes, lift out using the parchment, and cool completely on a wire rack before slicing.
Frequently Asked Questions
Can I use salted butter? Yes — just keep in mind the flavor will shift slightly. Unsalted gives you more control. If you use salted, don’t add any extra salt.
My dough seems too crumbly. What happened? Most likely the butter wasn’t soft enough, or the flour was slightly over-measured. Try working the dough a bit more with your hands — the warmth helps pull it together.
Can I make these ahead of time? Absolutely. These actually taste better the next day. The flavors settle and deepen overnight. Bake them a day ahead and store in an airtight container.
Can I double the recipe? Yes. Use two 9×13-inch pans or a large half-sheet pan and bake as directed — just check a few minutes early.
Why did my slices come out hard? Overbaking. It’s the most common issue. Pull them from the oven as soon as the top turns golden. They firm up more as they cool — so don’t second-guess yourself and leave them in longer.
Final Thoughts
Walnut Cherry Slices are one of those timeless recipes that just doesn’t go out of style.
Buttery shortbread. Crunchy toasted walnuts. Sweet pops of candied cherry. It’s a simple combination — but it’s genuinely satisfying every single time.
Easy enough for a weeknight bake. Polished enough to bring to a gathering or pack into a gift tin.
Make them once. You’ll be making them on repeat.