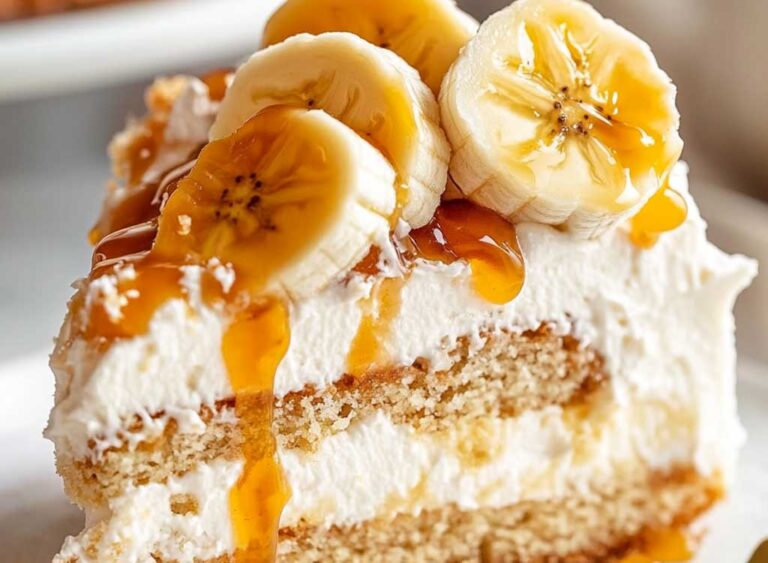
Butterfinger Poke Cake
Oh my gosh, have you heard of Butterfinger Poke Cake? I just tried it, and wow, it blew my mind. It’s sweet and crunchy all at once.
I remember my first bite like it was yesterday. The cake was soft, the topping was creamy, and the Butterfinger bits were so crunchy. I couldn’t wait to share it with you.
I want you to taste this yummy treat too. It’s super easy to make and everyone goes crazy for it. You’ll feel like the best baker in the world!

So, are you ready to bake with me? Grab your tools and follow along. Let’s make Butterfinger Poke Cake together!

Why You’ll Love This Recipe
- Easy to Make: Uses a simple boxed cake mix, making it perfect for bakers of all levels.
- Rich & Moist: The combination of caramel and sweetened condensed milk soaks into the cake, keeping it extra soft.
- Crunchy & Creamy Contrast: The Butterfinger pieces add a delicious crunch to the smooth whipped topping.
- Crowd-Pleaser: Ideal for potlucks, parties, or anytime you want a guaranteed hit.
- Make-Ahead Friendly: Tastes even better the next day as the flavors meld together!
What You Need to Know Before You Start
Prep & Cook Time
- Prep Time: 15 minutes
- Cook Time: 30 minutes
- Chill Time: 1 hour (for best results)
- Total Time: About 1 hour 45 minutes
Servings
This recipe makes 12 servings, perfect for sharing.
Difficulty
Beginner-friendly! If you can bake a cake, you can make this effortlessly.
Required Kitchen Tools
- Mixing Bowls: For preparing the cake batter.
- Hand or Stand Mixer: Helps ensure a smooth, well-mixed batter.
- 9×13-inch Baking Dish: The perfect size for this poke cake.
- Wooden Spoon or Skewer: Used to poke holes in the cake.
- Measuring Cups & Spoons: For accurate ingredient portions.
- Rubber Spatula: To evenly spread the toppings.
Ingredients for Butterfinger Poke Cake
Here’s what you’ll need to make this deliciously gooey dessert:
For the Cake:
- 1 box Devil’s Food Cake Mix (or any chocolate cake mix of your choice)
- Water, Vegetable Oil, and Eggs (as listed on the cake mix box)
For the Filling:
- 1 can (14 oz) Sweetened Condensed Milk
- ½ cup Caramel Sauce (store-bought or homemade)
For the Topping:
- 1 tub (8 oz) Cool Whip (or homemade whipped cream)
- 6 Mini Butterfingers, crushed (divided into two portions: 4 for mixing, 2 for garnish)
How to Make Butterfinger Poke Cake – Step-by-Step Instructions
Now that we have all the ingredients and tools ready, let’s walk through the process of making this decadent Butterfinger Poke Cake.
Step 1: Bake the Cake
- Preheat the Oven – Set your oven to 350°F (175°C) and grease a 9×13-inch baking dish with cooking spray or butter.
- Prepare the Cake Batter – Follow the instructions on the Devil’s Food cake mix box, mixing in the required water, vegetable oil, and eggs until smooth.
- Bake the Cake – Pour the batter into the prepared baking dish and bake according to the package instructions (typically 28-32 minutes). You’ll know it’s done when a toothpick inserted in the center comes out clean.
- Cool Slightly – Remove the cake from the oven and let it cool for about 10 minutes.
Step 2: Poke the Cake
- Use a Wooden Spoon Handle or Skewer – Once the cake has cooled slightly, use the handle of a wooden spoon (or a skewer) to poke holes evenly across the surface of the cake.
- Make Deep Holes – The holes should go about ¾ of the way down so that the filling can soak through every bite.
Step 3: Add the Filling
- Combine Sweetened Condensed Milk & Caramel Sauce – In a small bowl, mix 1 can (14 oz) of sweetened condensed milk with ½ cup of caramel sauce until well blended.
- Pour Over the Cake – Slowly drizzle this mixture over the entire surface of the warm cake, allowing it to seep into the holes.
- Let it Soak – Allow the cake to sit for 15 minutes, giving the filling time to absorb fully.
Step 4: Spread the Whipped Topping
- Gently Fold the Cool Whip – If using store-bought Cool Whip (8 oz tub), let it soften slightly at room temperature for a few minutes. If making homemade whipped cream, ensure it’s whipped to stiff peaks.
- Spread Evenly Over the Cake – Using a rubber spatula, gently spread the Cool Whip over the entire surface of the cake, covering it completely.
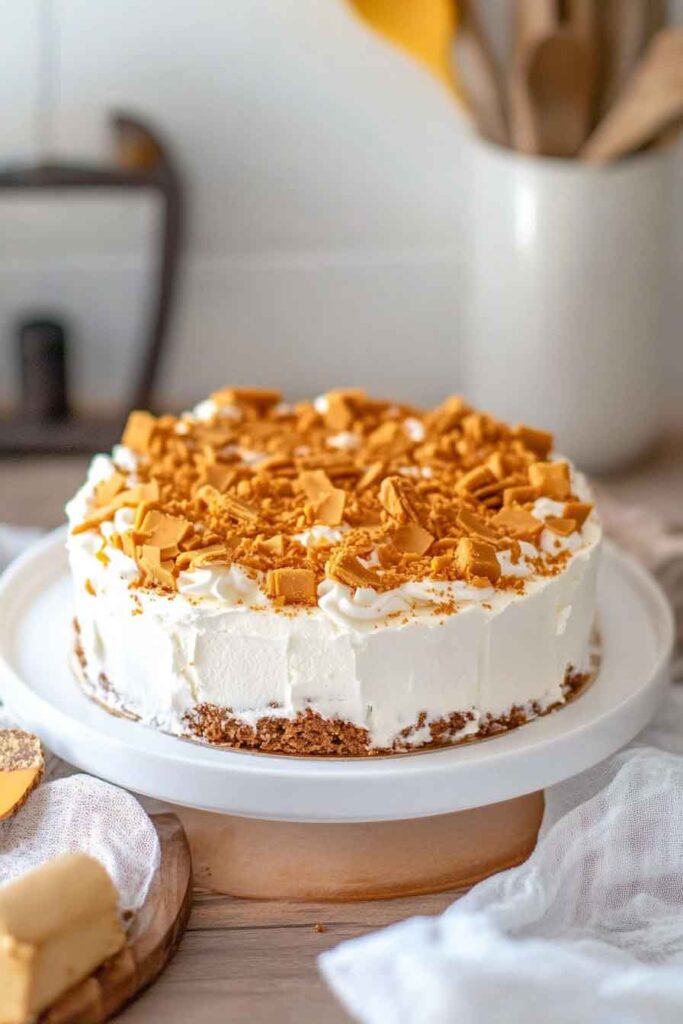
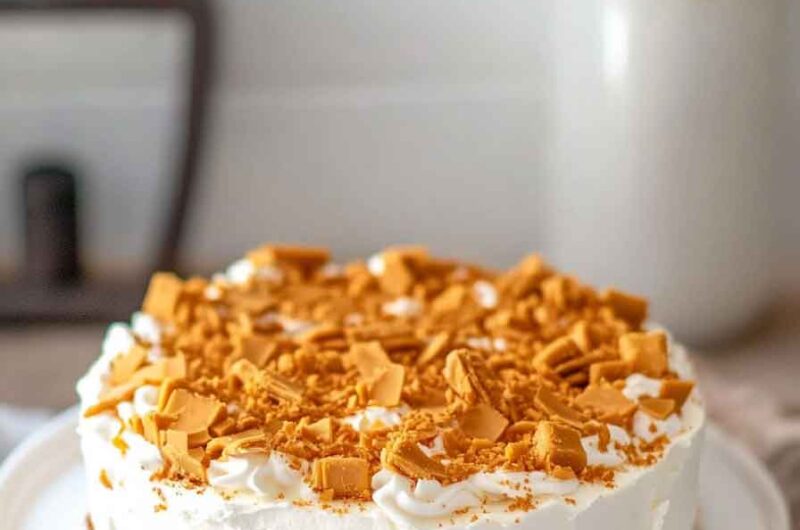
Step 5: Add the Butterfinger Crunch
- Crush the Butterfinger Bars – Take 6 mini Butterfinger bars (or about 3 full-size bars) and crush them into small chunks. You can do this by placing them in a zip-top bag and using a rolling pin to break them apart.
- Mix & Sprinkle – Take 4 crushed Butterfinger bars and mix them into the Cool Whip layer, lightly pressing them down so they stick.
- Garnish with Extra Butterfingers – Use the remaining 2 Butterfinger bars to sprinkle on top as a final crunchy garnish.
How to Serve Butterfinger Poke Cake
- Chill Before Serving – For the best texture and flavor, refrigerate the cake for at least 1 hour before slicing. This allows the filling to fully soak in and the topping to set.
- Slice and Enjoy – Use a sharp knife to cut the cake into 12 squares and serve on dessert plates.
- Drizzle Extra Caramel – If you love extra caramel flavor, drizzle a bit more caramel sauce over each slice before serving.
- Pair It Up – Serve with a scoop of vanilla ice cream for an extra indulgent treat.
How to Store Butterfinger Poke Cake
- Refrigeration: Store leftovers in an airtight container or cover the baking dish with plastic wrap. Keep refrigerated for up to 4 days.
- Freezing: If you want to store it for longer, freeze the cake without the whipped topping. Wrap it tightly in plastic wrap and store in an airtight container for up to 2 months. Add the Cool Whip and Butterfinger topping after thawing.
- Reheating: This cake is best enjoyed cold, but if you prefer a slightly warm bite, let it sit at room temperature for 10-15 minutes before serving.
Variations and Substitutions
- Try a Different Candy: Swap Butterfinger for Heath bars, Reese’s Pieces, or Snickers for a fun twist.
- Use Chocolate Ganache: Instead of caramel sauce, drizzle melted chocolate over the cake for a richer flavor.
- Make It a Peanut Butter Lover’s Dream: Add a ½ cup of peanut butter to the filling mixture for extra nuttiness.
- Try a Different Cake Base: Instead of Devil’s Food cake, use a yellow cake mix, peanut butter cake, or even a brownie base for a new variation.
- Use Homemade Whipped Cream: If you prefer, make your own whipped cream by beating 1 ½ cups of heavy whipping cream with ¼ cup powdered sugar until stiff peaks form.
Nutrition Information
| Nutrient | Amount per Serving |
|---|---|
| Calories | ~350 kcal |
| Total Fat | 15g |
| Saturated Fat | 6g |
| Cholesterol | 30mg |
| Sodium | 280mg |
| Total Carbs | 50g |
| Sugars | 38g |
| Protein | 4g |
Note: Nutrition values are approximate and can vary based on ingredient brands and portion sizes.
Butterfinger Poke Cake
Course: Cake Recipes12
servings15
minutes~350
kcalIngredients
- For the Cake:
1 box Devil’s Food Cake Mix
Water, vegetable oil, and eggs (as directed on cake mix box)
- For the Filling:
1 can (14 oz) Sweetened Condensed Milk
½ cup Caramel Sauce
- For the Topping:
1 tub (8 oz) Cool Whip (or homemade whipped cream)
6 Mini Butterfingers, crushed (4 for mixing, 2 for garnish)
Directions
- Bake the Cake
Preheat oven to 350°F (175°C) and grease a 9×13-inch baking dish.
Prepare the cake batter as directed on the cake mix box.
Pour batter into the dish and bake for 28-32 minutes, or until a toothpick inserted in the center comes out clean.
Let the cake cool for 10 minutes. - Poke the Cake
Use the handle of a wooden spoon or skewer to poke holes all over the cake.
Make sure the holes go ¾ of the way down to absorb the filling. - Add the Filling
In a small bowl, mix condensed milk and caramel sauce until smooth.
Slowly pour the mixture over the warm cake, allowing it to soak into the holes.
Let the cake sit for 15 minutes to absorb the filling. - Add the Topping
Spread Cool Whip evenly over the cake.
Mix 4 crushed Butterfinger bars into the topping.
Sprinkle the remaining 2 crushed Butterfinger bars on top. - Chill and Serve
Refrigerate the cake for at least 1 hour before serving.
Slice into 12 squares and enjoy!
Optionally, drizzle extra caramel sauce over each serving.
Butterfinger Poke Cake FAQs
1. Can I Make This Cake Ahead of Time?
Yes! This cake actually tastes better when made a day in advance. Just store it in the fridge until ready to serve.
2. What’s the Best Way to Crush Butterfingers?
Place the Butterfingers in a zip-top bag and use a rolling pin to crush them into small chunks.
3. Can I Use Homemade Caramel Sauce?
Absolutely! A homemade caramel sauce will add even more richness to the cake.
4. Can I Freeze Butterfinger Poke Cake?
Yes! Freeze the cake without the whipped topping for up to 2 months. Thaw overnight in the fridge, then add the topping before serving.
5. Can I Use a Different Cake Mix?
Yes! While Devil’s Food cake is classic, you can also try yellow cake, peanut butter cake, or even brownies as a base.
Conclusion
This Butterfinger Poke Cake is the ultimate dessert for any chocolate and caramel lover. It’s easy to make, packed with flavor, and perfect for any occasion. Whether you’re serving it at a party, potluck, or just treating yourself, this cake is sure to impress.