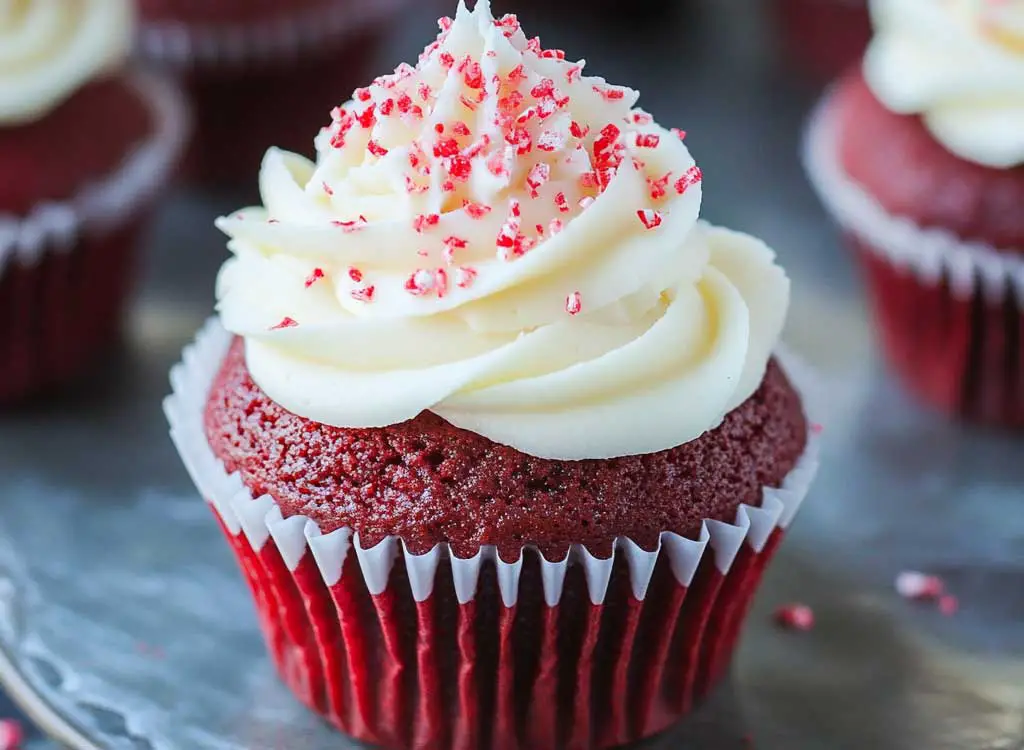
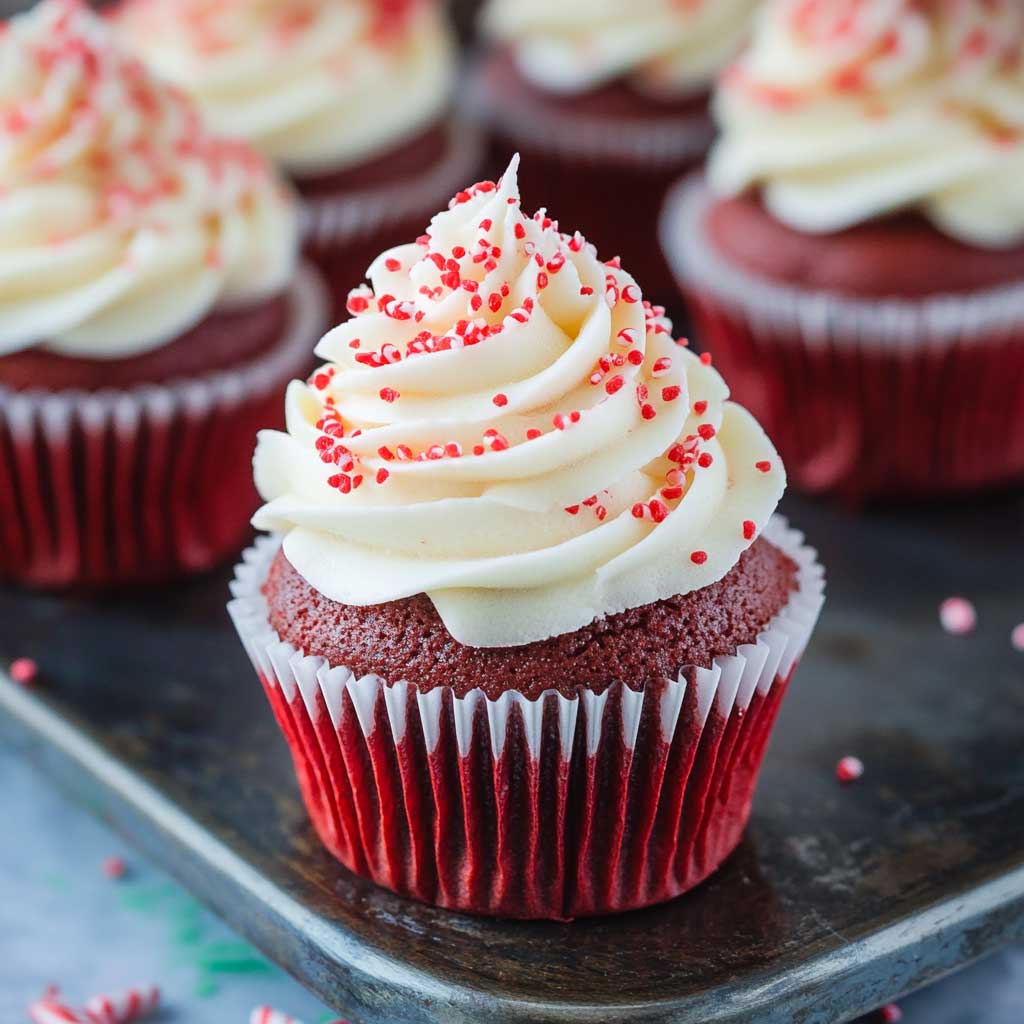
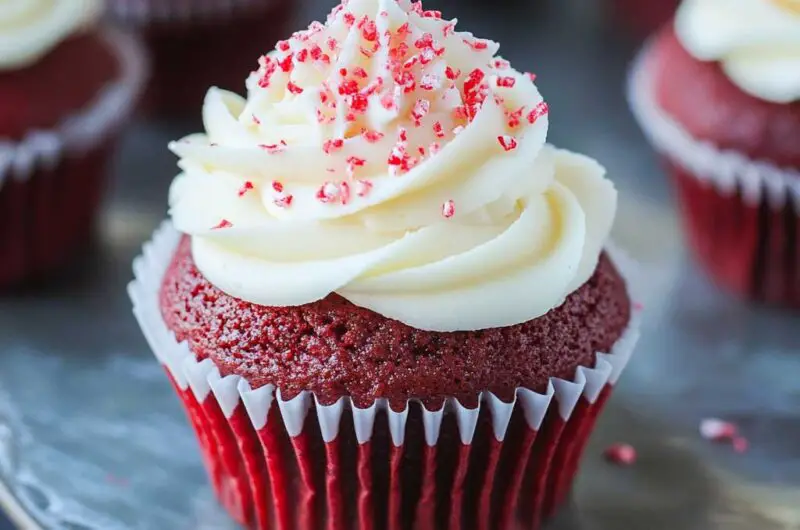
Red Velvet Peppermint Cupcakes – Soft, Minty, and Perfect for the Holidays
I made these cupcakes last Christmas, and oh wow—they were a hit! Bright red, soft, and topped with sweet, minty frosting. Everyone kept asking, “Can I have another?”
The peppermint made them taste like a candy cane, but the cupcake was soft like a cloud. And that frosting? So creamy, I wanted to eat it with a spoon!
I love how easy they are—no fancy stuff, just simple mixing and baking. They look so pretty, like little holiday gifts. And the best part? They taste even better than they look!

So, grab your bowl and spoon—we’re making cupcakes! I’ll walk you through every step. You’ll be baking these all season long!
Why You’ll Love This Recipe
- Holiday Favorite: Readers say, “These taste like Christmas in every bite!”
- Moist & Fluffy: The combo of oil, vinegar, and milk makes these cupcakes soft and tender.
- Peppermint Perfection: A gentle peppermint flavor adds a refreshing twist to the classic red velvet.
- Easy to Make: Simple ingredients and easy steps—even beginners can master it.
- Crowd-Pleaser: Perfect for holiday parties, bake sales, or a cozy night at home.
What You Need to Know Before You Start
Prep Time & Cook Time:
- Prep Time: 20 minutes
- Bake Time: 18-20 minutes
- Total Time: About 45 minutes
Servings:
- Makes 12 cupcakes—just right for sharing (or keeping all to yourself).
Difficulty:
- Beginner-Friendly – Simple steps, great results!
Required Kitchen Tools
Here’s what you’ll need to whip up these delightful cupcakes:
- Mixing bowls (large and medium)
- Whisk
- Electric hand or stand mixer
- Cupcake liners
- 12-cup muffin tin
- Cooling rack
- Piping bag & tip (optional, for fancy frosting)
Ingredients for Red Velvet Peppermint Cupcakes
Here’s what you’ll need to create these delicious, festive treats (exact measurements will be in the recipe card later):
For the Cupcakes:
- All-purpose flour – For structure and softness.
- Unsweetened cocoa powder – Just a hint, giving that signature red velvet flavor.
- Baking soda – Helps the cupcakes rise beautifully.
- Salt – Balances the sweetness.
- Vegetable oil – Keeps the cupcakes extra moist.
- Milk (any kind) – Adds moisture and helps create a tender crumb.
- Egg – Binds the ingredients together.
- White sugar – Sweetens and creates a light texture.
- White vinegar – Activates the baking soda for a fluffy texture.
- Red food coloring – For that bold red velvet look!
- Vanilla bean paste (or vanilla extract) – Adds rich vanilla flavor.
- Peppermint extract – Gives a cool, minty twist.
For the Peppermint Buttercream Frosting:
- Unsalted butter – Softened to room temperature for creamy frosting.
- Powdered sugar – For a smooth, sweet finish.
- Milk (any kind) – To adjust the frosting consistency.
- Peppermint extract – Adds that classic minty touch.
- Crushed candy canes (optional) – For a festive crunch on top.

How to Make Red Velvet Peppermint Cupcakes – Step-by-Step Instructions
1. Preheat & Prepare
- Preheat your oven to 350°F (177°C).
- Line a 12-cup muffin tin with cupcake liners.
2. Mix the Dry Ingredients
- In a medium bowl, whisk together:
- 1 ½ cups all-purpose flour
- 1 tablespoon unsweetened cocoa powder
- ½ teaspoon baking soda
- ¼ teaspoon salt
- Set aside.
3. Combine the Wet Ingredients
- In a large bowl, whisk together:
- ¾ cup granulated sugar
- ½ cup vegetable oil
- 1 egg
- ½ cup milk
- 1 teaspoon vanilla bean paste (or extract)
- ½ teaspoon peppermint extract
- Stir in:
- 1 teaspoon white vinegar
- 1 tablespoon red food coloring (or adjust to get your desired color).
4. Combine Wet & Dry Ingredients
- Gradually add the dry ingredients to the wet ingredients, stirring gently with a whisk or spatula until just combined.
- Avoid overmixing – it’s okay if there are a few small lumps.
5. Fill the Cupcake Liners
- Evenly divide the batter into the cupcake liners, filling each about 2/3 full.
6. Bake
- Bake for 18-20 minutes or until a toothpick inserted in the center comes out clean.
- Cool in the pan for 5 minutes, then transfer to a wire rack to cool completely.
Frosting and Decorating
1. Make the Peppermint Buttercream Frosting
In a large bowl, using a hand or stand mixer, beat together:
- ½ cup (1 stick) unsalted butter, softened to room temperature.
- 2 cups powdered sugar (add gradually).
- 1-2 tablespoons milk (adjust as needed for consistency).
- ½ teaspoon peppermint extract.
Mix on medium speed until light, fluffy, and smooth. If the frosting is too thick, add a little more milk, 1 teaspoon at a time. If it’s too thin, add a bit more powdered sugar.
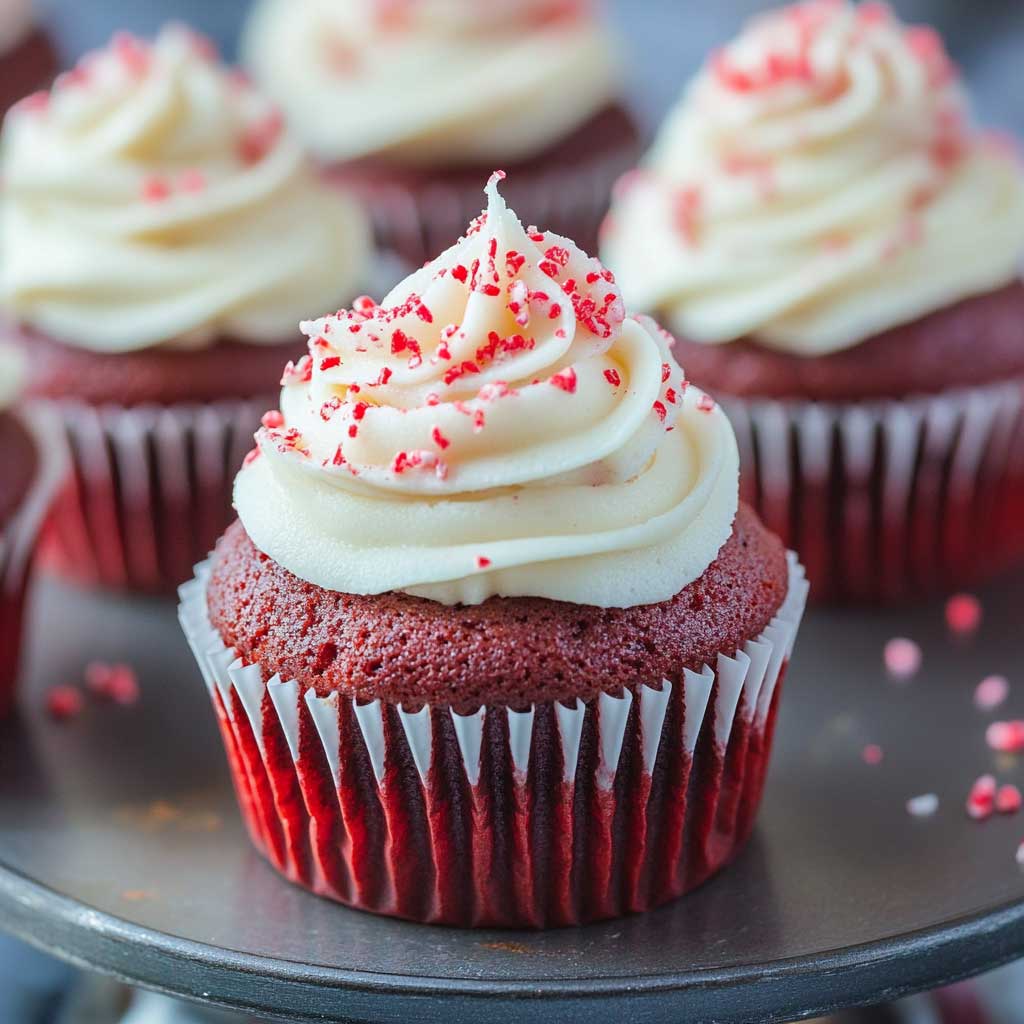
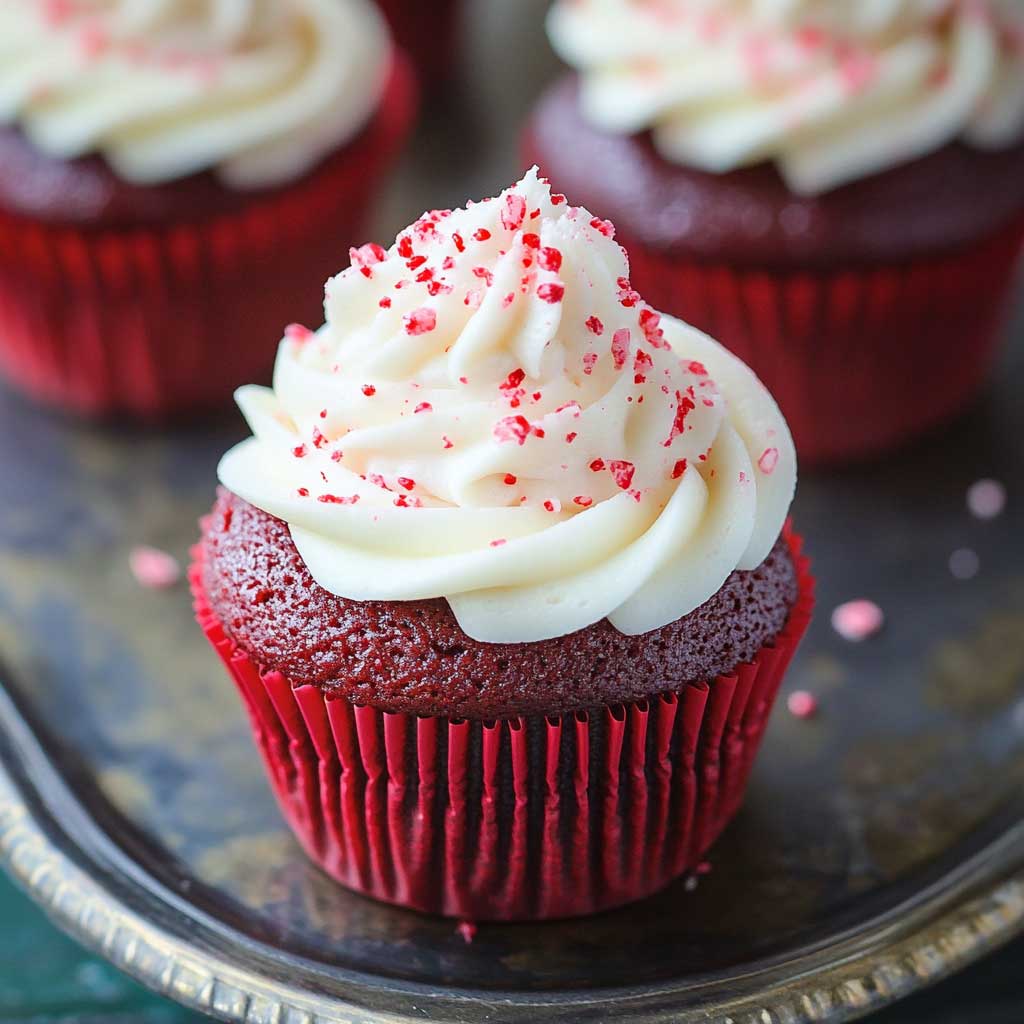
2. Frost the Cupcakes
- Once the cupcakes are completely cool, pipe or spread the frosting onto each one.
- If using a piping bag, a large round tip or star tip works beautifully.
3. Add the Festive Topping
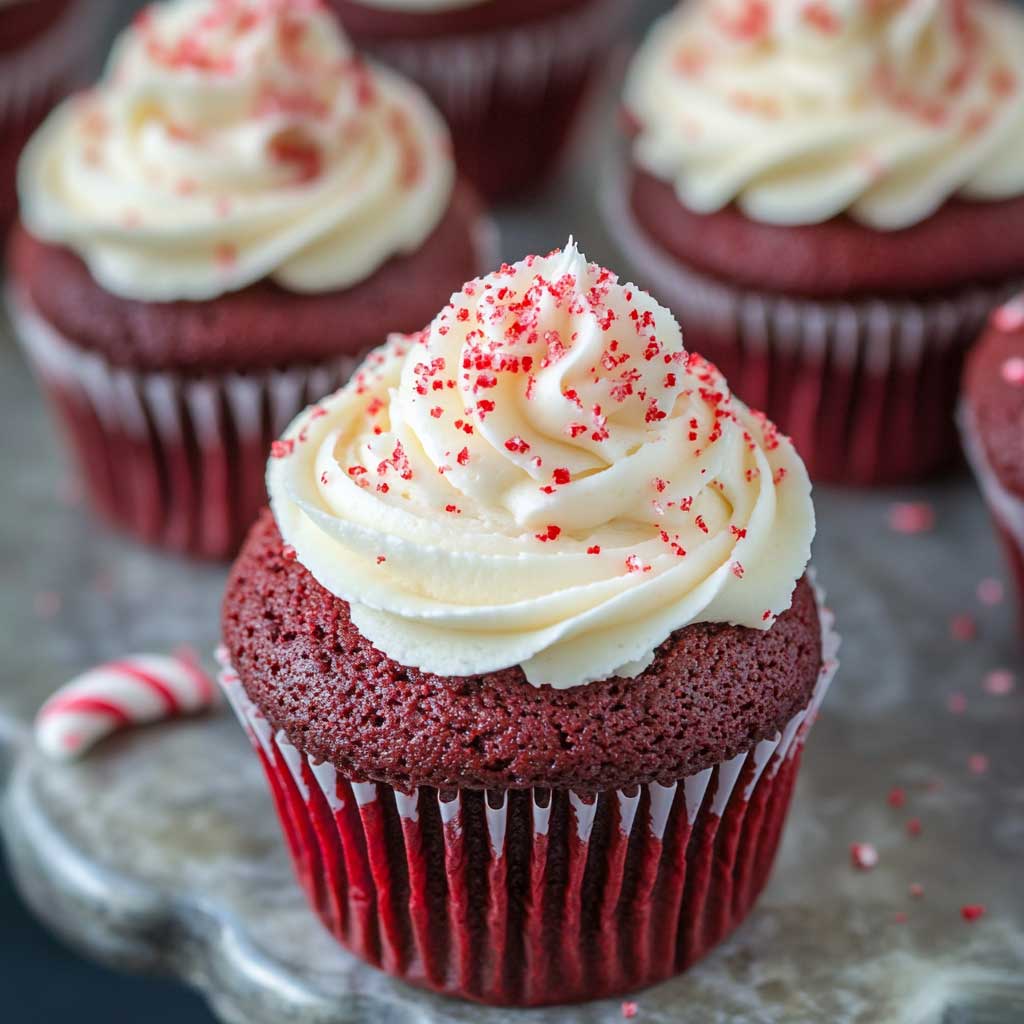
- Sprinkle crushed candy canes on top of the frosting for a crunchy, pepperminty finish.
- Optional: Add a whole mini candy cane or a few holiday sprinkles for extra flair.
Serving and Decoration Ideas
- Festive Dessert Table: These cupcakes steal the show at holiday parties.
- Gift Boxes: Pack them in a cute box for a sweet homemade gift.
- With Hot Cocoa: Pair with a cozy cup of peppermint hot chocolate for the ultimate winter treat.
- Extra Fancy: Drizzle melted white chocolate over the frosting for an elegant touch.
Storing Red Velvet Peppermint Cupcakes
- At Room Temperature: Store unfrosted cupcakes in an airtight container for up to 2 days.
- Refrigerated: Frosted cupcakes can be stored in an airtight container in the fridge for up to 4 days. Bring to room temperature before serving.
- Freezing: Freeze unfrosted cupcakes for up to 3 months. Thaw at room temperature, then frost when ready.
Nutrition Information (Per Cupcake)
| Nutrient | Amount |
|---|---|
| Calories | 280 |
| Carbohydrates | 38g |
| Fat | 13g |
| Sugar | 27g |
| Protein | 2g |
Note: Values are estimates based on ingredients.
Red Velvet Peppermint Cupcakes
12 cupcakes
servings20
minutes18
minutes280
kcalIngredients
- Cupcakes
1 ½ cups (190g) all-purpose flour
1 tablespoon unsweetened cocoa powder
½ teaspoon baking soda
¼ teaspoon salt
¾ cup (150g) granulated sugar
½ cup (120ml) vegetable oil
1 large egg
½ cup (120ml) milk (any kind)
1 teaspoon vanilla bean paste (or vanilla extract)
½ teaspoon peppermint extract
1 teaspoon white vinegar
1 tablespoon red food coloring
- Peppermint Buttercream Frosting:
½ cup (113g) unsalted butter, softened
2 cups (240g) powdered sugar
1-2 tablespoons milk
½ teaspoon peppermint extract
Crushed candy canes (optional, for topping)
Directions
- Preheat & Prepare:
Preheat oven to 350°F (177°C). Line a 12-cup muffin tin with cupcake liners. - Mix Dry Ingredients:
In a medium bowl, whisk together flour, cocoa powder, baking soda, and salt. Set aside. - Mix Wet Ingredients:
In a large bowl, whisk sugar, oil, egg, milk, vanilla, peppermint extract, vinegar, and red food coloring until smooth. - Combine:
Gradually add dry ingredients to wet mixture, stirring until just combined. Don’t overmix. - Bake:
Fill cupcake liners about 2/3 full. Bake for 18-20 minutes, or until a toothpick inserted in the center comes out clean.
Cool in the pan for 5 minutes, then transfer to a wire rack. - Make Frosting:
Beat butter until smooth. Gradually add powdered sugar and milk. Mix in peppermint extract. Adjust consistency with more milk or sugar. - Frost & Decorate:
Once cupcakes are cool, frost using a piping bag or spatula. Sprinkle crushed candy canes on top.
Red Velvet Peppermint Cupcakes FAQs
Can I use butter instead of oil?
Yes, but oil keeps them extra moist. Melted butter can work, but the texture may be slightly different.
What if I don’t have red food coloring?
You can skip it—the flavor will still be delicious! The cupcakes just won’t have that classic red velvet look.
Can I double the recipe?
Absolutely! Just double all the ingredients. You may need two muffin tins or to bake in batches.
Conclusion
These Red Velvet Peppermint Cupcakes are the perfect blend of rich chocolatey flavor and cool peppermint freshness. They’re easy to whip up, look stunning, and taste like a holiday dream. Whether you’re baking for a party, gifting a friend, or treating yourself, this recipe will become a seasonal favorite in your kitchen!