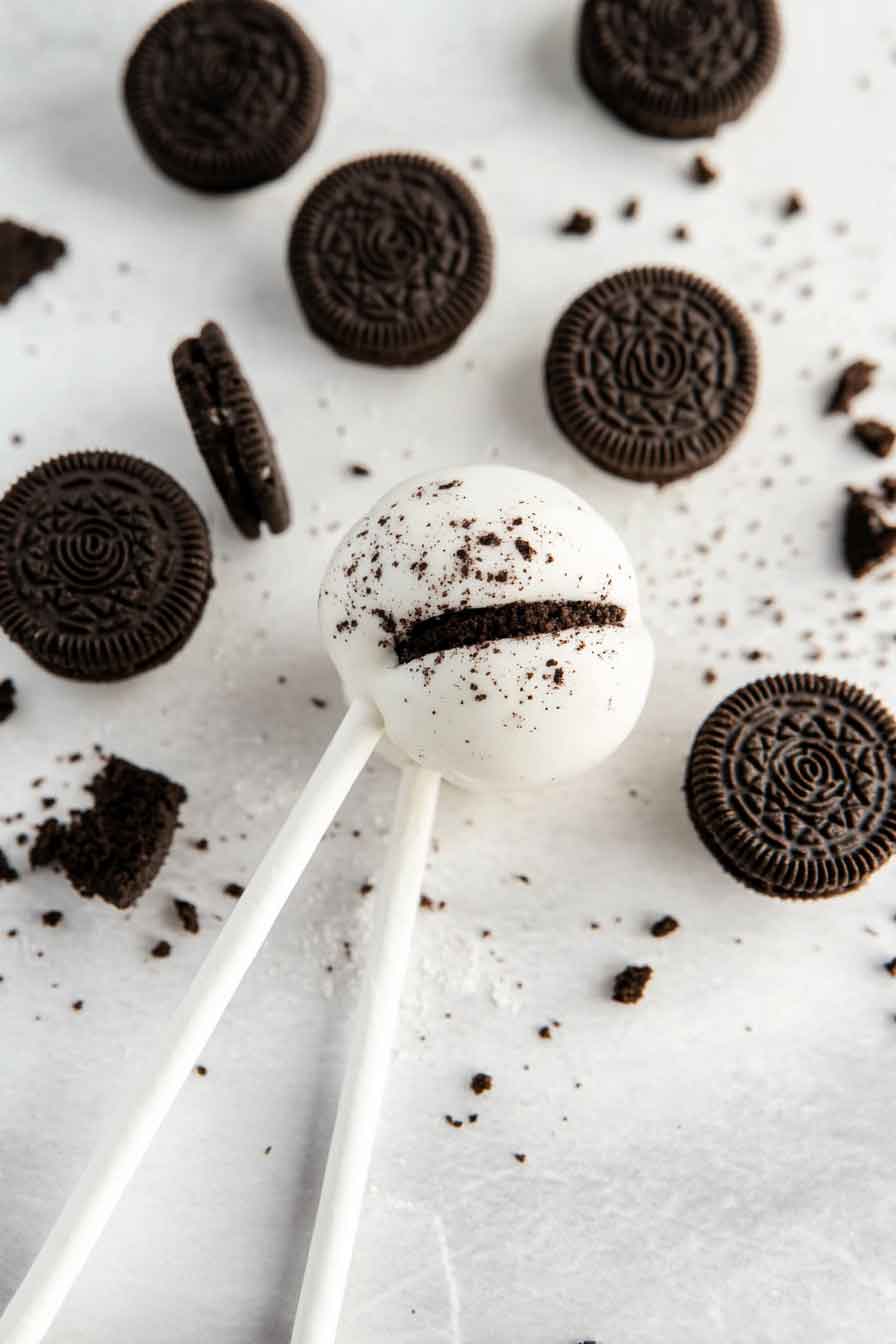
Oreo Cookies & Cream Cake Pops
These cake pops are tiny, tasty, and totally packed with cookies & cream. Oreo lovers—this one’s for you. Each bite is like a creamy dream on a stick.
I made a batch for a party, and they disappeared fast. Crushed Oreos, soft cake, and a white chocolate shell? Yup, they’re as good as they sound.
They’re fun, sweet, and perfect for snacking or gifting. Think creamy, crunchy, and melt-in-your-mouth magic. Trust me—you’ll want a dozen.

Let’s get rolling! These Oreo cake pops are easy, cute, and so worth it. Time to grab your sticks and make some sweet memories.
Why You’ll Love This Recipe
- Classic Flavor Pairing: The unmistakable combination of Oreo cookies and cream cheese creates a rich and creamy center that’s hard to resist.
- No Oven Needed: Skip the baking and enjoy a quick, fuss-free dessert that’s ready in about 90 minutes.
- Customizable Coating: Use white chocolate, milk chocolate, or colorful candy melts to match any occasion or preference.
- Perfect for Parties: These pops are easy to serve, fun to eat, and visually appealing on any dessert table.
- Great for Gifting: Individually wrapped, they make thoughtful homemade gifts for friends and family.
What You Need to Know Before You Start
Prep Time & Cook Time:
- Prep Time: 30 minutes (including cookie crushing and mixing)
- Chill Time: At least 1 hour (critical for shaping and dipping)
- Total Time: About 1.5 hours
Servings:
- Makes about 20 cake pops, depending on size. Perfect for a small party or to enjoy over several days.
Difficulty Level:
- Very easy. No baking skills required. Perfect for beginners or anyone short on time.
Required Kitchen Tools
- Food Processor or Rolling Pin & Plastic Bag: For crushing Oreos finely.
- Mixing Bowl: To combine crushed cookies and cream cheese.
- Spatula or Spoon: For mixing ingredients evenly.
- Cake Pop Sticks: Essential for shaping and handling cake pops.
- Microwave-safe Bowl: For melting the white chocolate or candy melts gently.
- Styrofoam Block or Cake Pop Stand: To hold pops upright while drying and hardening.
- Measuring Cups and Scale: For accuracy in ingredients.
Ingredients
For the Cake Pop Base:
- 20 Oreo cookies, crushed into fine crumbs (about 2 cups crushed)
- 8 oz (225 g) cream cheese, softened to room temperature (for smooth mixing)
For the Coating and Decoration:
- 12 oz (340 g) white chocolate chips or candy melts (choose your preferred flavor/color)
- 1/2 cup crushed Oreos (for rolling and extra crunch)
- Cake pop sticks (about 20)
Variations for Oreo Cookies Cream Cake Pops
- Chocolate Coating: Swap white chocolate for milk or dark chocolate for a richer flavor.
- Add Sprinkles: Before the coating sets, sprinkle colorful or themed sprinkles for a festive look.
- Peanut Butter Twist: Mix a tablespoon of peanut butter into the cream cheese for a nutty variation.
- Mini Pops: Make smaller cake pops for bite-sized treats, perfect for kids’ parties.
- Flavored Extracts: Add a teaspoon of vanilla, almond, or mint extract to the base for extra aroma and taste.
How to Make Oreo Cookies Cream Cake Pops Step-by-Step
1. Crush the Oreos
Place the Oreo cookies in a food processor and pulse until you have fine crumbs. If you don’t have a processor, put cookies in a sealed plastic bag and crush with a rolling pin until finely ground. The finer the crumbs, the smoother your cake pops will be.
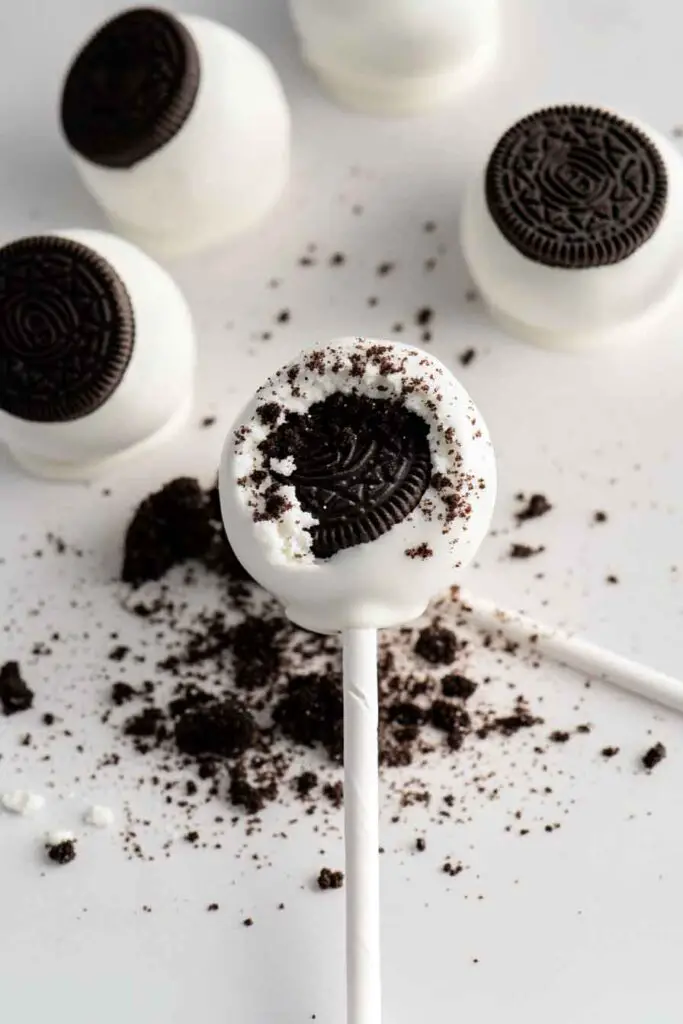
2. Mix with Cream Cheese
Transfer the crushed Oreos to a mixing bowl. Add the softened cream cheese and gently mix using a spatula or your hands until the mixture is uniform and sticky. This mixture will form the base of your cake pops.
3. Chill the Mixture
Cover the bowl with plastic wrap and refrigerate for about 30 minutes. Chilling firms up the mixture, making it easier to shape.
4. Shape the Cake Pops
Remove the mixture from the fridge. Using your hands or a small ice cream scoop, form the mixture into 1.5-inch balls. Insert a cake pop stick about halfway into each ball. Place the formed pops on a baking sheet lined with parchment paper.
5. Freeze to Set
Freeze the cake pops for 15-20 minutes to help them firm up further. This step is important to avoid the cake pops falling apart during coating.
6. Melt the Coating
In a microwave-safe bowl, melt the white chocolate chips or candy melts in 30-second intervals, stirring after each, until smooth and fully melted.
7. Dip the Cake Pops
Remove cake pops from the freezer. Hold each pop by the stick and dip it into the melted chocolate, covering completely. Allow any excess coating to drip off.
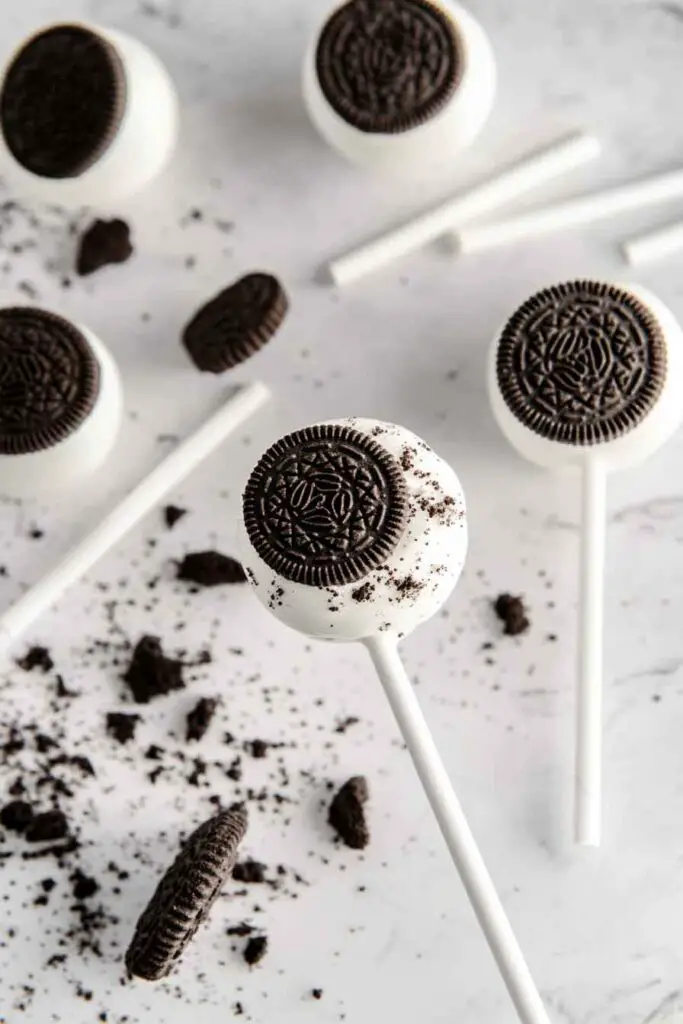
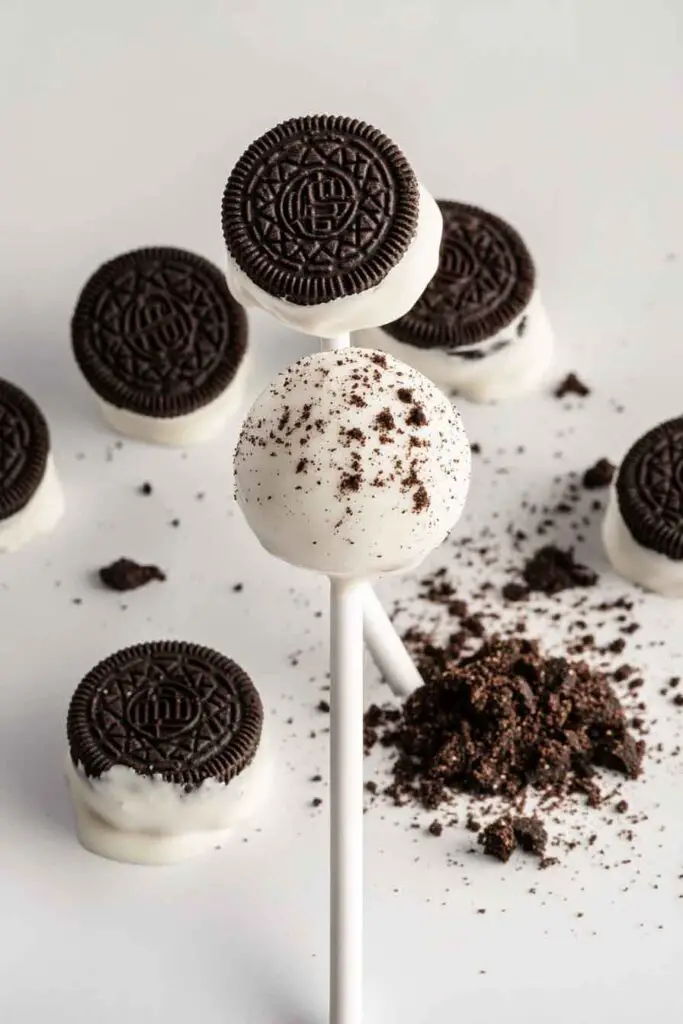
8. Add Decorations
While the coating is still wet, roll or sprinkle crushed Oreos over the pops for added texture and appearance. Place the dipped pops upright in a Styrofoam block or cake pop stand to set.
9. Chill to Harden
Refrigerate the cake pops for at least 30 minutes until the coating hardens completely.
Serving and Storage
- Serving: These cake pops are best served chilled or at room temperature.
- Storage: Store cake pops in an airtight container in the refrigerator for up to 5 days. For longer storage, freeze them in a sealed container for up to a month; thaw in the fridge before serving.
Tips and Tricks for Success
- Crush Oreos finely: The smoother the crumbs, the better the texture and easier to shape the cake pops.
- Use room temperature cream cheese: Softened cream cheese blends well and ensures a creamy, uniform mixture.
- Chill thoroughly: Don’t skip the chilling steps; they help the pops hold their shape and prevent melting during dipping.
- Be gentle when dipping: Avoid swirling the pop in the coating too much to prevent it from falling apart.
- Use a Styrofoam block: This helps the cake pops dry evenly and maintain their shape while the coating hardens.
- Customize decorations: Have fun with colored sprinkles, edible glitter, or drizzle with contrasting chocolate for a beautiful finish.
Nutrition Information (per cake pop, approx.)
| Nutrient | Amount |
|---|---|
| Calories | 180 |
| Total Fat | 10g |
| Saturated Fat | 6g |
| Cholesterol | 25mg |
| Sodium | 90mg |
| Total Carbohydrate | 20g |
| Dietary Fiber | 1g |
| Sugars | 16g |
| Protein | 2g |
Oreo Cookies & Cream Cake Pops
Course: Cake Recipes, Cookie Recipes30
minutes180
kcal1
hourIngredients
20 Oreo cookies, crushed finely
8 oz (225 g) cream cheese, softened
12 oz (340 g) white chocolate chips or candy melts
1/2 cup crushed Oreos (for coating)
Cake pop sticks (about 20)
Directions
- Crush Oreos into fine crumbs using a food processor or rolling pin.
- Mix crushed Oreos with softened cream cheese until uniform and sticky.
- Chill mixture in the fridge for 30 minutes.
- Shape mixture into 1.5-inch balls; insert cake pop sticks halfway.
- Freeze cake pops for 15-20 minutes.
- Melt white chocolate chips or candy melts in microwave in 30-second intervals, stirring until smooth.
- Dip each cake pop into melted chocolate, covering completely. Let excess drip off.
- Roll or sprinkle with crushed Oreos before coating sets. Place upright to dry.
- Refrigerate for at least 30 minutes until coating hardens.
Oreo Cookies Cream Cake Pops FAQs
Q: Can I use other cookies instead of Oreos?
A: Yes, any sandwich cookie with a cream filling works well, but Oreos are classic for their flavor and texture.
Q: How do I store cake pops?
A: Store them in an airtight container in the fridge for up to 5 days or freeze for longer storage.
Q: Can I make these dairy-free?
A: Substitute cream cheese and chocolate with dairy-free alternatives, but texture and flavor may vary slightly.
Q: Can I prepare them in advance?
A: Yes, they can be made a day ahead and kept chilled until serving.
Conclusion
I’ve used simple ingredients like Oreo cookies and cream cheese to create these delicious cake pops. The process involves crushing, mixing, chilling, shaping, dipping, and decorating to deliver a sweet treat that’s both easy to make and crowd-pleasing.