No Bake Cherry Chocolate Chip Pie Recipe
Craving a sweet treat that’s easy to make and full of flavor? This No Bake Cherry Chocolate Chip Pie is the perfect dessert for anyone who loves a cool, creamy, and indulgent treat without turning on the oven!
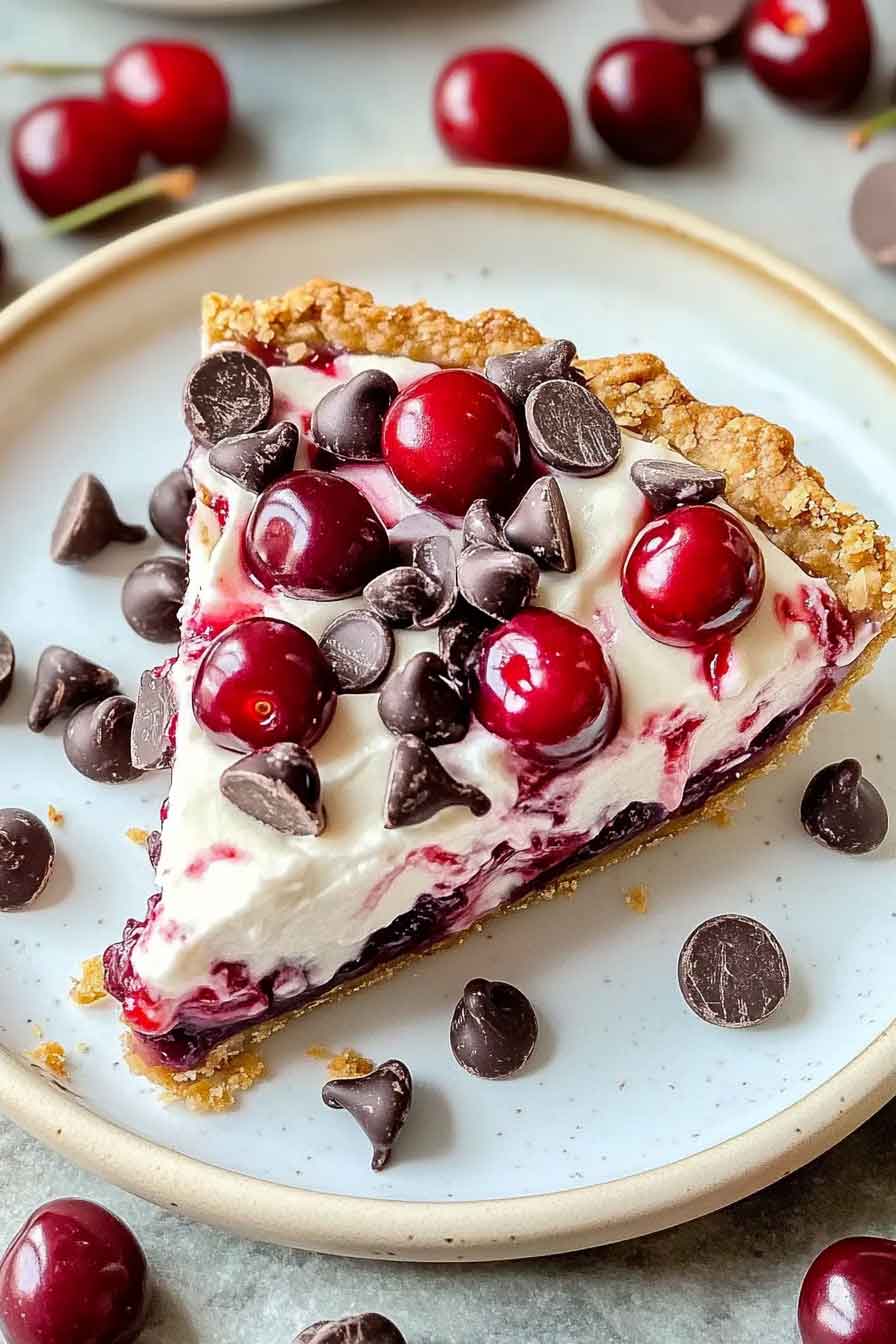
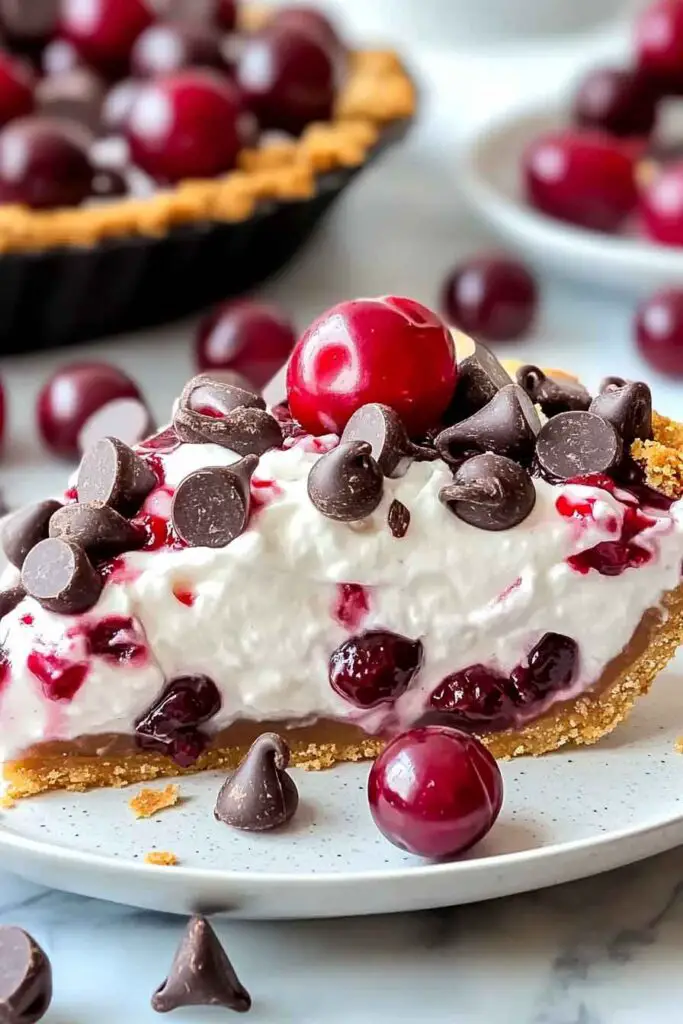
Imagine a silky, no-bake filling made with fresh cherries and chocolate chips, nestled in a buttery graham cracker crust. Every bite is a perfect balance of sweet, tart, and chocolatey goodness, with a texture that’s just right.
This pie is the ultimate dessert for those warm days when you want something refreshing yet rich. It’s quick to prepare, no baking required, and it’s sure to become a family favorite!

Ready to treat yourself to this easy, delicious pie? Let’s make it today and enjoy a cool, creamy slice of heaven!
Why You’ll Love This Recipe
- Reader Favorite: This pie is an all-time favorite! Perfect for anyone who loves cherries and chocolate.
- Simple to Make: With just a few simple ingredients, you’ll have a delicious pie in no time—no baking required!
- Make-Ahead Friendly: Prepare the pie a day ahead for an easy, stress-free dessert.
- Refreshing: The creamy texture paired with the tartness of the cherries is a perfect balance.
- Customizable: Add extra chocolate chips or use a different fruit topping to make it your own.
What You Need to Know Before You Start
Prep Time & Cook Time:
- Prep Time: 20 minutes
- Chill Time: 4 hours (or overnight)
- Total Time: About 4.5 hours
Servings:
This recipe makes 8 servings. Need more? Double the recipe for a larger crowd!
Difficulty:
Easy enough for beginners but delicious enough for dessert enthusiasts to enjoy.
Required Kitchen Tools
- 9-inch Pie Pan: This is where all the deliciousness comes together.
- Electric Mixer (optional): For a super smooth and creamy filling, a hand mixer or stand mixer works wonders.
- Spatula: To scrape down the sides of the bowl and mix everything together perfectly.
- Measuring Cups and Spoons: Accuracy helps with the ingredients, ensuring the perfect consistency.
Ingredients for No-Bake Cherry Chocolate Chip Pie
For the Crust:
- 1½ cups graham cracker crumbs
- ¼ cup granulated sugar
- 6 tbsp unsalted butter, melted
For the Filling:
- 8 oz cream cheese, softened
- 1 cup powdered sugar
- 1 tsp vanilla extract
- 1 cup heavy whipping cream, cold
- ½ cup mini chocolate chips
- 1 can (21 oz) cherry pie filling
For Topping (optional):
- Whipped cream (for serving)
- Extra mini chocolate chips (for garnish)
Next Step: Variations for the No-Bake Cherry Chocolate Chip Pie
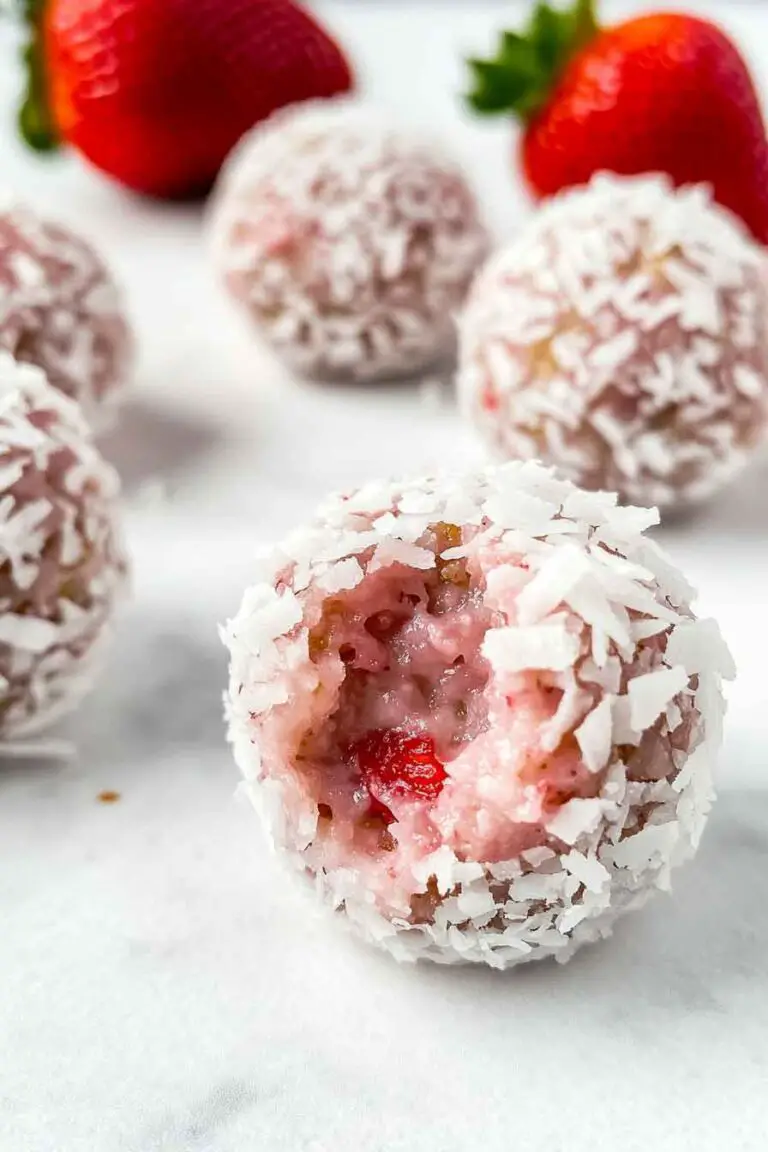
- Fruit Substitution: Swap out the cherry pie filling for another fruit like blueberry, strawberry, or raspberry. You can even combine different fruits!
- Nutty Crust: Add chopped nuts to the graham cracker crust for a crunchy twist. Walnuts, almonds, or pecans work wonderfully.
- More Chocolate: If you’re a chocolate lover, increase the amount of mini chocolate chips or drizzle some melted chocolate on top for extra richness.
- Add a Layer: Layer the filling with some chocolate ganache for an extra layer of indulgence. Just make sure to allow it to set before adding the cream cheese mixture.
How to Make No-Bake Cherry Chocolate Chip Pie – Step-by-Step Instructions
1. Prepare the Crust
In a medium bowl, mix the graham cracker crumbs, granulated sugar, and melted butter together. Stir until the crumbs are fully coated in butter, then press the mixture into the bottom of a 9-inch pie pan. Press it firmly to form an even layer. Refrigerate for about 10 minutes to allow it to set.
2. Make the Filling
In a large bowl, beat the softened cream cheese with the powdered sugar and vanilla extract until smooth and fluffy. Use an electric mixer on medium speed for about 2-3 minutes. Once the mixture is smooth, gradually add the cold heavy whipping cream. Beat until stiff peaks form, which should take about 3-5 minutes.
3. Add the Chocolate Chips
Fold the mini chocolate chips into the whipped cream and cream cheese mixture gently using a spatula. Make sure the chips are evenly distributed throughout the filling.
4. Assemble the Pie
Once your crust has chilled, pour the filling into the crust. Spread it evenly using a spatula, smoothing out the top.
5. Add the Cherry Topping
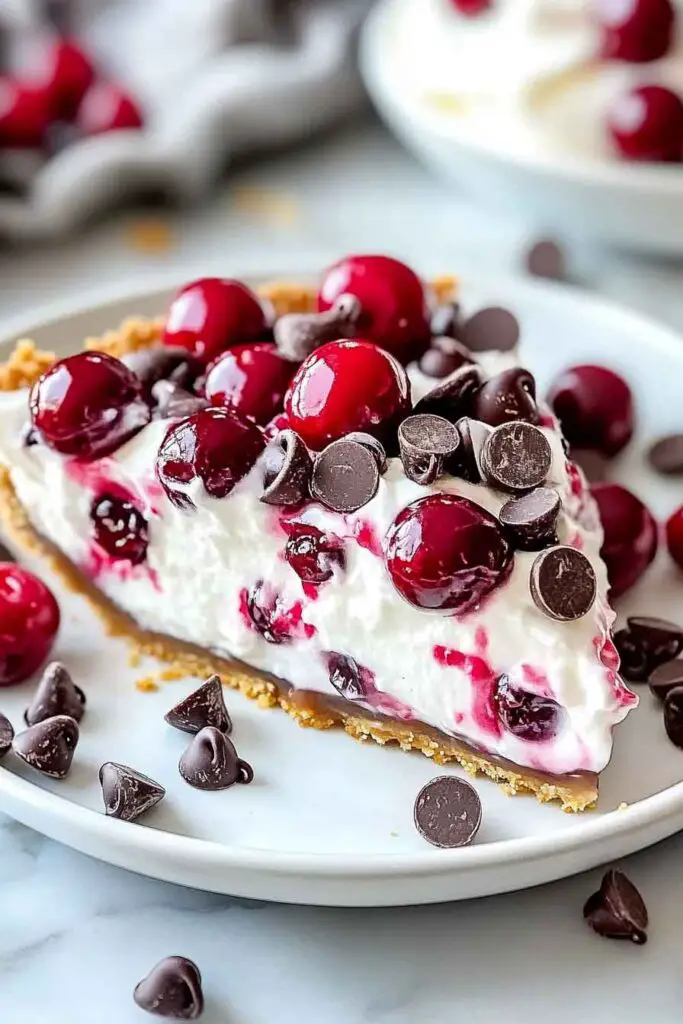
Now it’s time to add that sweet cherry topping! Spoon the cherry pie filling evenly over the top of the pie, spreading it out with a spatula. Make sure the cherries are spread out to the edges of the filling, creating a colorful, eye-catching layer. If you like a more generous layer of cherries, feel free to add extra filling.
6. Chill the Pie
Cover the pie with plastic wrap or a lid and place it in the fridge. Let the pie chill for at least 4 hours, or overnight if you have the time. The chilling time is crucial for the filling to set properly, giving the pie its creamy texture and helping the flavors meld together.
7. Garnish and Serve
Once the pie is fully chilled, garnish with whipped cream and extra mini chocolate chips if desired. This adds a touch of elegance and extra chocolatey goodness. Slice the pie into 8 even portions and serve chilled.
How to Serve No-Bake Cherry Chocolate Chip Pie
This no-bake pie is perfect for any occasion, whether it’s a family dinner, a holiday gathering, or just a simple treat to enjoy. Here are some great ways to serve it:
- As a Dessert: Serve as a sweet, refreshing end to any meal.
- With a Cup of Coffee or Tea: The creamy filling pairs wonderfully with a hot beverage for an afternoon snack.
- Topped with More Cherries: For cherry lovers, top each slice with a few more fresh cherries or even a cherry syrup drizzle.
Storing No-Bake Cherry Chocolate Chip Pie
- Leftovers: Store any leftover pie in an airtight container in the refrigerator for up to 3 days. Make sure it’s properly covered to keep the crust fresh.
- Freezing: If you need to store it longer, this pie can be frozen. Cover tightly and freeze for up to a month. Let it thaw in the refrigerator for a few hours before serving.
Tips and Tricks for Success
- Use Cold Cream: For the best whipped cream texture, make sure your heavy whipping cream is cold. This helps it whip up nicely and form those stiff peaks.
- Customize the Topping: If you want to get creative, try adding a sprinkle of chopped nuts or crushed chocolate cookies on top for added texture.
- Even Layering: To ensure an even distribution of the cherry topping, be gentle when spreading it out over the filling.
Nutrition Information (Per Serving)
| Nutrient | Amount |
|---|---|
| Calories | 350 |
| Total Fat | 24g |
| Saturated Fat | 12g |
| Cholesterol | 45mg |
| Sodium | 150mg |
| Total Carbohydrates | 35g |
| Dietary Fiber | 2g |
| Sugars | 22g |
| Protein | 4g |
No Bake Cherry Chocolate Chip Pie Recipe
Course: Uncategorized8
slices20
minutes350
kcal4
hourIngredients
- For the Crust:
1½ cups graham cracker crumbs
¼ cup granulated sugar
6 tbsp unsalted butter, melted
- For the Filling:
8 oz cream cheese, softened
1 cup powdered sugar
1 tsp vanilla extract
1 cup heavy whipping cream, cold
½ cup mini chocolate chips
1 can (21 oz) cherry pie filling
- For Topping (optional):
Whipped cream
Extra mini chocolate chips
Directions
- Prepare the Crust: Combine graham cracker crumbs, sugar, and melted butter. Press into a 9-inch pie pan and refrigerate for 10 minutes.
- Make the Filling: Beat cream cheese, powdered sugar, and vanilla until smooth. Add heavy whipping cream and beat until stiff peaks form. Fold in chocolate chips.
- Assemble the Pie: Spoon the filling into the crust, spreading it evenly. Top with cherry pie filling.
- Chill the Pie: Refrigerate for at least 4 hours or overnight.
- Serve: Garnish with whipped cream and extra chocolate chips before serving.
No-Bake Cherry Chocolate Chip Pie FAQs
1. Can I use a different crust for this pie?
Yes! While the graham cracker crust is a classic choice, you can substitute it with a cookie crust (such as Oreos or digestives) or a store-bought pie crust. Just make sure it’s sturdy enough to hold the filling.
2. Can I make this pie ahead of time?
Absolutely! In fact, this pie is perfect for making ahead. It needs at least 4 hours to chill, but you can prepare it the day before and let it set overnight in the fridge for the best results.
3. Can I use fresh cherries instead of cherry pie filling?
Yes, fresh cherries can be used. You can make a simple cherry compote by simmering fresh cherries with some sugar until thickened, or simply pit and slice the cherries. Keep in mind that this will alter the texture and sweetness compared to the pie filling.
4. How long can I store the pie?
You can store leftovers in an airtight container in the fridge for up to 3 days. If you need to keep it longer, you can freeze it for up to a month. Be sure to let it thaw in the fridge for a few hours before serving.
5. Can I use whipped topping instead of heavy cream?
Yes, you can use store-bought whipped topping as a substitute for homemade whipped cream. However, fresh whipped cream adds a richer flavor and texture to the pie.
6. What other toppings can I add to this pie?
Feel free to get creative with toppings! You can add chopped nuts, more mini chocolate chips, or even a drizzle of chocolate or caramel sauce. Fresh fruit like strawberries or blueberries also make great additions.
7. How do I make sure the filling stays firm?
The key to a firm filling is making sure you whip the heavy cream to stiff peaks and fold it gently into the cream cheese mixture. Chilling the pie for several hours will also help it set properly.
8. Can I make this pie gluten-free?
Yes! To make this pie gluten-free, simply use a gluten-free graham cracker or cookie crust. Be sure to check the other ingredients for gluten, though, and make sure to use gluten-free options for the whipped cream and chocolate chips.
Conclusion
The No-Bake Cherry Chocolate Chip Pie is the ultimate easy-to-make dessert that combines creamy textures with the sweetness of cherries and the richness of chocolate. It’s perfect for any occasion, whether you’re hosting a dinner, attending a party, or simply enjoying a delicious treat with your family. With its simple preparation and minimal ingredients, this pie is a guaranteed crowd-pleaser that requires no baking, making it ideal for hot summer days or when you’re short on time.
By following this easy recipe, you can create a dessert that’s both refreshing and indulgent, with endless possibilities for customization. Whether you stick to the classic cherry topping or get creative with different fruits and mix-ins, this pie will quickly become a favorite in your recipe collection. Enjoy it chilled, and don’t forget to top it with whipped cream and extra chocolate chips for that perfect finishing touch!