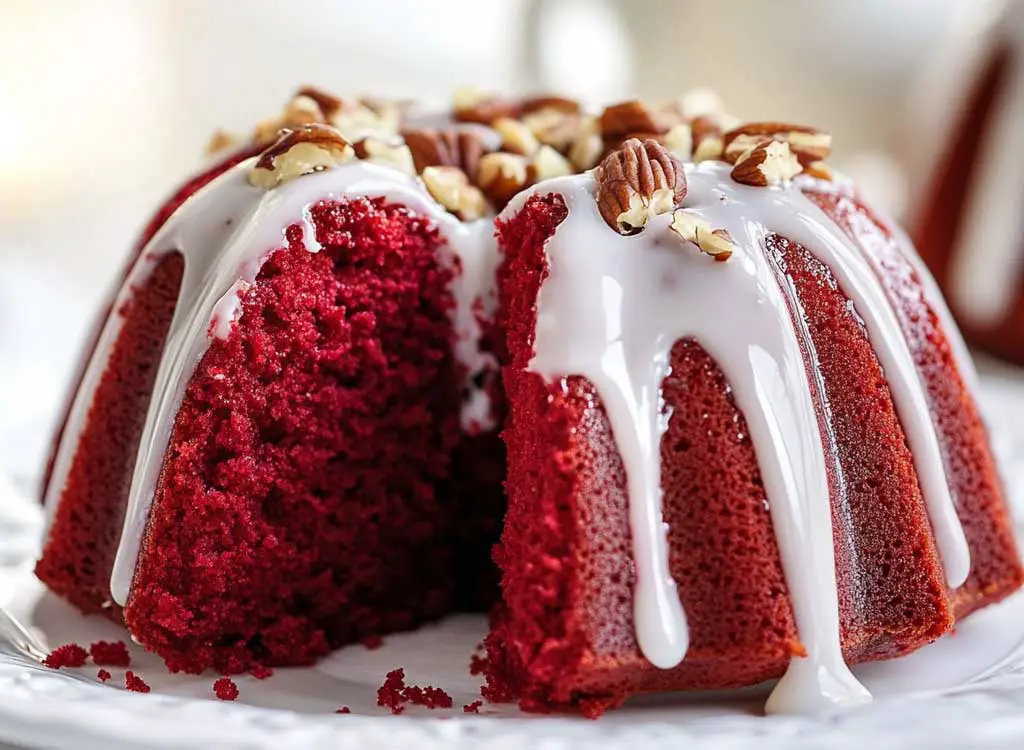
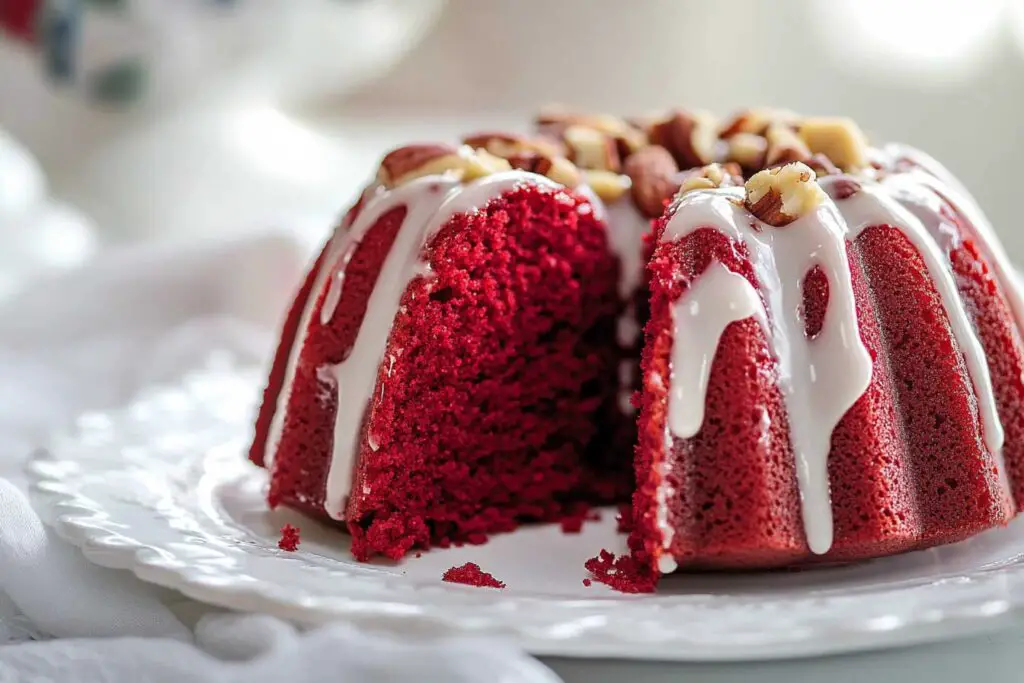
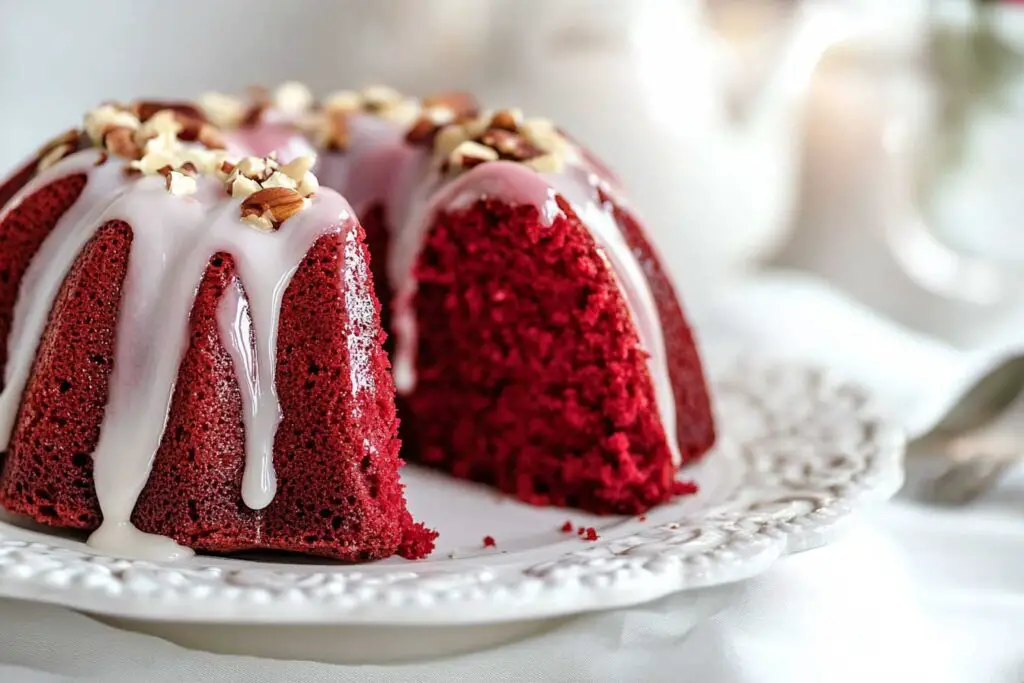
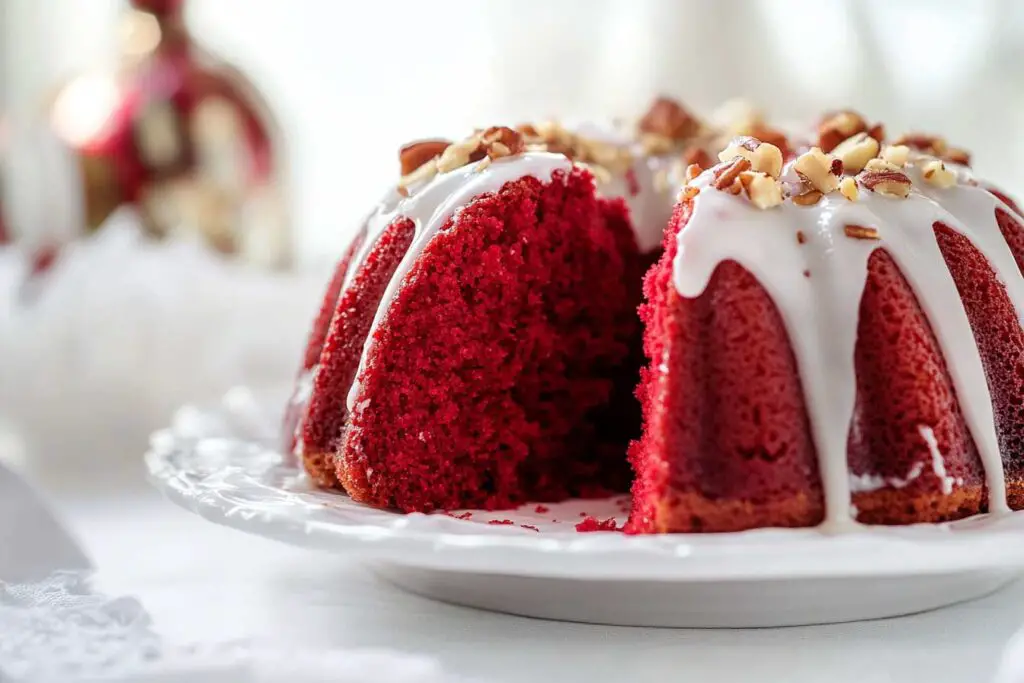
Mini Red Velvet Bundt Cake
You know that feeling when you want red velvet cake but don’t want to bake a huge one? That’s why I love these Mini Red Velvet Bundt Cakes! They’re small, cute, and just the right amount of sweet.
I’ve made these so many times, and they always turn out soft, moist, and oh-so-good. The rich cocoa flavor and that little tangy kick? Perfection. And let’s be honest—mini cakes are just more fun!
If you love red velvet but don’t want the hassle of a big cake, these are for you. They’re easy to make, super pretty, and perfect for sharing (or not!). Plus, who can say no to a cute little bundt cake?

So, let’s do this! Grab your mixing bowl, and I’ll show you exactly how to make these Mini Red Velvet Bundt Cakes.
Why You’ll Love This Recipe
- Perfectly Moist & Tender: Thanks to buttermilk and butter, each bite is rich and soft.
- Classic Red Velvet Flavor: A balance of cocoa and tangy buttermilk with a hint of vanilla.
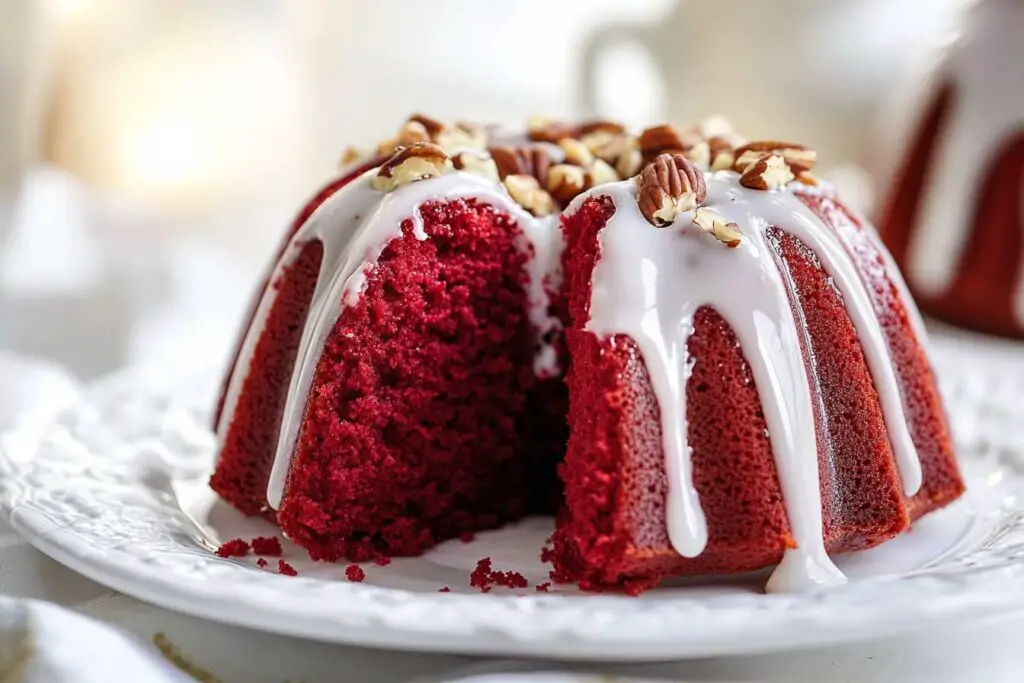
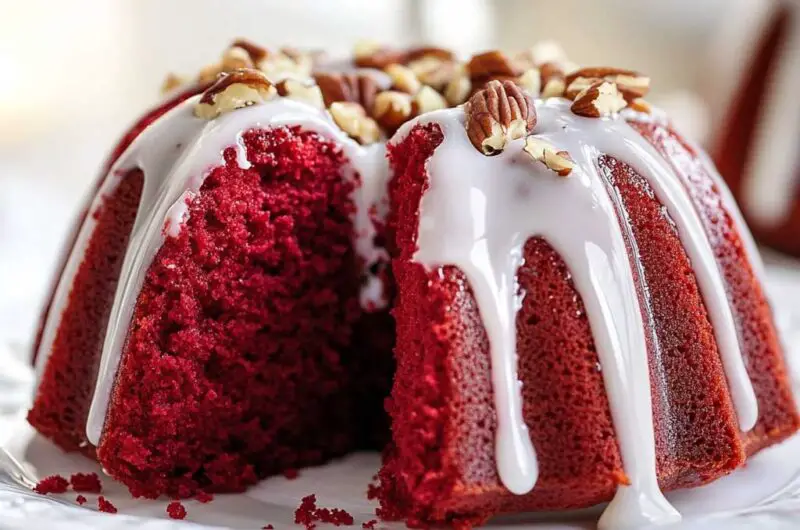
- Beautiful & Festive: Their striking red color and cream cheese glaze make them eye-catching!
- Easy to Make: Simple ingredients and quick baking time make these a great homemade dessert.
- Individual Servings: No slicing needed—everyone gets their own mini cake!
Key Ingredients
To make these Mini Red Velvet Bundt Cakes, you’ll need:
For the Cake:
- All-Purpose Flour: Provides structure to the cakes.
- Cocoa Powder: Just a touch for that signature red velvet flavor.
- Baking Soda & Apple Cider Vinegar: These work together to help the cakes rise.
- Granulated Sugar: Adds sweetness and enhances the texture.
- Unsalted Butter: Brings rich flavor and moisture.
- Egg: Helps bind everything together.
- Buttermilk: The secret to soft, moist cakes with a slight tang.
- Vanilla Extract: Enhances the overall flavor.
- Liquid Red Food Coloring: Gives red velvet its iconic color.
For the Cream Cheese Frosting:
- Cream Cheese: The star of the glaze—rich, tangy, and smooth.
- Confectioners’ Sugar: Sweetens and thickens the frosting.
- Vanilla Extract: A touch of warmth and depth.
- Milk: Helps thin out the glaze for the perfect drizzling consistency.
Required Kitchen Tools
- Mini Bundt Cake Pan: For perfectly shaped cakes.
- Mixing Bowls: For combining ingredients.
- Hand or Stand Mixer: Helps blend the butter and sugar smoothly.
- Measuring Cups & Spoons: For precise ingredient portions.
- Whisk & Spatula: To mix and scrape down the sides of the bowl.
- Wire Rack: Essential for cooling the cakes before glazing.
Step-by-Step Instructions
1. Prepare the Bundt Cake Pan
- Preheat your oven to 350°F (177°C).
- Lightly grease a mini Bundt cake pan with baking spray to prevent sticking.
2. Mix the Dry Ingredients
- In a medium bowl, whisk together:
- ¼ cup all-purpose flour
- ½ teaspoon salt
- ½ teaspoon cocoa powder
- Set aside.
3. Cream the Butter and Sugar
- In a large mixing bowl, beat ¼ cup unsalted butter (softened) and ½ cup granulated sugar until light and fluffy.
- Add 1 large egg and mix until fully incorporated.
4. Add the Wet Ingredients
- Slowly mix in ¼ cup buttermilk, ½ teaspoon vanilla extract, and 1 tablespoon red food coloring.
- Stir gently to combine.
5. Combine Wet and Dry Ingredients
- Gradually add the dry ingredients into the wet mixture, stirring until just combined.
- Do not overmix, as it can make the cakes dense.
6. Activate the Baking Soda
- In a small bowl, mix ½ teaspoon baking soda with ½ teaspoon apple cider vinegar.
- The mixture will bubble—quickly fold it into the batter.
7. Fill the Bundt Pan
- Spoon the batter into each mini Bundt mold, filling them about ¾ full to allow space for rising.
8. Bake the Cakes
- Place in the preheated oven and bake for 15-18 minutes, or until a toothpick inserted in the center comes out clean.
- Let the cakes cool in the pan for 5 minutes, then carefully transfer them to a wire rack to cool completely.
Serving and Decoration
1. Make the Cream Cheese Glaze
Once the cakes are completely cooled, it’s time to make the glaze:
- In a mixing bowl, beat together:
- 4 oz cream cheese (softened)
- ½ teaspoon vanilla extract
- 1 cup sifted confectioners’ sugar
- 2 tablespoons milk (add more for a thinner glaze)
- Mix until smooth and pourable. If too thick, add a little more milk, one teaspoon at a time.
2. Glaze the Cakes
- Drizzle the cream cheese glaze over each mini Bundt cake using a spoon or piping bag.
- Let the glaze set for a few minutes before serving.
3. Optional Toppings
Want to make them extra special? Try these finishing touches:
- White Chocolate Shavings – For an elegant touch.
- Crushed Pecans or Walnuts – Adds a crunchy contrast.
- Sprinkles – Perfect for festive occasions.
- A Dusting of Cocoa Powder – Enhances the red velvet flavor.
Storage and Meal Prep Tips
Storing Mini Bundt Cakes
- At Room Temperature: Keep the cakes (without glaze) in an airtight container for up to 2 days.
- In the Refrigerator: Store glazed cakes in an airtight container for 3-4 days.
- In the Freezer: Freeze unglazed cakes for up to 3 months. Wrap each cake tightly in plastic wrap and place in a freezer-safe bag. Thaw in the fridge before glazing.
Make-Ahead Tips
- You can bake the cakes a day ahead and store them at room temperature. Glaze them right before serving for the best texture.
- The cream cheese glaze can be made in advance and stored in the fridge for up to 5 days. Let it come to room temperature before drizzling.
Variations and Customizations
Want to switch things up? Try these fun variations!
- Chocolate Lover’s Twist: Add ¼ cup mini chocolate chips to the batter for extra richness.
- Nutty Flavor: Mix in ¼ cup finely chopped pecans or walnuts for a crunchy bite.
- Coconut Red Velvet: Sprinkle toasted coconut flakes over the glaze for a tropical touch.
- Different Glazes: Swap the cream cheese glaze for white chocolate ganache or vanilla drizzle.
- Heart-Shaped Cakes: Use a mini heart Bundt pan for a festive Valentine’s Day treat!
Tips and Tricks for Success
- Use Room Temperature Ingredients: This helps create a smoother batter and better texture.
- Do Not Overmix: Overmixing will make the cakes dense instead of light and fluffy.
- Grease the Bundt Pan Well: To prevent sticking, coat the pan with baking spray or butter and flour.
- Check for Doneness: Insert a toothpick in the center—if it comes out clean, they’re ready!
- Let Them Cool Before Glazing: Warm cakes will melt the glaze and make it runny.
Nutrition Information
| Serving Size | 1 Mini Bundt Cake |
|---|---|
| Calories | ~280 kcal |
| Carbohydrates | 38g |
| Protein | 3g |
| Fat | 13g |
| Saturated Fat | 8g |
| Cholesterol | 45mg |
| Sodium | 180mg |
| Sugar | 28g |
Nutritional values are approximate and may vary based on ingredients used.
Mini Red Velvet Bundt Cake
Course: Cake Recipes6 mini cakes
servings15
minutes15
minutes~280 kcal
kcalIngredients
- For the Cake:
¼ cup all-purpose flour
½ teaspoon salt
½ teaspoon cocoa powder
¼ cup unsalted butter, softened
½ cup granulated sugar
1 large egg
¼ cup buttermilk
½ teaspoon vanilla extract
1 tablespoon liquid red food coloring
½ teaspoon baking soda
½ teaspoon apple cider vinegar
- For the Cream Cheese Glaze:
4 oz cream cheese, softened
½ teaspoon vanilla extract
1 cup sifted confectioners’ sugar
2 tablespoons milk (or more for drizzling consistency)
Directions
- Preheat Oven & Prepare Pan: Preheat oven to 350°F (177°C). Grease a mini Bundt pan with baking spray.
- Mix Dry Ingredients: In a bowl, whisk together flour, salt, and cocoa powder. Set aside.
- Cream Butter & Sugar: In a large bowl, beat butter and sugar until light and fluffy. Add the egg and mix well.
- Add Wet Ingredients: Mix in buttermilk, vanilla, and red food coloring until combined.
- Combine Dry & Wet: Gradually add the dry ingredients to the wet ingredients, mixing until just combined.
- Activate Baking Soda: In a small bowl, mix baking soda and apple cider vinegar (it will bubble). Quickly fold it into the batter.
- Fill & Bake: Spoon the batter into the Bundt pan, filling each mold ¾ full. Bake for 15-18 minutes or until a toothpick comes out clean.
- Cool Completely: Let cakes cool in the pan for 5 minutes, then transfer to a wire rack.
- Make the Glaze: Beat together cream cheese, vanilla, powdered sugar, and milk until smooth. Adjust consistency with more milk if needed.
- Glaze & Serve: Drizzle glaze over the cooled cakes. Enjoy!
Mini Red Velvet Bundt Cake FAQs
Can I make these without food coloring?
Yes! The color won’t be as vibrant, but the flavor will still be delicious. You can also use natural alternatives like beet juice or pomegranate juice.
Can I make these in a regular cupcake pan?
Absolutely! If you don’t have a mini Bundt pan, use a cupcake tin and adjust the baking time to 12-14 minutes.
How do I prevent my Bundt cakes from sticking?
Make sure to grease the pan well with baking spray or butter and flour. Let the cakes cool slightly before gently removing them.
Can I double the recipe?
Yes! Simply double all ingredients to make 12 mini Bundt cakes.
Can I make these gluten-free?
You can substitute gluten-free all-purpose flour in a 1:1 ratio, but the texture may vary slightly.
Conclusion
These Mini Red Velvet Bundt Cakes are a fun, elegant way to enjoy the classic red velvet flavor in a cute individual serving. Whether you’re making them for a special occasion or just because, they’re sure to impress! With their soft, moist texture and tangy cream cheese glaze, you’ll want to make them again and again.