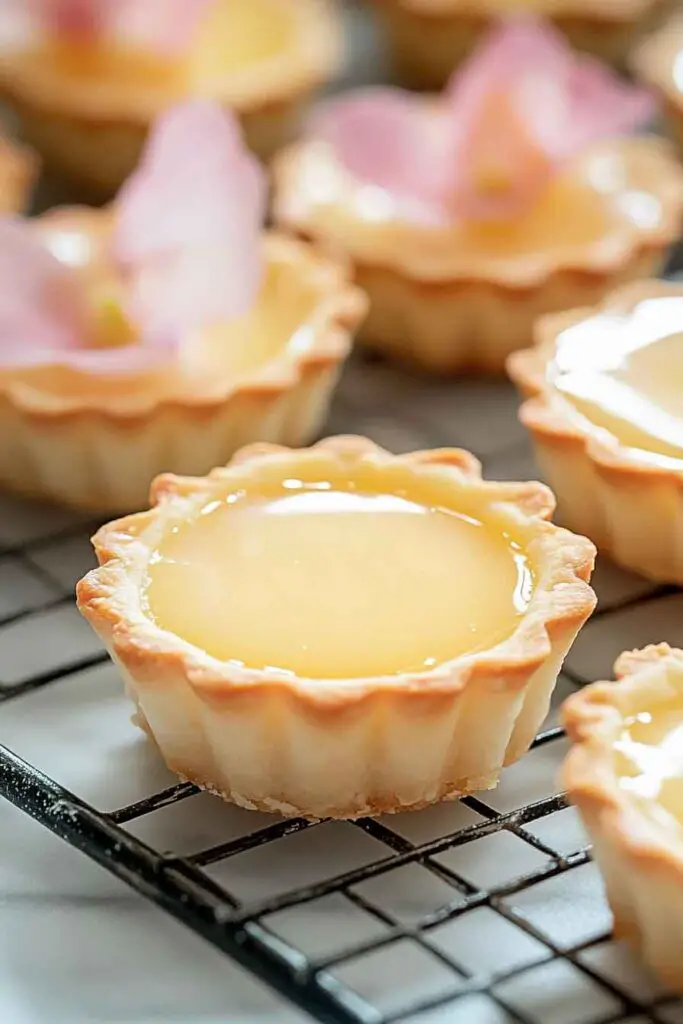
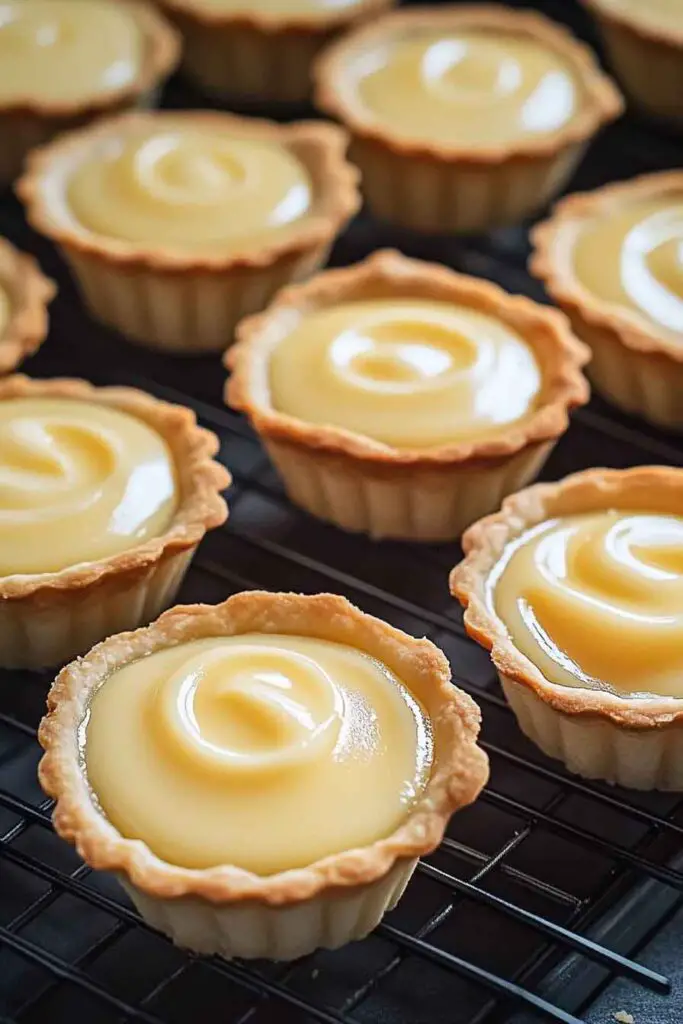
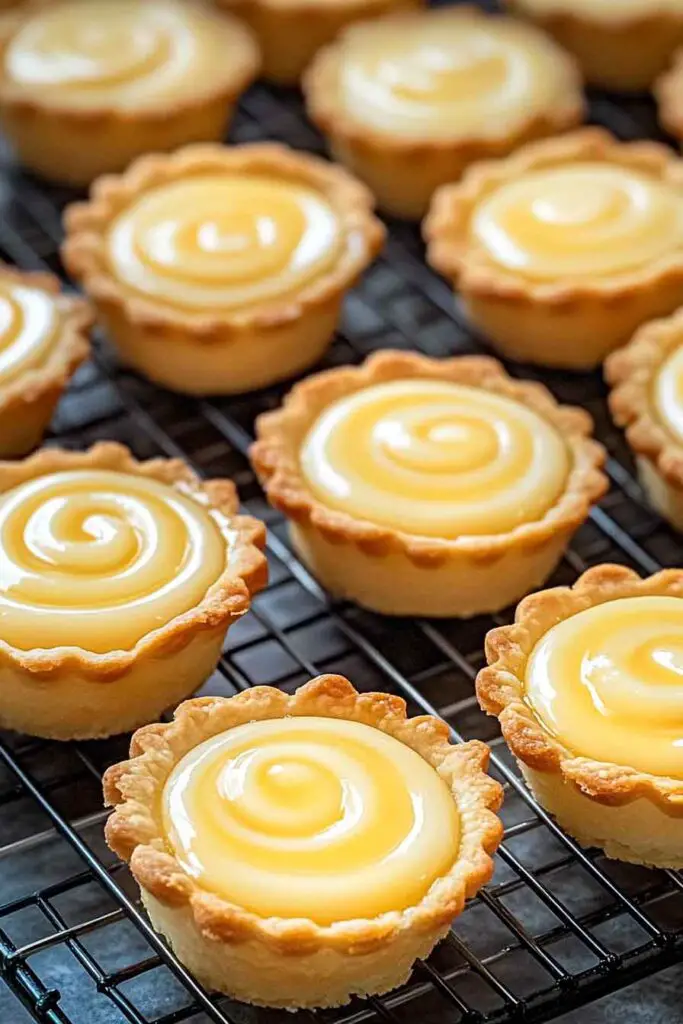
Irresistible Japanese Cheese Tarts
Okay, these Irresistible Japanese Cheese Tarts? They’re creamy, buttery, and have the perfect balance of sweet and tangy. With a golden crust and soft, cheesy filling—they melt in your mouth with every bite.
I made them for a weekend treat, and wow… they tasted just like the ones from the bakery. That warm, fluffy center? Total perfection.
They’re easier than they look—really. Just bake, chill (or eat warm!), and enjoy. Let’s make them together—you’re gonna be obsessed!

Why You’ll Love This Recipe
- Creamy, Tangy, and Balanced: The combination of cream cheese, mascarpone, and a touch of parmesan gives the filling depth—smooth, slightly tangy, and just the right amount of savory.
- Crisp and Buttery Shell: The tart crust is made from a classic pâte sucrée (sweet shortcrust) dough. It’s tender yet firm enough to hold the filling without becoming soggy.
- Customizable Texture: Enjoy them warm straight from the oven for a soft, flowing center—or chill them for a firmer, cheesecake-like texture. Either way, the flavor stays rich and luxurious.
- Make-Ahead Ready: Both the tart shells and the filling can be prepped in advance and assembled before baking. This is a great choice for entertaining or weekend baking projects.
- Elegant Presentation: These tarts bake into smooth, golden-topped rounds that look polished without needing extra decoration.
What You Need to Know Before You Start
Prep Time: 20 minutes (for dough, filling prep, and assembly)
Cook Time: 35–40 minutes (blind baking the shell + final bake)
Cooling Time: At least 30 minutes to allow the filling to set
Total Time: 1 hour 30 minutes, depending on resting and chilling
Servings: Makes 8 to 10 individual 3-inch tarts (or use a standard muffin tin)
Difficulty: Moderate – This recipe uses accessible techniques like blind baking and stove-top filling preparation. Patience and precision are key for the best results.
Required Kitchen Tools
To make this recipe smooth and efficient, gather these kitchen essentials:
- Tartlet pans or muffin tin (with removable bottoms for easier release)
- Mixing bowls – at least two, preferably one heatproof
- Stand mixer or electric hand mixer – for smooth blending of cheese
- Rolling pin – to roll out the tart dough evenly
- Saucepan – for gently cooking the cheese filling
- Rubber spatula – for stirring and folding without overmixing
- Fine mesh strainer – optional, for an extra-silky filling
- Pastry brush – to apply egg wash or butter if needed
- Measuring cups and spoons – accuracy matters, especially for the filling
Ingredients for the Tart Shell
The tart base uses a classic sweet shortcrust dough that holds shape when baked and offers a delicate crunch. Here’s what you’ll need:
- 1 1/2 cups (190g) all-purpose flour – Spoon and level to measure accurately. This forms the base structure of the tart shell.
- 8 1/2 tablespoons (120g) unsalted butter, cold and cut into cubes – Keep it cold for a tender, flaky texture.
- 1/2 cup (60g) powdered sugar – Provides sweetness and a finer crumb than granulated sugar.
- 1 egg yolk – Adds richness and helps bind the dough.
- 1 tablespoon milk or water, as needed – Just enough to bring the dough together without overmixing.
Ingredients for the Cheese Filling
This filling is the star of the dessert: light yet rich, and deeply flavorful. The cheese blend gives it a nuanced, layered flavor that is slightly sweet with a gentle tang.
- 1 cup (225g) cream cheese, softened – Use full-fat for best results. Bring to room temperature so it blends smoothly.
- 1/3 cup (75g) mascarpone cheese – Adds a light, creamy texture and mild sweetness.
- 1/3 cup (75g) grated parmesan cheese – Use finely grated; this contributes a subtle savory edge that enhances the overall flavor.
- 2/3 cup (160ml) heavy whipping cream – Makes the filling velvety and light.
- 1/4 cup (50g) granulated sugar – Balances the tang of the cheeses with just enough sweetness.
- 1 tablespoon cornstarch – Helps thicken the filling and maintain a smooth texture.
- 2 egg yolks – These enrich the custard and help it set.
- 1/2 teaspoon vanilla extract – Adds warmth and complexity to the flavor profile.
- 1/2 teaspoon lemon juice – Optional but recommended; brightens the filling and cuts through the richness.
Variations for Japanese Cheese Tarts
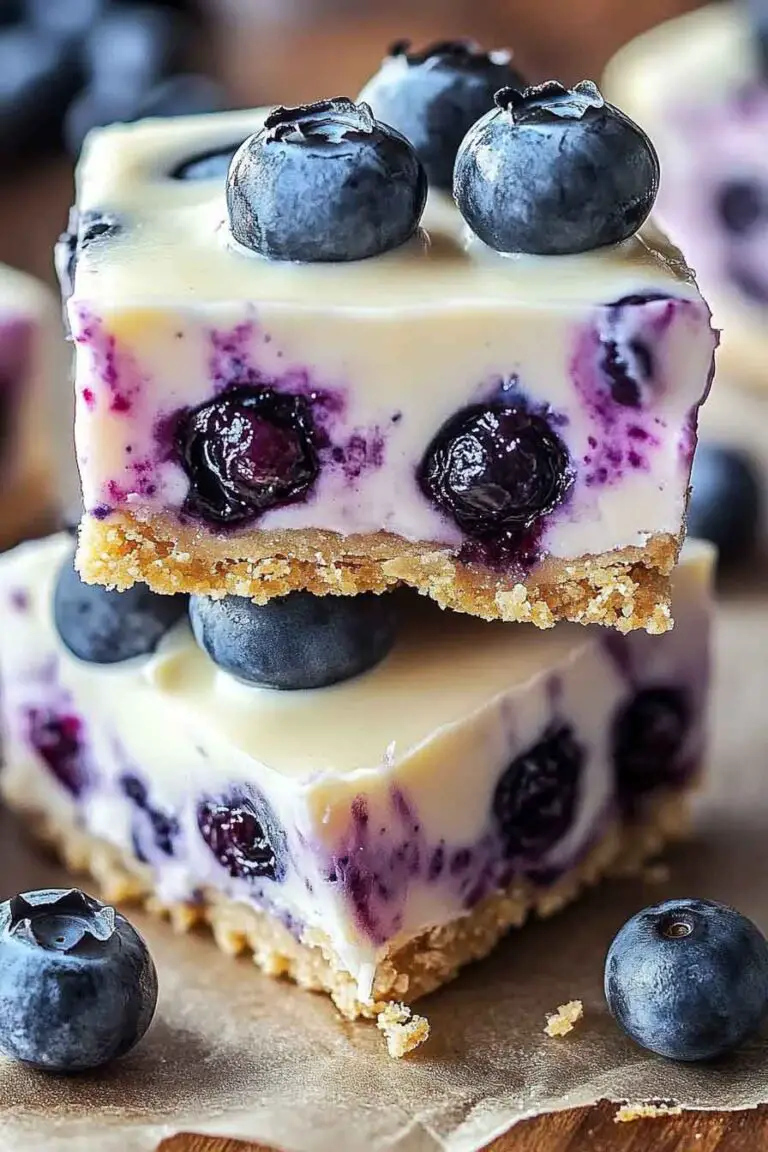
- Add a Fruit Swirl: Before baking, add a small spoonful of raspberry or blueberry jam in the center of the filling and swirl it with a toothpick. It adds a pop of flavor and color.
- Matcha Flavor: Mix 1 teaspoon of matcha powder into the filling for a subtly earthy and bitter contrast to the creamy base.
- Honey Glaze: Brush a thin layer of honey over the tarts once they’re cooled for a shiny finish and mild floral sweetness.
- Crust Alternatives: Use crushed digestive biscuits or graham crackers with melted butter to create a no-roll crust if you’re short on time.
- Mini Tart Bites: Make 2-inch mini versions in a mini muffin tin for bite-sized treats—great for parties or kids.
How to Make Japanese Cheese Tarts: Step-by-Step Instructions
Step 1: Make the Tart Shell Dough
- Combine Dry Ingredients: In a large mixing bowl, whisk together the flour and powdered sugar.
- Cut in the Butter: Add the cold cubed butter. Use a pastry cutter or your fingers to rub the butter into the flour until the mixture resembles fine breadcrumbs.
- Add Egg Yolk and Milk: Mix in the egg yolk. If the dough feels too dry, add the milk or water, 1 teaspoon at a time, until the dough just comes together.
- Shape and Chill: Form the dough into a flat disc, wrap it in plastic wrap, and refrigerate for at least 30 minutes. This helps the dough firm up and makes it easier to roll.
Step 2: Roll and Blind-Bake the Tart Shells
- Preheat the Oven: Set your oven to 350°F (175°C).
- Roll the Dough: On a lightly floured surface, roll out the chilled dough to about 1/8-inch thickness.
- Cut and Fit into Pans: Cut rounds to fit your tart pans or muffin cups. Gently press the dough into the bottoms and sides, trimming excess.
- Dock and Chill: Prick the bottom of each tart shell with a fork and chill for 10 minutes to prevent shrinkage during baking.
- Blind Bake: Line each shell with parchment and fill with pie weights or dried beans. Bake for 10–12 minutes, then remove weights and parchment. Bake for another 5–7 minutes until lightly golden.
Step 3: Prepare the Cheese Filling
- Heat the Cream: In a small saucepan over medium-low heat, warm the heavy cream until just steaming—not boiling.
- Mix the Cheeses: In a separate bowl, beat cream cheese, mascarpone, and grated parmesan until smooth. Add sugar, cornstarch, and egg yolks, and mix until fully incorporated.
- Combine and Thicken: Gradually pour the warm cream into the cheese mixture, stirring constantly. Return the entire mixture to the saucepan and cook over low heat, stirring until thickened and smooth (about 3–5 minutes). It should coat the back of a spoon.
- Add Flavor: Off the heat, stir in vanilla extract and lemon juice (if using). Let the filling cool slightly before assembling.
Step 4: Fill and Bake the Tarts
- Spoon in the Filling: Carefully spoon or pipe the cheese filling into each tart shell, smoothing the tops.
- Bake Again: Bake at 350°F (175°C) for 10–12 minutes. The tops should be lightly puffed and just beginning to color.
- Cool and Serve: Allow the tarts to cool at room temperature for 20–30 minutes. Serve warm for a molten center, or chill for a firmer, custard-like bite.
Serving and Decoration
How to Serve Japanese Cheese Tarts
These tarts are incredibly versatile in how they can be enjoyed. Here are a few serving suggestions:
- Warm and Gooey: Serve fresh out of the oven after a short rest. The centers will be soft and creamy—almost lava-like.
- Chilled and Firm: Let the tarts cool completely and refrigerate for a few hours. This version resembles a light cheesecake, firm enough to slice cleanly.
- With Fresh Fruit: Pair with sliced strawberries, kiwi, or blueberries for added freshness.
- Lightly Dusted: Dust the tops with powdered sugar just before serving for a touch of elegance.
- With Tea or Coffee: These make a perfect match for green tea, Earl Grey, or a lightly brewed coffee.
Storing Japanese Cheese Tarts
How to Store:
- Room Temperature: Keep the tarts at room temperature for up to 6 hours if serving the same day.
- Refrigerator: Store in an airtight container for up to 3 days. The filling will firm up, but the flavor remains delicious.
- Freezer: Freeze baked tarts in a single layer. Once solid, transfer to a freezer-safe bag or container. Reheat in the oven from frozen at 300°F (150°C) for 8–10 minutes.
Reheating:
- To bring back the freshly baked texture, reheat chilled or frozen tarts in a preheated oven at 300°F (150°C) until just warmed through. Avoid microwaving, as it may alter the texture of the crust.
Tips and Tricks for Success
- Use Room Temperature Ingredients: Allow your cream cheese, mascarpone, and eggs to come to room temperature before mixing. This ensures a smooth, lump-free filling.
- Don’t Overbake: The filling should be just set with a slight wobble in the center. Overbaking can make the filling grainy.
- Strain for Smoothness: For an ultra-smooth filling, strain the cheese mixture before spooning it into the tart shells.
- Weigh Your Ingredients: For consistent results, especially with the crust, use a kitchen scale for precise measurements.
- Make in Advance: The tart shells can be baked and stored in an airtight container a day ahead. The filling can also be prepared in advance and kept refrigerated until ready to use.
Nutrition
Below is the approximate nutrition breakdown for 1 tart (based on a recipe that makes 10 tarts):
| Nutrient | Amount |
|---|---|
| Calories | 285 kcal |
| Total Fat | 21g |
| Saturated Fat | 12g |
| Cholesterol | 90mg |
| Sodium | 160mg |
| Carbohydrates | 18g |
| Sugar | 8g |
| Protein | 5g |
| Calcium | 90mg |
Note: Nutritional values may vary depending on exact ingredients used and tart size.
Irresistible Japanese Cheese Tarts
Course: Breakfast u0026amp; Brunch10
tarts20
minutes30
minutes285
kcal30
miniutesIngredients
For the Tart Shells:
1 1/2 cups (190g) all-purpose flour
8 1/2 tbsp (120g) cold unsalted butter, cubed
1/2 cup (60g) powdered sugar
1 egg yolk
1 tbsp milk or waterFor the Cheese Filling:
1 cup (225g) cream cheese, softened
1/3 cup (75g) mascarpone cheese
1/3 cup (75g) finely grated parmesan cheese
2/3 cup (160ml) heavy cream
1/4 cup (50g) granulated sugar
1 tbsp cornstarch
2 egg yolks
1/2 tsp vanilla extract
1/2 tsp lemon juice (optional)
Directions
- Make the Tart Dough:
Whisk flour and powdered sugar. Rub in butter until crumbly. Mix in egg yolk and a bit of milk until dough just comes together. Shape into a disc, wrap, and chill for 30 minutes. - Form and Bake Tart Shells:
Roll dough to 1/8 inch. Cut into rounds and press into tart pans or muffin tins. Dock the bottom with a fork and chill again. Blind bake at 350°F (175°C) for 10–12 minutes with weights, then another 5–7 minutes without until golden. Let cool. - Make the Filling:
Warm cream in a saucepan. In a bowl, beat cheeses with sugar, yolks, and cornstarch. Slowly mix in warm cream. Return mixture to saucepan and cook until thickened, stirring constantly. Remove from heat, stir in vanilla and lemon juice. Cool slightly. - Assemble and Bake:
Spoon filling into cooled tart shells. Bake at 350°F (175°C) for 10–12 minutes until slightly puffed. Cool for 20–30 minutes. Serve warm or chilled.
Japanese Cheese Tarts FAQs
Q: Can I use only cream cheese?
Yes, though mascarpone adds smoothness and parmesan deepens the flavor. Using just cream cheese will still give good results.
Q: Why did my filling crack?
Cracking can happen from overbaking or cooling too quickly. Bake just until set and let the tarts cool slowly at room temperature.
Q: Can I make these in one large tart pan?
Yes. Use a 9-inch tart pan and bake the filled tart slightly longer—check for doneness at 15 minutes after adding the filling.
Q: Can I make them ahead?
Absolutely. Bake and chill the tarts up to 3 days in advance. Reheat briefly in a 300°F (150°C) oven if you prefer them warm.
Conclusion
These Irresistible Japanese Cheese Tarts blend the best of sweet and savory into a compact, creamy treat. From the buttery crust to the smooth, slightly tangy filling, every bite delivers a bakery-level experience right from your own oven. Whether you enjoy them warm or chilled, these tarts are sure to impress guests—or make a quiet evening at home feel just a bit more special.