Easy Hanami Dango (Traditional Japanese Rice Dumplings)
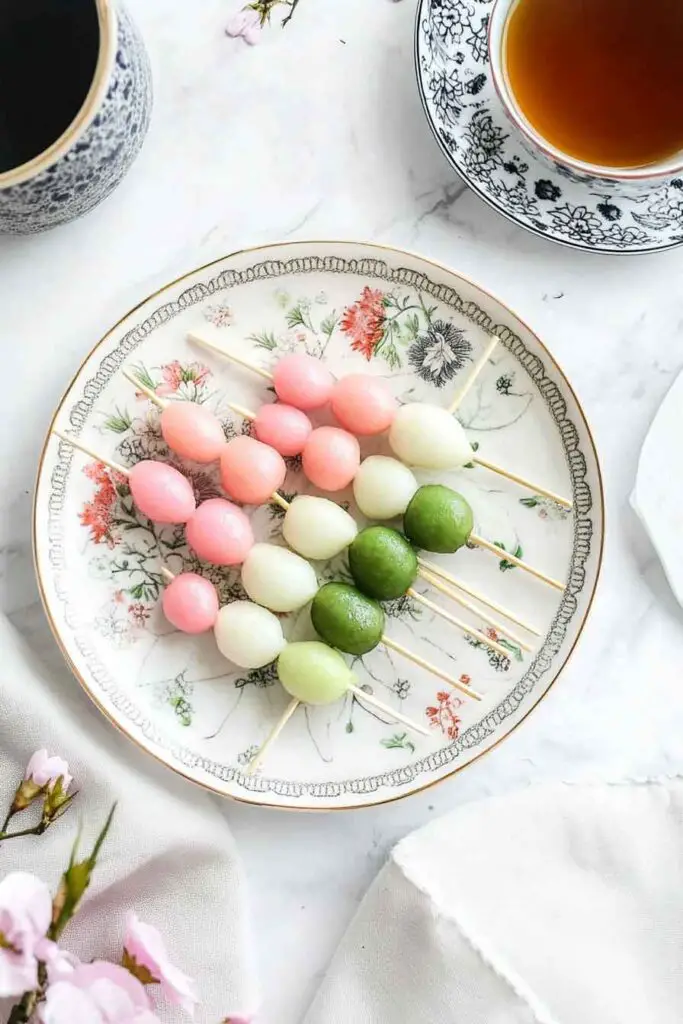
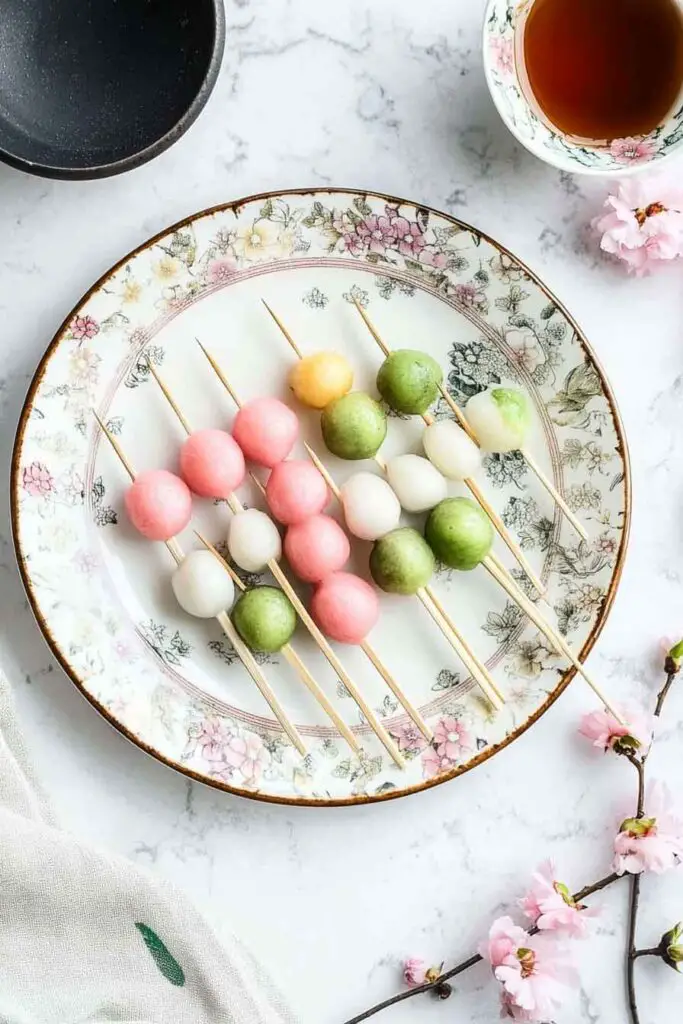
Alright, this Easy Hanami Dango Recipe? It’s soft, chewy, and full of sweet, simple flavor. Those pretty pink, white, and green rice dumplings on a stick? Total springtime vibes.
I made them for the first time during cherry blossom season, and they were so fun to shape and eat. That light sweetness and chewy texture? Just right.
No complicated steps here—just mix, roll, and steam. Let’s make them together—you’re gonna love how cute (and tasty) they turn out!

Why You’ll Love This Recipe
- Simple, Accessible Ingredients: No hard-to-find items — just glutinous rice flour, sugar, and soft tofu.
- Fun to Make: Shaping and coloring the dough is hands-on and perfect for kids or casual get-togethers.
- Soft Yet Chewy Texture: The combination of rice flour and tofu creates a perfectly tender bite — not too dense, not too sticky.
- Culturally Rooted, Naturally Gluten-Free: An authentic nod to Japanese tradition, yet suitable for modern diets.
- Beautiful on the Plate: Their pastel hues and clean presentation make these dumplings ideal for dessert platters or festive occasions.
What You Need to Know Before You Start
Prep Time: 15 minutes
Cook Time: 10 minutes
Total Time: 25–30 minutes
Servings:
Makes 6 skewers — each with 3 dango balls, enough for 3 to 4 people as a light dessert.
Skill Level:
Very beginner-friendly. No special techniques or cooking experience needed. If you can roll playdough into little balls, you can make Hanami Dango.
Required Kitchen Tools
To make this recipe, you’ll need just a few basic tools:
- 3 small mixing bowls: One for each color of dough.
- Spoon or spatula: To stir and mix the dough.
- Kitchen scale or measuring cups: Accurate measurements are important for rice flour.
- Small saucepan: For boiling the dango.
- Slotted spoon or mesh strainer: For safely removing the dumplings from boiling water.
- Bamboo skewers (5–6 inches): For threading the dumplings into traditional trios.
- Cornstarch or potato starch (optional): For dusting, which prevents sticking and adds a subtle dry finish.
- Gloves (optional): Helpful when handling food coloring or powders.
Ingredients for Hanami Dango
Here’s everything you’ll need to prepare these chewy, colorful rice dumplings:
- 3/4 cup (90g) glutinous rice flour – Also labeled as “sweet rice flour,” such as mochiko or shiratamako. This gives the dango its signature chewy texture. Do not substitute with regular rice flour — it won’t work.
- 1/2 block (100g) silken soft tofu – Silky tofu helps bind the dough and gives the dumplings a tender bite. Drain excess water, but no need to press it.
- 1/4 cup (50g) white sugar – Provides mild sweetness.
- 1/4 tsp matcha powder (for green dough) – Adds a light, grassy tea flavor and natural color. Optional, but traditional.
- 1/4 tsp strawberry powder (for pink dough) – Subtle berry flavor and gentle pink hue. You may also use a tiny drop of red food coloring as a substitute.
- Water (for boiling)
- Cornstarch or potato starch (for dusting) – Optional, to prevent sticking and give a clean, matte finish.
Variations for Hanami Dango
Want to switch things up a little? Here are a few easy, tested twists to personalize your dango:
- Color Naturally: Instead of matcha or strawberry powder, try using spirulina (green), beetroot (pink), or even butterfly pea flower (blue).
- Add a Hint of Flavor: Mix a drop of vanilla or almond extract into the dough for a sweet surprise.
- Use Food Coloring: For a more vibrant look, use gel food coloring — one drop goes a long way.
- Try a Skillet Finish: For added texture, lightly sear the boiled dango in a nonstick pan until slightly crisped and golden.
- Serve with Sauce: Drizzle with kuromitsu (Japanese brown sugar syrup) or mitarashi glaze (sweet soy sauce glaze) for extra depth.
How to Make Hanami Dango – Step-by-Step Instructions
Step 1: Make the Dough Base
In a medium mixing bowl, combine glutinous rice flour, sugar, and silken tofu. Use a spoon or spatula to gently mix, then switch to your hands to knead until a smooth, soft dough forms.
- The texture should feel soft and pliable, like playdough. If it’s dry or crumbly, add a small spoonful of water and knead again.
- If the dough sticks to your fingers, sprinkle in a bit more rice flour.
Divide the dough evenly into three parts and place each in its own small bowl.
Step 2: Add Color to Each Portion
- To the first bowl, add matcha powder. Knead it into the dough until the color is fully combined and even. The dough will turn a muted, earthy green.
- To the second bowl, add strawberry powder (or a tiny dot of red food coloring). Mix until you get a soft pink tone.
- Leave the third bowl plain — this will remain the traditional white.
If the dough becomes too dry while mixing in powder, moisten your fingers with a drop of water and knead briefly until smooth.
Step 3: Shape the Dango
Once your dough is evenly colored into pink, white, and green portions, it’s time to shape each one into small balls.
- Pinch off a small piece from each dough color, about the size of a cherry (roughly 1 inch or 12g per ball).
- Roll gently between your palms until smooth and round. Try to make all the balls about the same size so they cook evenly and look uniform on the skewer.
- You should end up with 6 balls of each color, for a total of 18 balls.
Chef’s Tip:
If the dough dries out while rolling, lightly dampen your hands with water. If it becomes sticky, dust your palms with a touch of cornstarch or rice flour.
Step 4: Boil the Dango
Bring a small pot of water to a gentle boil. Add your dango balls a few at a time — don’t overcrowd the pot.
- Stir gently right after adding them so they don’t stick to the bottom.
- Let the dumplings boil until they float to the surface, then continue cooking for another 1–2 minutes. The total boiling time is usually about 3–4 minutes.
This cooking process helps create that classic chewy-yet-tender dango texture.
Step 5: Cool the Dango
Once the dango are fully cooked:
- Use a slotted spoon or mesh strainer to lift them from the boiling water.
- Transfer immediately to a bowl of cold or ice water to stop the cooking and help firm them up.
Let them sit for 1–2 minutes, then remove and place on a clean kitchen towel or paper towel to drain. You can dust lightly with potato starch or cornstarch if you like a matte finish and want to prevent sticking.
Step 6: Assemble the Skewers
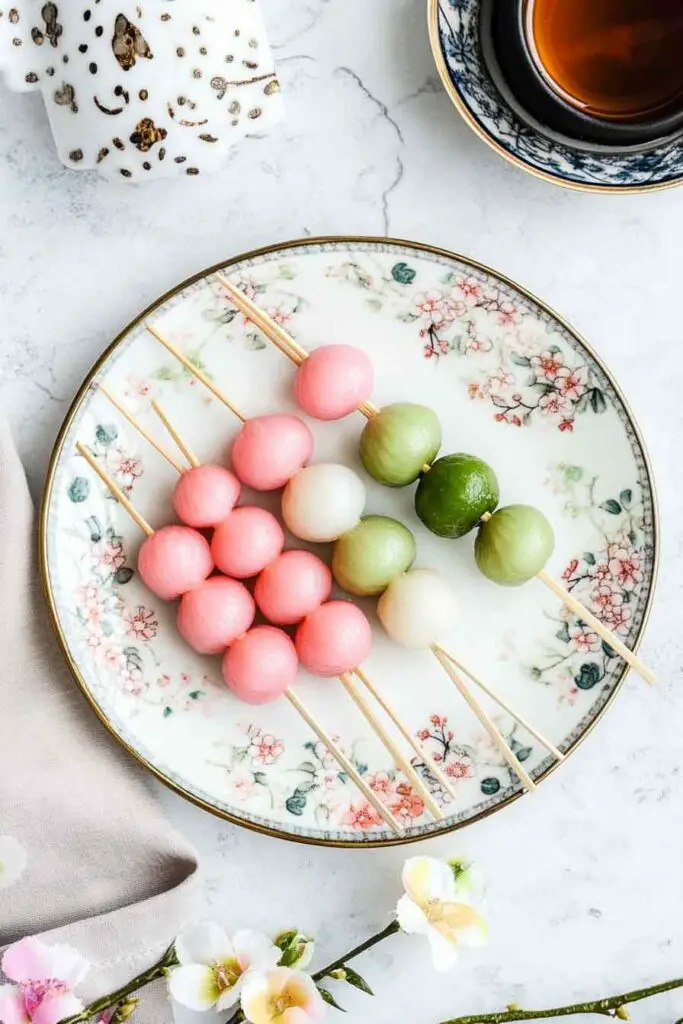
Traditionally, Hanami Dango are served on bamboo skewers in a specific color order:
Pink (top) → White (middle) → Green (bottom)
Thread one of each color onto a skewer, gently pressing them close together but not squishing. Repeat with the remaining dango balls to make 6 skewers total.
Serving and Decoration
Hanami Dango are typically served as-is, slightly chilled or at room temperature. You don’t need sauces or toppings — their soft texture and subtle sweetness speak for themselves. But if you’d like to elevate your presentation:
- Place on a minimalist white plate or a traditional wooden tray for that Japanese tea house feel.
- Serve with green tea (matcha or genmaicha) for a classic pairing.
- Wrap in wax paper or store in bento boxes for cherry blossom picnic-style charm.
Storing Hanami Dango
Hanami Dango are best enjoyed fresh on the same day, but if you need to store leftovers:
- Room Temperature: Keep covered with plastic wrap for up to 6 hours if not refrigerated.
- Refrigerator: Store in an airtight container for up to 2 days. Note: Refrigeration can make the texture firmer and slightly drier.
- Reheating: To revive dango, steam gently for a few minutes or microwave with a damp paper towel for 10–15 seconds.
- Freezing (Not Recommended): These dumplings don’t freeze well — the texture becomes tough and grainy.
Tips and Tricks for Success
- Use the Right Flour: Only use glutinous rice flour (mochiko or shiratamako). Regular rice flour will not work — it lacks the elasticity needed.
- Don’t Overcook: Once the dumplings float and cook for 1–2 more minutes, they’re done. Overcooking can make them gummy.
- Even Size = Even Cooking: Try to make each ball the same size for visual appeal and consistent texture.
- Add Moisture Gradually: If your dough feels dry, add water a teaspoon at a time. Too much water makes sticky, unworkable dough.
- Color with Care: If using food coloring instead of natural powders, start with a toothpick dab — a little goes a long way.
Nutrition
Here’s a general nutritional estimate for 1 skewer (3 pieces) of plain Hanami Dango:
| Nutrient | Amount (per skewer) |
|---|---|
| Calories | 110 kcal |
| Carbohydrates | 23g |
| Sugar | 6g |
| Protein | 2g |
| Fat | 1g |
| Saturated Fat | 0g |
| Fiber | <1g |
| Gluten-Free | Yes |
Note: Values may vary depending on ingredients used and portion size.
Easy Hanami Dango (Traditional Japanese Rice Dumplings)
Course: Easy Homemade Desserts15
minutes10
minutes110
kcalIngredients
3/4 cup (90g) glutinous rice flour (mochiko or shiratamako)
1/2 block (100g) silken soft tofu, drained
1/4 cup (50g) white sugar
1/4 tsp matcha powder (optional)
1/4 tsp strawberry powder (or a drop of red food coloring)
Water (for boiling)
Cornstarch or potato starch (for dusting, optional)
5–6 bamboo skewers
Directions
- Make the Dough:
In a bowl, mix rice flour, sugar, and tofu. Knead until a smooth, soft dough forms. Divide into three equal parts. - Color the Dough:
Add matcha powder to one part for green.
Add strawberry powder or food coloring to another for pink.
Leave the third part white. - Shape into Balls:
Roll each portion into 6 equal balls (18 total), about 1 inch wide. - Boil:
Bring a pot of water to a boil. Add balls in batches. Stir gently. Once they float, cook 1–2 minutes more. - Cool in Ice Water:
Transfer to cold water for 1–2 minutes. Drain and dry on a towel. Dust lightly with starch, if using. - Assemble Skewers:
Thread one pink, one white, and one green ball onto each skewer. Serve at room temperature or slightly chilled.
Hanami Dango FAQs
Q: Can I make Hanami Dango without tofu?
Yes. While silken tofu helps create a softer texture, you can replace it with water or plant-based milk. Add the liquid gradually and knead until a dough forms. The result will be a bit chewier and less tender.
Q: What’s the difference between Hanami Dango and Mitarashi Dango?
Hanami Dango is served plain and colored for spring, while Mitarashi Dango is grilled and coated in a sweet soy glaze. Both use glutinous rice flour but are enjoyed differently.
Q: Is glutinous rice flour the same as rice flour?
No — glutinous rice flour (sweet rice flour) is sticky and elastic when cooked. Regular rice flour doesn’t have that chewiness and won’t work for dango.
Q: Can I serve Hanami Dango with toppings?
Yes. While traditionally served plain, you can add anko (sweet red bean paste), a light sugar syrup, or even shredded coconut if desired. Just keep it minimal to preserve the dish’s gentle flavors.
Q: Do I need to grease the skewers?
Not usually. If your dango are very sticky, lightly dusting them with starch or brushing the skewers with a bit of neutral oil can help with sliding them on easily.
Conclusion
Hanami Dango is more than just a dessert — it’s a celebration of color, season, and texture. Whether you’re honoring the tradition of cherry blossom viewing or simply exploring Japanese sweets, this recipe brings a gentle, satisfying treat to your table.
With minimal ingredients and a playful process, Hanami Dango is perfect for kids, families, or anyone looking for a light gluten-free dessert. Its soft, chewy texture and delicate appearance make it a quiet favorite in the world of traditional sweets — no elaborate toppings or fuss required.
Try it once, and you may find it becoming a part of your seasonal or weekend kitchen routine.