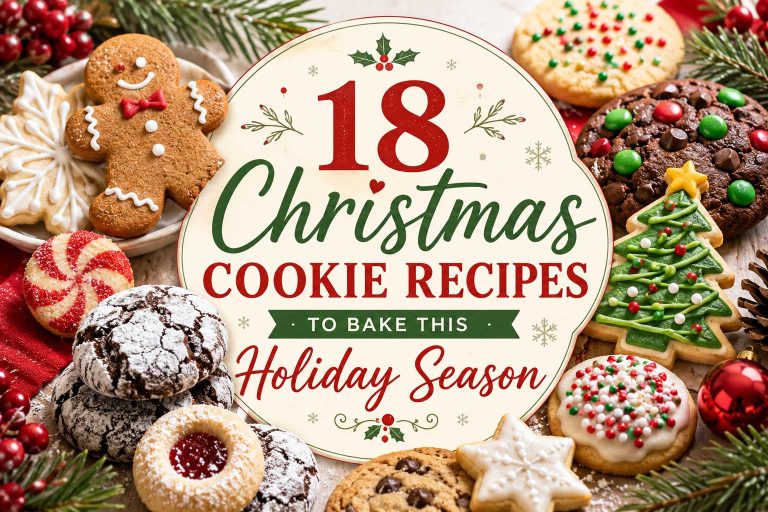
Christmas Cookie Box Packing Guide: Layout, Liners and Labels
Christmas cookie packaging works best when the box is planned around the cookies you actually baked. Shape, height, loose sugar, exposed jam, and storage needs all affect the arrangement. A simple rigid box with the right inner liners can be more useful than elaborate wrapping that crushes the finish.
This guide walks through choosing the assortment, measuring, lining, arranging, labeling, and transporting local cookie gifts. The cookie examples below link to their original recipes from Dessert Hungry and Sally’s Baking. They illustrate different packing needs rather than a claim that every variety shares one storage or shipping rule.
1. Choose the cookies before buying the box
Start with three or four cookie recipes that suit the recipient and the delivery plan. Check whether they need refrigeration, whether the topping sets firmly, and whether strong flavors could transfer to neighboring cookies. A frosted cream cheese cookie and a plain shortbread do not automatically belong under the same storage label.
For local gifts, choose a small selection you can bake, cool, pack, and hand over in good condition. This guide does not establish which recipes are stable for postal delivery. Use a recipe and delivery method specifically suited to shipping if the box will travel for days.
2. Gather food-safe packing materials
- A clean, rigid box or tin with enough clearance above the finished cookies.
- Food-safe parchment, liners, baking cups, or bags for the surfaces that touch food.
- Dividers or separate inner bags for delicate, strongly flavored, or loose-coated cookies.
- Labels or a note card for cookie names, ingredient information, preparation date, and recipe-specific storage.
- Decorative ribbon or tissue for the outside or another non-food-contact layer unless the material is suitable for touching food.
3. Measure a cooled cookie, not a dough ball
Bake a batch before committing to the box layout. Measure the width and height of the finished cookies, including icing, jam, or a chocolate center. A shallow box that fits plain rounds may press against a taller decorated cookie when the lid closes.
Use a clean paper template or an empty liner to test the arrangement before putting the gift together. Leave enough room to lift each type out without breaking neighboring edges. The actual cookies decide the box size; there is no universal box dimension that fits every recipe.
4. Cool and finish before assembly
Let baked cookies cool completely, then let any glaze, icing, dip, or filling reach the stage described in the recipe. Closing a box over warm cookies can trap moisture. Pressing liners into a still-soft chocolate coating can damage the finish before the gift reaches the recipient.
Keep the finished varieties separate while waiting to assemble. That makes it easier to protect loose powdered sugar, exposed jam, and fragile cutouts, and to follow the storage needs of each recipe rather than treating the whole assortment as one product.
5. Use compartments to protect the finish
Put sturdier cookies where they can support their own weight without pressing against delicate shapes. Keep jam centers and decorated tops facing upward when practical. Use separate bags or compartments for minty cookies and loose powdered coatings if you want to limit flavor or coating transfer.
Avoid filling every gap by pushing more cookies into it. A food-safe liner or a slightly smaller box is better than a lid forced down onto frosting. Pack the box so the cookies cannot slide freely, while leaving their edges and finishes uncrushed.
6. Count the finished pieces
For an illustrative four-variety box, three cookies of each type gives 12 finished cookies per box. Four such boxes require 48 finished cookies: 12 of each variety. This is an arrangement example, not a claim that a particular batch yield or box size has been tested for those cookies.
Count after baking and cooling, leaving the damaged or unusually large pieces out of the gift count. If you need spare cookies for breakage or tasting, plan them separately instead of promising every listed recipe yield will become a perfect finished gift.
7. Label and hand over with the right storage note
Add the cookie names, relevant ingredients or allergens from the products actually used, and the storage directions belonging to the recipes. Include the preparation date if helpful. A mixed home-baked box is not a guarantee against cross-contact, so avoid an unsupported allergen-free claim.
Keep the box level during transport and protect it from heat or crushing. If a selected cookie needs chilled storage, make that requirement part of the handoff plan. Do not replace those instructions with one guessed shelf-life statement for every cookie in the box.
Cookie examples for planning your compartments
1. Irish Butter Shortbread: Protect the Edges

Dessert Hungry’s butter shortbread gives an assortment a plain, shaped-cookie option. Use the actual cutter shape and finished thickness when planning the compartment. A compact round and a wide star can need very different amounts of space even when they come from the same dough.
Packing note: Cushion the shapes and keep heavier stacks from knocking against delicate edges. Follow the recipe’s cooling and storage method.
2. Raspberry Thumbprints: Keep the Centers Clear

Jam and glaze make Dessert Hungry’s raspberry thumbprints a useful example of a decorated top that needs protection. A shallow compartment can show the center while keeping it clear of another cookie. The arrangement should preserve the finish rather than hiding it under a heavy stack.
Packing note: Let the glaze set and keep exposed jam centers facing upward when practical. Use the recipe’s storage directions.
Get the Raspberry Thumbprints: Keep the Centers Clear recipe →
3. Gingerbread Cutouts: Allow for the Shape
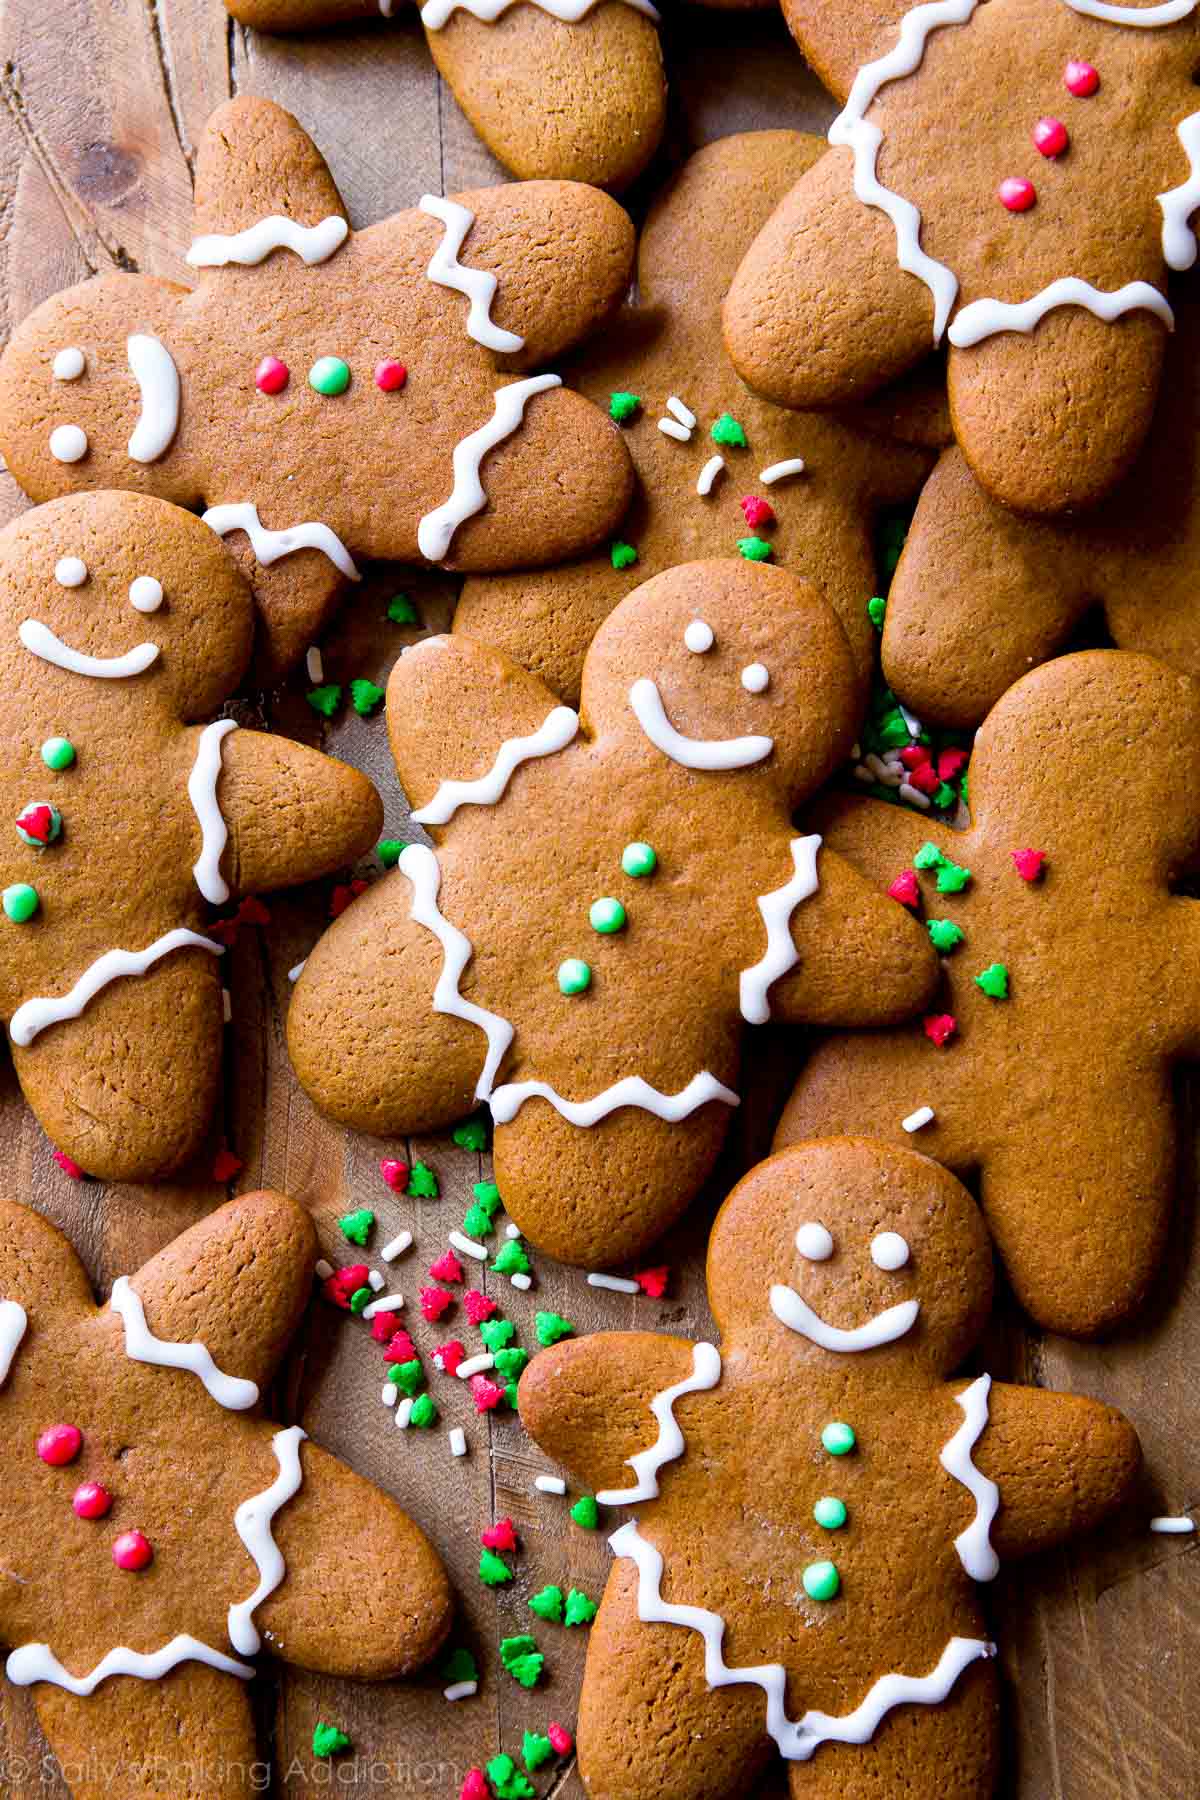
Sally’s Baking’s gingerbread cookie recipe is rolled and cut into shapes before decorating. Narrow arms, small details, and a layer of icing need space of their own. Choose a simple shape for a compact box if a more detailed cutter would be difficult to cushion.
Packing note: Cool and finish the cutouts as the source directs. Let the chosen icing reach its appropriate setting stage before packing.
4. Chocolate Crinkles: Separate Loose Coatings

Sally’s Baking’s chocolate crinkles have a powdered-sugar finish over a chocolate cookie. They illustrate why a liner or separate compartment can be useful in a mixed box. Keeping them apart helps stop loose sugar from covering glossy jam or dark chocolate decorations beside them.
Packing note: Use cups, bags, or another suitable inner division for the coating. Keep the cookie’s own storage guidance with the gift.
Get the Chocolate Crinkles: Separate Loose Coatings recipe →
Final check before closing the lid
- Cookies are fully cooled and finishes have reached the setting stage in their recipes.
- Every food-contact liner or bag is suitable for food.
- The lid closes without touching or crushing decorated tops.
- The cookies do not slide freely when the closed box is moved gently.
- Cookie names, relevant ingredient information, and actual storage notes accompany the gift.
- The handoff or delivery method matches the recipes chosen.
Keep the decoration outside the food-contact layer
A name tag, ribbon, or simple paper sleeve can finish the gift without touching the cookies. If you want a more detailed presentation, arrange the colors and shapes within the compartments first, then add the outer decoration after the box is closed.
A well-labeled, uncrushed assortment is the aim. You can use the existing Christmas gift-box recipe collection to choose more varieties, then return to the measuring and packing steps here for the actual cookies you bake.
Common questions
What size box should I buy?
Measure the finished cookies and test an arrangement first. Shape, thickness, and decoration affect capacity, so this guide does not give one universal box size.
Can all the cookies share one storage label?
Only if the individual recipes support the same conditions. Otherwise separate the varieties or provide the specific directions for each one.
Is this a tested guide for mailing cookies?
No. It is a practical local gift-box guide. Postal delivery needs recipes, packaging, and a delivery plan specifically suitable for that journey.
Can decorative tissue touch the cookies?
Use materials suitable for food contact. Keep ordinary decorative tissue outside the food-contact layer unless it is specifically intended for touching food.