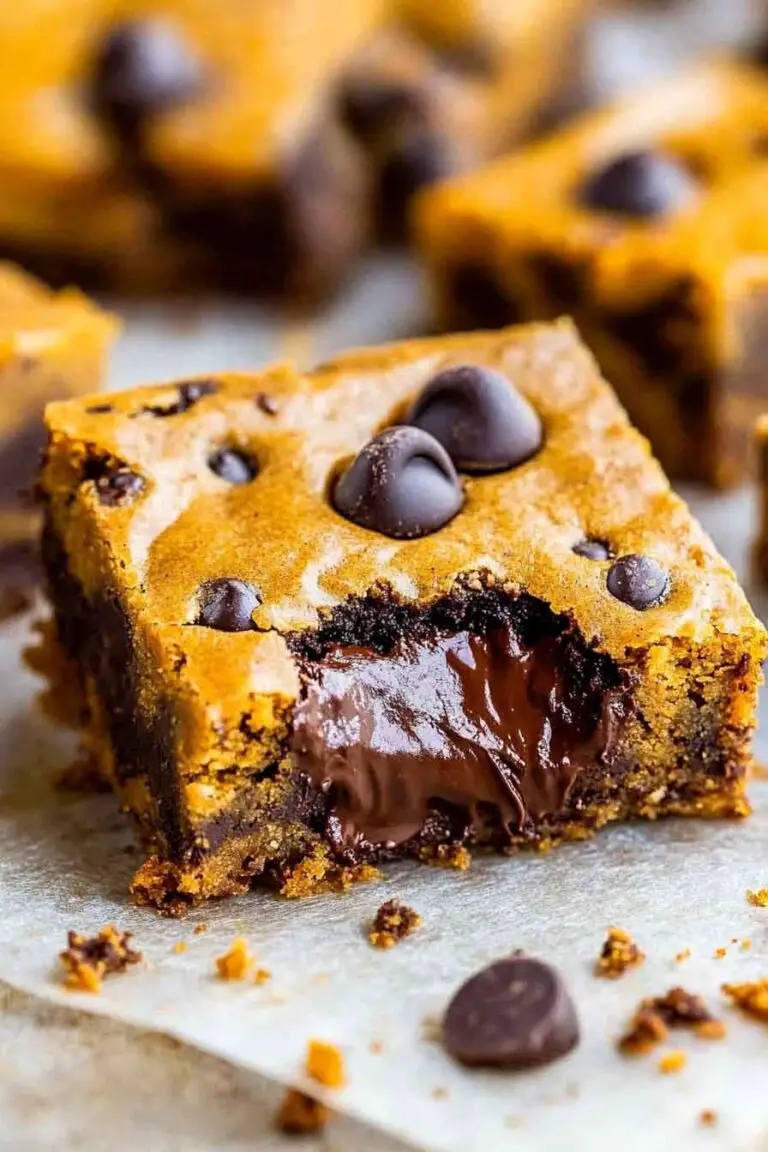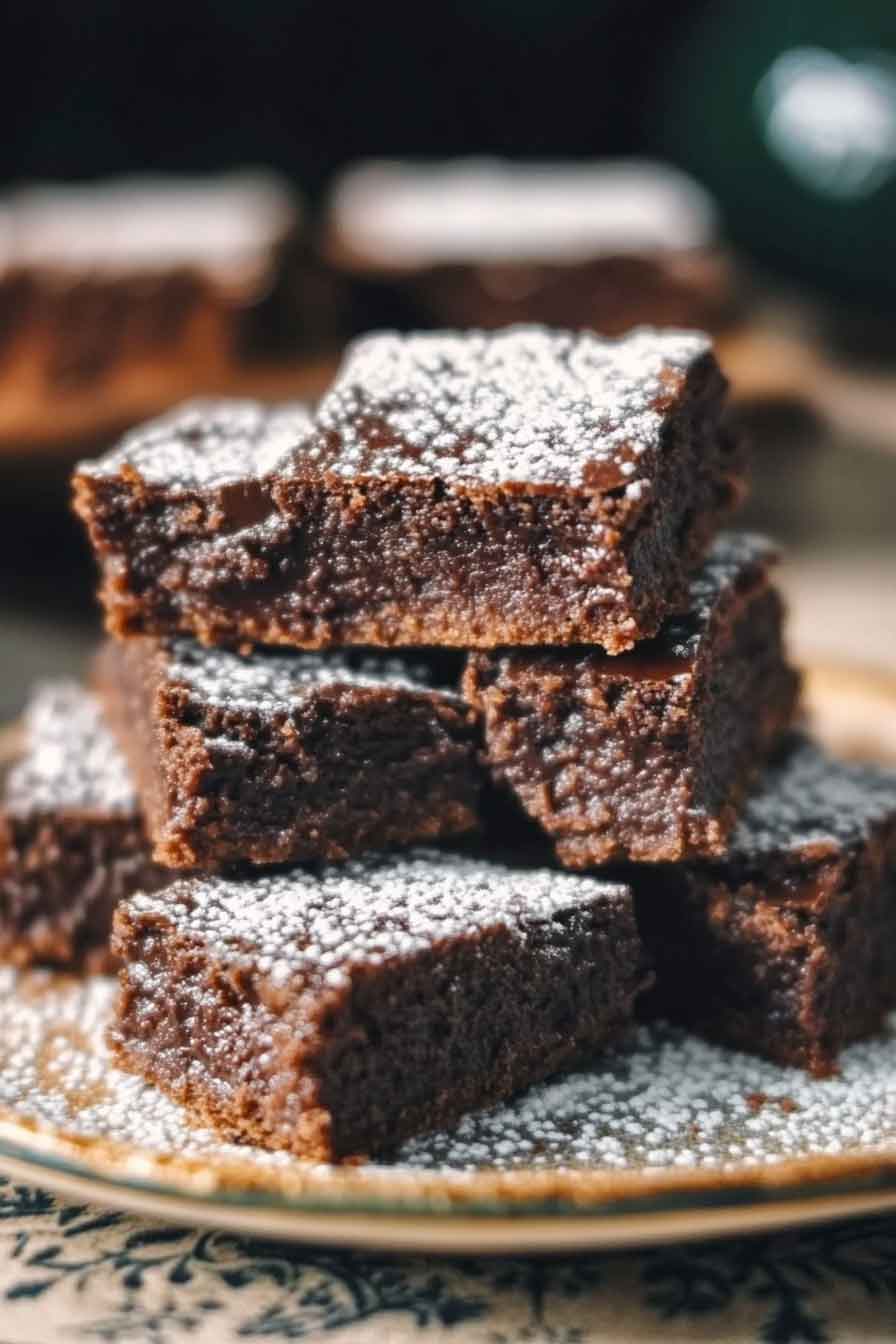
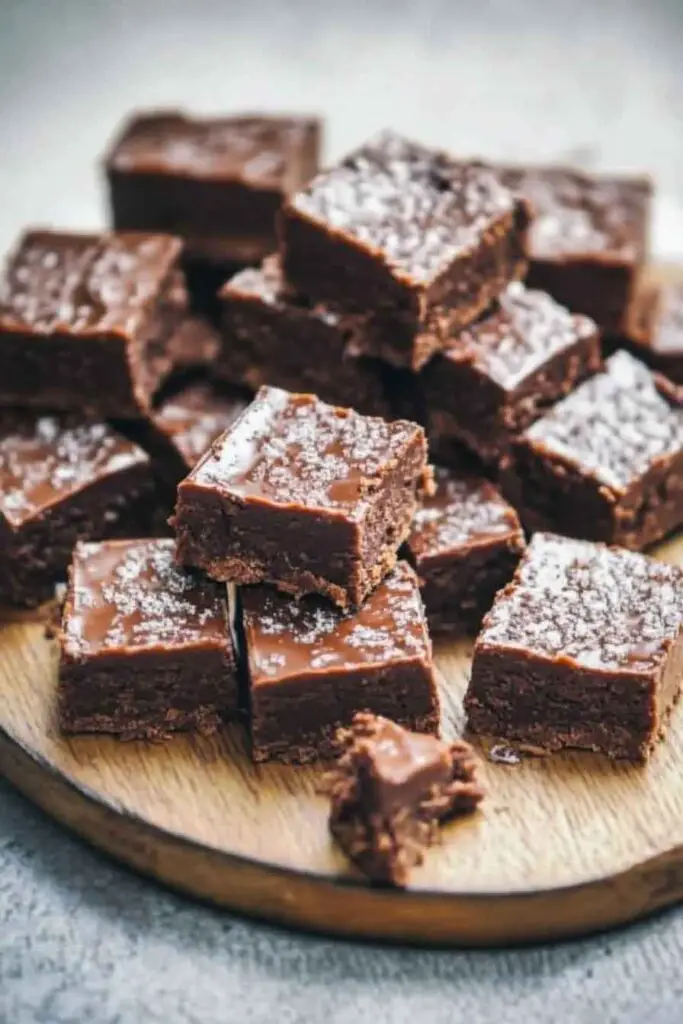
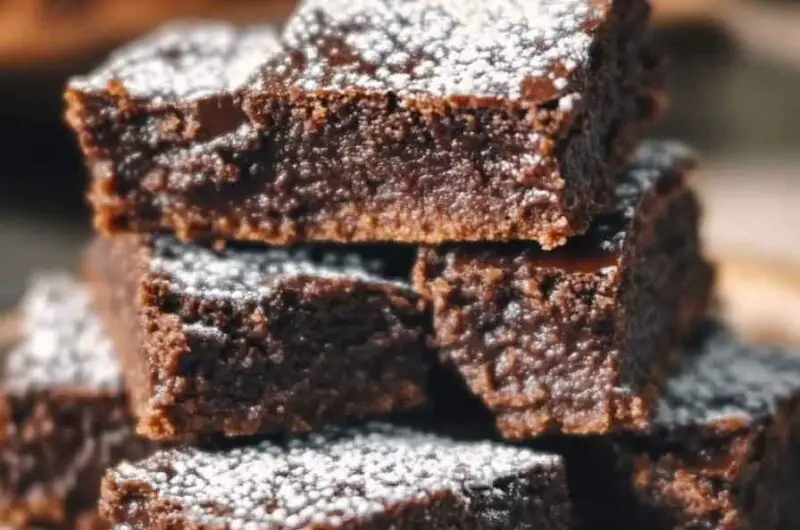
Chocolate Fudge Bars
I made these bars by accident one rainy afternoon. I had chocolate and butter and not much else. I mixed them together and hoped for the best. My kitchen smelled like a chocolate factory.
These bars are thick and fudgy and almost too rich to eat. Almost. The chocolate is so dense it melts on your tongue like velvet. One small piece satisfies your whole sweet craving. People always ask if I bought them from a bakery.
I started making them for holiday gifts because they’re fancy enough to wrap up and give away. But I always hide a few for myself. My husband knows the secret hiding spot now, so I have to make two batches. That’s when I know a recipe is a keeper.

They take fifteen minutes to make and taste like you spent all day in the kitchen. No fancy skills needed. Just chocolate, butter, sugar, and patience while they cool.
Let’s make some magic that tastes expensive but costs almost nothing.
Why You’ll Love This Recipe
- Reader Favorite: Simple ingredients create impressive results that taste homemade and authentic.
- Rich and Decadent: The combination of cocoa and chocolate icing creates an indulgent chocolate experience.
- Quick to Prepare: Minimal mixing and no complicated techniques required.
- Make-Ahead Friendly: These bars keep well and taste even better the next day as flavors develop.
- Perfect for Sharing: One batch yields enough for friends, family, or potlucks.
What You Need to Know Before You Start
Prep Time & Cook Time:
- Prep Time: 15 minutes
- Bake Time: 25-30 minutes
- Cooling Time: 30 minutes
- Total Time: About 1 hour 15 minutes
Servings: This recipe makes 16 to 20 bars, depending on how large you cut them.
Difficulty: Easy enough for beginners, with straightforward mixing and baking steps.
Required Kitchen Tools
- 9×13 inch baking pan
- Parchment paper or butter for greasing
- Mixing bowls (2 medium)
- Whisk or fork
- Wooden spoon or spatula
- Measuring cups and spoons
- Electric mixer (optional but helpful)
- Wire rack for cooling
Ingredients for Chocolate Fudge Bars
For the Base:
- 1 and 1/2 cups (188g) all-purpose plain flour
- 1/2 cup (100g) granulated sugar
- 1/2 cup (113g) unsalted butter, softened
- 2 tablespoons unsweetened cocoa powder
- 1 teaspoon vanilla extract
- 1/4 teaspoon salt
- 1/2 cup (45g) shredded coconut (unsweetened or sweetened, your choice)
For the Chocolate Icing:
- 1/2 cup (100g) icing sugar, sifted
- 1/4 cup (25g) unsweetened cocoa powder
- 3 tablespoons unsalted butter, softened
- 2-3 tablespoons hot water
- 1 teaspoon vanilla extract
- 1/4 cup (22g) shredded coconut for topping
How to Make Chocolate Fudge Bars: Step-by-Step Instructions
1. Prepare Your Pan
Preheat your oven to 350°F (175°C). Line a 9×13 inch baking pan with parchment paper, allowing the edges to hang over the sides. This makes removal easier and cleanup simpler.
2. Mix the Base Layer
In a medium bowl, combine the flour, sugar, cocoa powder, and salt. In another bowl, cream together the softened butter and vanilla extract until well combined. Gradually add the dry ingredients to the butter mixture, stirring until the mixture resembles coarse breadcrumbs. Fold in the shredded coconut until evenly distributed.
3. Press Into Pan
Press the mixture firmly and evenly into the prepared baking pan, working from the center outward. Use the bottom of a measuring cup to create an even, compact layer. This base should be about 1/4 inch thick.
4. Bake the Base
Bake the base layer for 12-15 minutes until lightly set but not brown. Remove from the oven and allow to cool slightly while you prepare the icing.
5. Make the Chocolate Icing
While the base cools, sift the icing sugar and cocoa powder together into a bowl. Add the softened butter and vanilla extract. Gradually add the hot water, one tablespoon at a time, stirring until you reach a spreadable consistency. The icing should be thick but pourable.
6. Spread the Icing
Pour the warm chocolate icing over the cooled base layer, spreading it evenly with a spatula or the back of a spoon. Work quickly while the icing is warm for easier spreading. Sprinkle the shredded coconut over the top, pressing gently so it adheres to the icing.
7. Bake Again
Return the pan to the oven and bake for an additional 10-15 minutes until the icing is set but still has a slight fudgy texture. The bars should look glossy and slightly firm to the touch.
8. Cool Completely
Remove from the oven and allow the bars to cool in the pan for at least 30 minutes. For cleaner cuts, refrigerate for another 30 minutes. Using the parchment paper overhang, lift the entire block from the pan and place on a cutting board.
9. Cut and Serve
Using a sharp knife dipped in hot water and wiped clean between cuts, slice the bars into 16 to 20 pieces, depending on desired size.
Variations for Chocolate Fudge Bars
- Add Espresso: Mix 1 teaspoon instant espresso powder into the icing for deeper chocolate flavor.
- Use Toasted Coconut: Toast the coconut before adding for a richer, nuttier taste.
- Include Nuts: Sprinkle chopped walnuts or almonds over the icing before baking.
- Peppermint Twist: Add 1/2 teaspoon peppermint extract to the icing for a festive variation.
- Sea Salt Topping: Sprinkle a small amount of sea salt over the icing for sweet and salty contrast.
How to Serve Chocolate Fudge Bars
These versatile bars work well for many occasions. Serve them as an afternoon treat with coffee or tea, pack them in lunch boxes for a special surprise, or arrange them on a dessert platter at gatherings. They pair nicely with milk, hot chocolate, or a cold beverage. For elegant presentation, dust the top with cocoa powder or serve on small plates alongside fresh berries.
Storing Chocolate Fudge Bars
- Room Temperature: Keep bars in an airtight container at room temperature for up to 5 days. Layer parchment paper between bars to prevent sticking.
- Refrigerator: Store in an airtight container in the refrigerator for up to 1 week. These bars often taste better when slightly chilled.
- Freezer: Wrap individual bars in plastic wrap and place in a freezer bag for up to 3 months. Thaw at room temperature for 30 minutes before serving.
Tips and Tricks for Success
Press the base layer firmly into the pan to create a solid foundation that won’t crumble. Don’t skip this step, as a compact base prevents the bars from falling apart. Use softened butter at room temperature for smoother mixing and better texture. Cold butter requires more mixing and can result in uneven distribution. Add hot water to the icing gradually, one tablespoon at a time. Too much liquid creates runny icing that slides off the bars. The icing should coat the back of a spoon but still drip slightly when poured. For the cleanest cuts, use a sharp knife and dip it in hot water, wiping it clean between each cut. This prevents the icing from sticking to the blade. Don’t overbake the bars. They should look slightly underdone when you remove them from the oven, as residual heat continues cooking them while they cool. This creates the fudgy, chewy texture these bars are known for.
Nutrition Information
| Per Serving | Amount |
|---|---|
| Calories | 145 |
| Total Fat | 8g |
| Saturated Fat | 5g |
| Cholesterol | 15mg |
| Sodium | 95mg |
| Total Carbohydrates | 18g |
| Dietary Fiber | 1g |
| Sugars | 12g |
| Protein | 1g |
Nutritional values are approximate and based on 18 servings per batch.
Chocolate Fudge Bars
Course: Easy Homemade Desserts16-20
servings15
minutes25
minutes145
kcalIngredients
- Base Layer:
1 and 1/2 cups (188g) all-purpose plain flour
1/2 cup (100g) granulated sugar
1/2 cup (113g) unsalted butter, softened
2 tablespoons unsweetened cocoa powder
1 teaspoon vanilla extract
1/4 teaspoon salt
1/2 cup (45g) shredded coconut
- Chocolate Icing:
1/2 cup (100g) icing sugar, sifted
1/4 cup (25g) unsweetened cocoa powder
3 tablespoons unsalted butter, softened
2-3 tablespoons hot water
1 teaspoon vanilla extract
1/4 cup (22g) shredded coconut for topping
Directions
- Preheat oven to 350°F (175°C). Line a 9×13 inch baking pan with parchment paper.
- In a medium bowl, whisk together flour, sugar, cocoa powder, and salt. In another bowl, cream butter and vanilla until combined.
- Gradually add dry ingredients to butter mixture, stirring until breadcrumb texture forms. Fold in coconut.
- Press mixture firmly and evenly into the prepared pan.
- Bake for 12-15 minutes until lightly set. Remove and cool slightly.
- While base cools, sift icing sugar and cocoa powder together. Add butter and vanilla, then gradually add hot water until spreadable consistency is reached.
- Pour icing over cooled base, spreading evenly. Sprinkle coconut on top.
- Return to oven and bake for 10-15 minutes until icing is set but fudgy.
- Cool in pan for 30 minutes, then refrigerate for 30 minutes for cleaner cuts.
- Lift from pan using parchment overhang and cut into 16-20 bars using a hot, wet knife.
Chocolate Fudge Bars FAQs
Can I make these bars without coconut? Yes, simply omit the coconut from both the base and topping. The bars will still taste delicious with just the chocolate flavor.
Why is my icing too thin? You may have added too much hot water. Add the water gradually, starting with 2 tablespoons and increasing only as needed. The icing should coat a spoon thickly.
Can I use a different type of chocolate? For best results, stick with unsweetened cocoa powder and regular butter. Using melted chocolate bars may change the texture significantly.
How do I prevent the bars from being too dry? Avoid overbaking. The bars should look slightly underdone when you remove them. They continue cooking as they cool.
Can these bars be frozen? Yes, wrap individual bars tightly in plastic wrap and freeze for up to 3 months. Thaw at room temperature before serving.
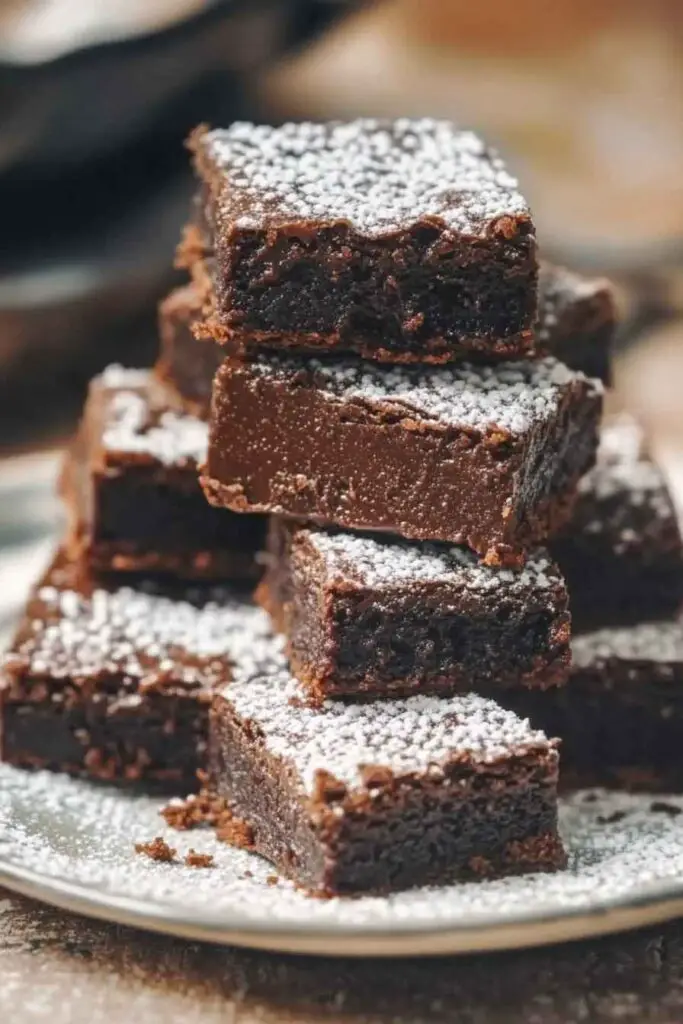
Conclusion
Chocolate Fudge Bars are a timeless dessert that combines simple ingredients to create something truly special. With a soft, coconut-studded base and a rich chocolate icing, these bars deliver satisfying chocolate flavor in every bite. The straightforward preparation makes them accessible to bakers of all skill levels, while the impressive results make them feel like you spent hours in the kitchen. Whether you’re enjoying one with your morning coffee or sharing them at a gathering, these bars are sure to become a regular addition to your baking rotation.