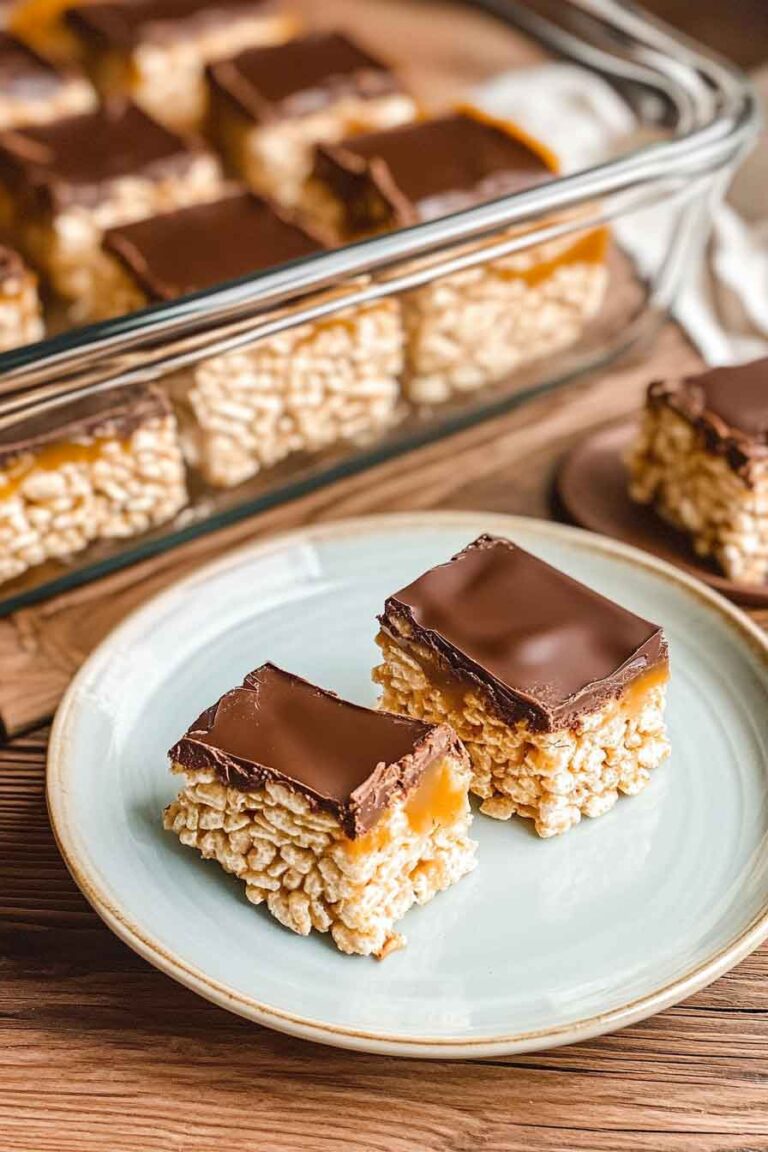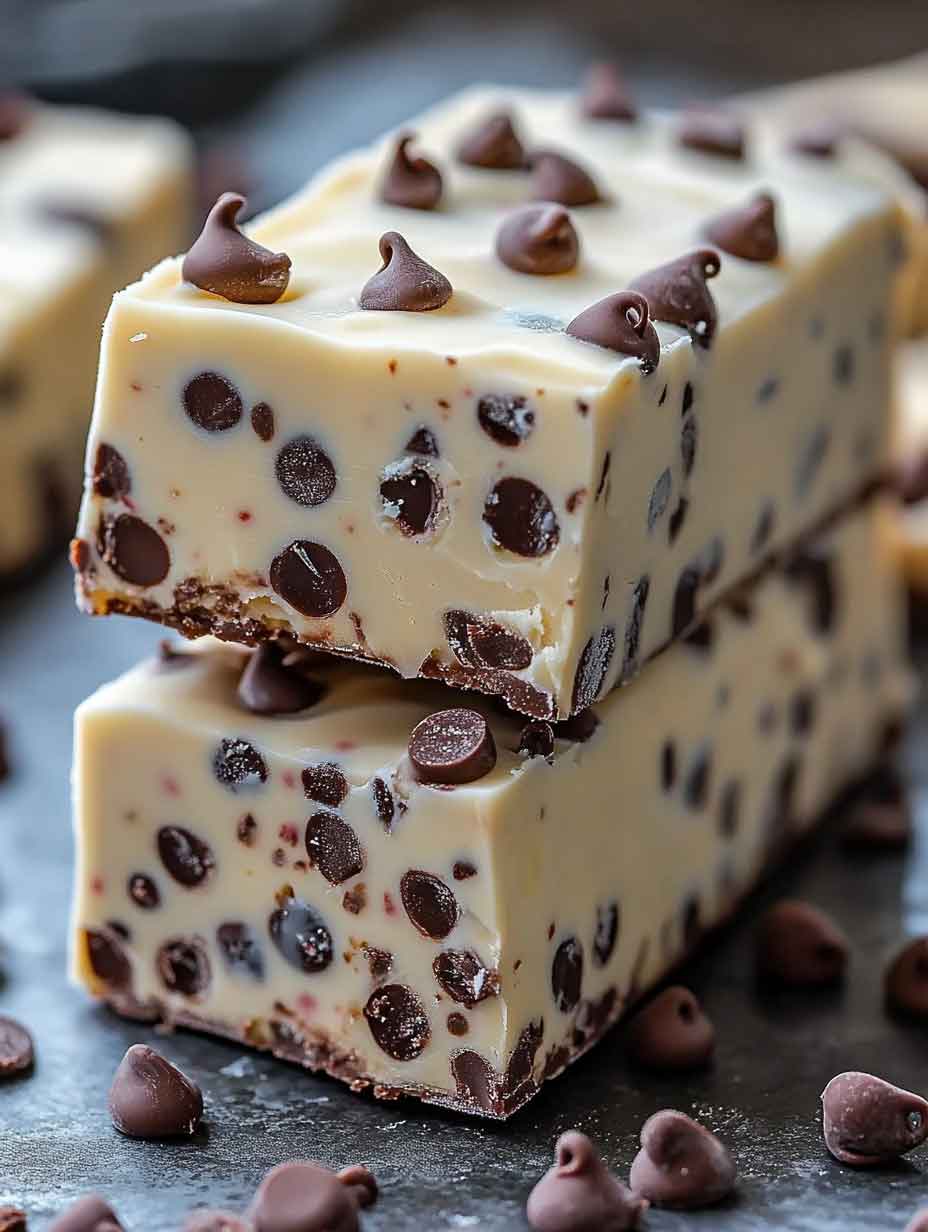
Chocolate Chip Cookie Dough Ice Cream Bars
Wow, have you tried Chocolate Chip Cookie Dough Ice Cream Bars? They are super yummy. I just can’t stop thinking about them. Oh, let me tell you why I love them so much. They have chewy cookie dough and creamy ice cream. It’s like a big hug for my taste buds. I crave these bars all the time. They make me feel so happy and satisfied. You need to taste them for yourself. Go grab one right now. You’ll thank me later. Let’s enjoy this sweet moment together.
Why You’ll Love This Recipe
- Two Desserts in One: Combines cookie dough and ice cream into one delightful treat.
- No-Bake Cookie Dough Layer: Safe to eat and quick to prepare without baking.
- Perfect for Summer: Cool, creamy, and satisfying on hot days.
- Make-Ahead Friendly: Prepare and freeze for a convenient dessert anytime.
- Customizable: Switch out the ice cream flavor or chocolate coating to suit your taste.

What You Need to Know Before You Start
Prep Time & Chill Time:
- Prep Time: 25 minutes
- Chill/Freeze Time: 4 hours (minimum)
- Total Time: About 4 hours 30 minutes
Servings:
Makes about 12 bars, depending on how you slice them—perfect for sharing or keeping in the freezer for later.

Difficulty:
Beginner-friendly with simple layering and freezing steps.
Required Kitchen Tools
Before you begin, gather these essential tools for smooth preparation:
- Mixing Bowls: For making the cookie dough and melting chocolate.
- Electric Mixer (Hand or Stand): Helps create a smooth and creamy cookie dough.
- Spatula: For spreading layers evenly.
- 8×8 or 9×9 Baking Pan: To assemble and freeze the bars.
- Parchment Paper: For easy removal of the bars from the pan.
- Microwave-Safe Bowl or Double Boiler: For melting the chocolate coating.
- Sharp Knife: To slice the frozen bars cleanly.
Ingredients for Chocolate Chip Cookie Dough Ice Cream Bars
Here’s a breakdown of what you’ll need to make these layered bars (exact measurements in the recipe card below):
- Unsalted Butter: Softened to room temperature for easy mixing.
- Brown Sugar and Granulated Sugar: A combination for the right sweetness and cookie dough flavor.
- Vanilla Extract: Adds warmth and enhances flavor.
- All-Purpose Flour: Heat-treated for safety since this dough is no-bake.
- Salt: Balances the sweetness and enhances the cookie dough taste.
- Mini Chocolate Chips: Perfect size for even distribution throughout the dough.
- Vanilla Ice Cream: Softened slightly for easy spreading (use any favorite brand or homemade).
- Milk Chocolate or Semisweet Chocolate: For a smooth, rich coating.
Variations for Chocolate Chip Cookie Dough Ice Cream Bars
- Different Ice Cream Flavors: Swap vanilla ice cream for chocolate, cookie dough, or caramel swirl to change the flavor profile.
- Add Nuts: Mix in chopped pecans or walnuts with the cookie dough layer for extra crunch.
- Use Dark Chocolate: For a richer taste, use dark chocolate chips instead of milk chocolate for the coating.
- Make it Gluten-Free: Use gluten-free flour (heat-treated) and pair with gluten-free ice cream.
- Drizzle Instead of Dip: Instead of fully coating the bars, drizzle melted chocolate over the top for a lighter option.
How to Make Chocolate Chip Cookie Dough Ice Cream Bars — Step-by-Step Instructions
1. Prepare the Cookie Dough Base
- Heat-treat the flour: Spread all-purpose flour on a baking sheet and bake at 350°F (175°C) for 5 minutes to kill any bacteria. Let it cool completely.
- In a large bowl, cream together butter, brown sugar, and granulated sugar until light and fluffy, about 2-3 minutes using a hand or stand mixer.
- Mix in vanilla extract and a pinch of salt.
- Gradually add the cooled, heat-treated flour, mixing on low speed until combined.
- Fold in the mini chocolate chips.
2. Assemble the Layers
- Line an 8×8 or 9×9-inch baking pan with parchment paper, leaving extra hanging over the sides for easy removal later.
- Press the cookie dough mixture evenly into the bottom of the pan to form a smooth layer. You can use the back of a spoon or spatula to flatten it well.
- Place the pan in the freezer for about 30 minutes to firm up the cookie dough layer.
3. Add the Ice Cream Layer
- After the cookie dough has chilled, take softened vanilla ice cream and spread it evenly over the cookie dough layer.
- Smooth the surface with a spatula to create an even layer.
- Freeze for at least 2 hours, or until the ice cream is fully firm.
4. Coat with Chocolate
- Once the layers are completely frozen, lift them out of the pan using the parchment paper.
- Slice into 12 bars (or more/less depending on desired size).
- In a microwave-safe bowl or using a double boiler, melt the milk or semisweet chocolate until smooth.
- Dip each bar into the melted chocolate or spoon chocolate over the top, allowing excess to drip off.
- Place the chocolate-coated bars on a parchment-lined baking sheet.
- Freeze the bars again for about 30 minutes to set the chocolate coating.
Serving and Decoration
How to Serve Chocolate Chip Cookie Dough Ice Cream Bars
- Straight from the freezer: These bars are best served chilled and firm, directly from the freezer. Let them sit at room temperature for 2-3 minutes to soften slightly before serving.
- Add a finishing touch: For a fun twist, sprinkle extra mini chocolate chips, chopped nuts, or a light drizzle of white chocolate over the bars right after coating them in chocolate, while the chocolate is still soft.
- Presentation tip: Place the bars on a decorative platter lined with parchment or wax paper if serving at a party.
Storing Chocolate Chip Cookie Dough Ice Cream Bars
- Freezer Storage:
- Store bars in an airtight container with parchment paper between layers to prevent sticking.
- They will stay fresh in the freezer for up to 2 months.
- Serving from frozen:
- Allow bars to rest for a couple of minutes at room temperature before eating to soften slightly for easier biting.
- Avoid refrigerator storage:
- These bars are meant to be frozen and will melt and lose shape in the fridge.
Tips and Tricks for Success
- Soften ice cream slightly: Let the ice cream sit at room temperature for 5-10 minutes before spreading. This makes layering smooth and even.
- Use parchment paper: Line your pan well for easy removal and clean slicing.
- Work quickly when dipping in chocolate: To prevent melting, dip frozen bars one at a time and return them to the freezer immediately.
- Heat-treat the flour: Don’t skip this step—since the cookie dough layer is unbaked, heating the flour ensures it’s safe to eat.
- For sharp cuts: Use a sharp knife dipped in hot water, wiping clean between cuts, to slice bars neatly.
Nutrition Information
| Serving Size | Calories | Total Fat | Saturated Fat | Carbohydrates | Sugar | Protein | Sodium |
|---|---|---|---|---|---|---|---|
| 1 bar (approx.) | 320 kcal | 20g | 12g | 35g | 26g | 3g | 70mg |
Note: Nutrition values are estimates and may vary based on exact ingredients used and serving sizes.

Chocolate Chip Cookie Dough Ice Cream Bars
4
Yield30
minutes4
minutes320
kcalIngredients
1/2 cup (113g) unsalted butter, softened
1/4 cup (50g) brown sugar, packed
1/4 cup (50g) granulated sugar
1 teaspoon vanilla extract
1 cup (120g) all-purpose flour, heat-treated
1/4 teaspoon salt
1/2 cup (90g) mini chocolate chips
3 cups (about 450g) vanilla ice cream, softened
8 ounces (225g) milk chocolate or semisweet chocolate, for coating
Directions
- Prepare Cookie Dough Layer
Heat-treat flour by baking it on a sheet at 350°F (175°C) for 5 minutes. Cool completely.
In a large bowl, cream butter, brown sugar, and granulated sugar until light and fluffy (about 2-3 minutes).
Add vanilla extract and salt, mixing until combined.
Gradually mix in cooled flour until a dough forms.
Fold in mini chocolate chips. - Assemble Bars
Line an 8×8 or 9×9-inch pan with parchment paper.
Press cookie dough evenly into the pan. Freeze for 30 minutes.
Spread softened vanilla ice cream over the chilled cookie dough layer. Smooth the top and freeze for at least 2 hours, or until firm. - Slice and Coat
Once frozen, lift out the layered block and slice into 12 bars.
Melt chocolate in a microwave-safe bowl or double boiler until smooth.
Dip each bar into melted chocolate or spoon chocolate over them. Let excess chocolate drip off.
Place on a parchment-lined tray and freeze for another 30 minutes to set the chocolate.
Chocolate Chip Cookie Dough Ice Cream Bars FAQs
Can I make these bars ahead of time?
Yes, these bars are perfect for making ahead. You can prepare and store them in the freezer for up to 2 months. Just keep them in an airtight container with parchment paper between layers to prevent sticking.
How do I heat-treat flour to make it safe to eat raw?
To heat-treat flour, spread it on a baking sheet and bake at 350°F (175°C) for 5 minutes. This kills any bacteria and makes it safe for no-bake recipes like cookie dough. Be sure to let it cool before adding to your dough.
Can I use store-bought cookie dough instead of making my own?
It’s best to use homemade cookie dough for this recipe because traditional store-bought dough may contain raw eggs and untreated flour. However, if you find edible cookie dough at the store, that could be used as a shortcut.
What’s the best way to cut these bars cleanly?
Use a sharp knife dipped in hot water and wipe the blade between cuts. This helps slice through the layers neatly without cracking the chocolate or smearing the ice cream.
Do I have to dip the bars in chocolate?
No, you can skip the chocolate coating if you prefer something lighter. Alternatively, you could drizzle chocolate over the top instead of fully coating each bar.
Conclusion
Chocolate Chip Cookie Dough Ice Cream Bars bring together everything we love in a dessert — rich cookie dough, creamy ice cream, and a smooth chocolate shell. They’re easy to make, fun to serve, and a great way to cool down on a warm day. Whether you’re making them for a party, a family dessert, or just to keep in the freezer for when the craving hits, these bars are sure to please.
If you give these bars a try, I’d love to hear how they turn out! Enjoy every bite — because sometimes, the best desserts are the ones you can hold in your hand.