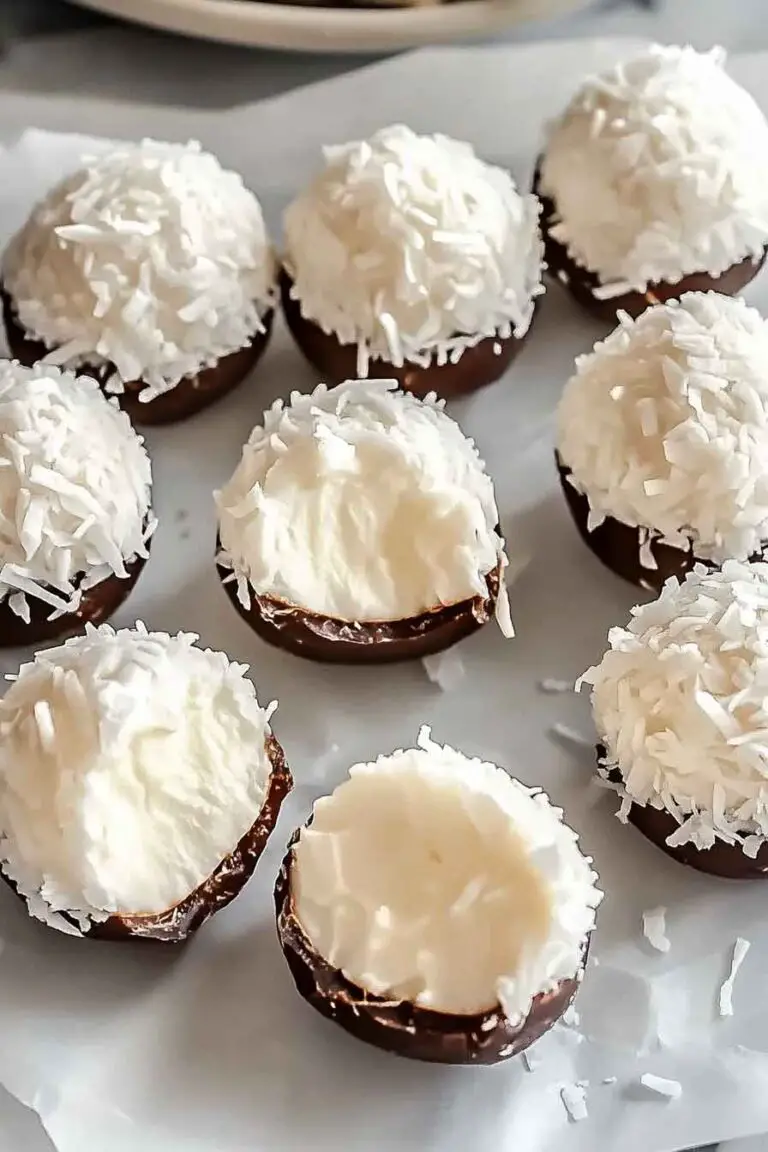
Bubblegum Cloud Slices
You know that feeling when a dessert takes you straight back to being a kid? That’s exactly what these do.
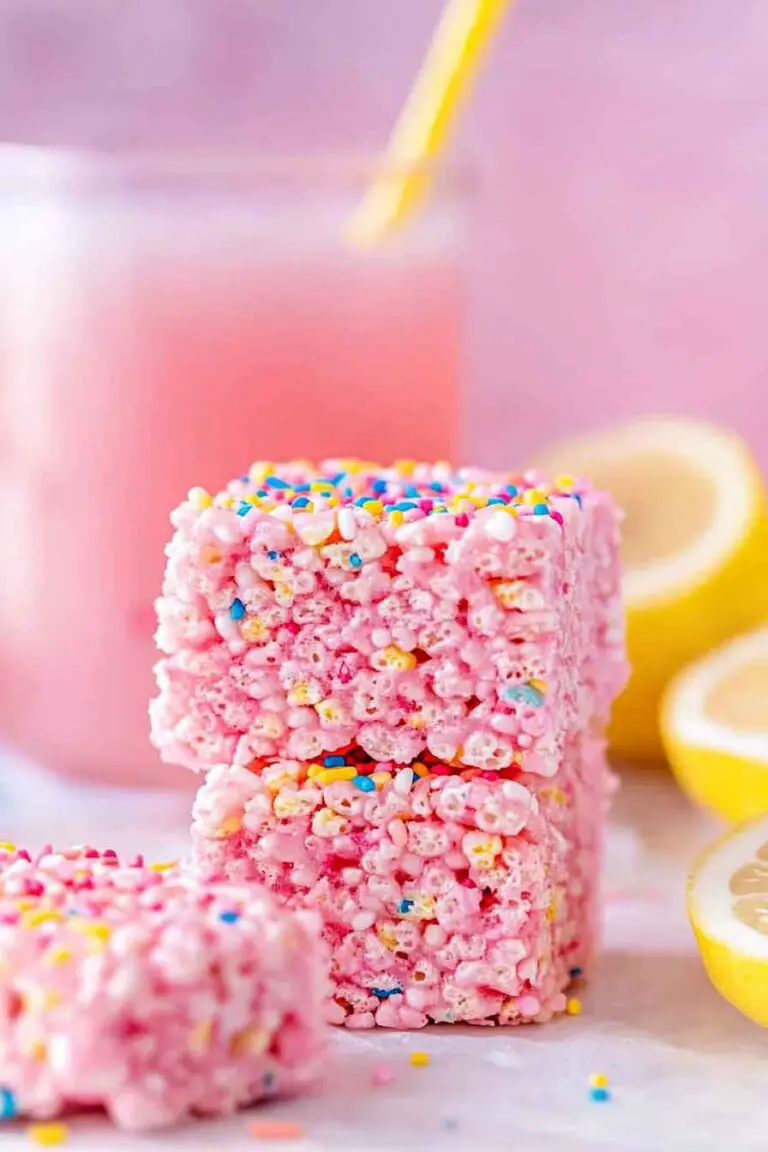
Bubblegum Cloud Slices are soft, pillowy no-bake bars with that sweet, fruity bubblegum flavor packed into a fluffy marshmallow base. No oven. No fancy technique. Just five simple ingredients and a little patience while they set in the fridge.
I put these on a table at a birthday party once. They were gone in minutes.
Why You’ll Love This Recipe
- No-Bake: Zero oven time. Less cleanup, less stress.
- Kid-Friendly: Both to make and to eat — kids absolutely lose it over the bubblegum flavor.
- Quick to Prepare: You’re done with the active prep in about 15 minutes.
- Visually Stunning: That soft pink color makes them look almost too pretty to eat.
- Minimal Ingredients: Just five pantry-friendly items. That’s it.
What You Need to Know Before You Start
| Prep Time | 15 minutes |
| Chill Time | 2 hours (minimum) |
| Total Time | About 2 hours 15 minutes |
| Servings | 12 slices |
| Difficulty | Very easy — great to make with kids |
Tools You’ll Need
Nothing fancy here:
- 8×8 inch square baking pan
- Parchment paper
- Large mixing bowl
- Hand mixer or stand mixer
- Rubber spatula
- Measuring cups and spoons
- Sharp knife for slicing
The Ingredients
Five ingredients. That’s all. Here’s what each one does:
- Bubblegum-flavored syrup — This is your star. Use a good-quality one. The flavor difference is very noticeable.
- Marshmallow fluff — This gives the bars that soft, cloud-like body. Don’t swap it out for mini marshmallows — the texture just won’t be the same.
- Powdered sugar — Sweetens the mix and helps firm everything up so the slices actually hold their shape.
- Vanilla extract — Just a small amount. It rounds out the sweetness and adds a little depth.
- Pink food coloring — Totally optional. But honestly? It makes them look exactly how they taste.
(Exact measurements are in the recipe card below.)
Want to Mix It Up?
A few easy variations worth trying:
- Blue Raspberry Version: Swap the pink food coloring for blue and use blue raspberry syrup. Different vibe, equally fun.
- Layered Bars: Make a plain vanilla layer first, let it set slightly, then pour the bubblegum layer on top. Two-tone and impressive.
- Add Sprinkles: Fold in rainbow sprinkles just before pressing into the pan. More color, more texture.
- White Chocolate Drizzle: Drizzle melted white chocolate over the sliced bars for something a little more indulgent.
- Coconut Base: Press a thin layer of desiccated coconut into the bottom of the pan before adding the mixture. Subtle texture contrast that works really well.
Step-by-Step Instructions
Step 1 — Prepare Your Pan
Line an 8×8 inch baking pan with parchment paper. Leave some overhang on the sides. You’ll thank yourself when it’s time to lift the slab out.
Step 2 — Mix the Base
Add the marshmallow fluff to a large bowl. Beat it with a hand mixer for about 1 minute. You just want it to loosen up a bit and become easier to work with.
Step 3 — Add the Flavor
Pour in the bubblegum syrup and vanilla extract. Mix on low speed until fully combined.
Fair warning — it smells incredible at this point.

Step 4 — Add the Powdered Sugar
Sift in the powdered sugar gradually, mixing as you go. Don’t dump it all in at once. Slow and steady here gives you a smooth, thick, lump-free mixture. Don’t rush this step.
Step 5 — Color It
Add a few drops of pink food coloring. Fold it through with a spatula until the color is even. Want a deeper pink? Add a drop or two more.
Step 6 — Press Into the Pan
Transfer the mixture into your prepared pan. Use a lightly greased spatula or the back of a spoon to press it into an even, flat layer. Smooth the top as best you can.
Step 7 — Chill
Cover the pan with plastic wrap. Refrigerate for at least 2 hours, or until firm enough to slice cleanly.
Do not rush this part.
Step 8 — Slice and Serve
Lift the slab out using the parchment overhang. Place it on a cutting board. Slice into 12 even rectangles with a sharp knife. Wipe the blade between cuts — it makes a big difference in how clean the edges look.
How to Serve Them
Arrange the slices on a white or pastel-colored board for contrast. A light dusting of powdered sugar just before serving gives them a frosted, cloud-like finish.
Want to go the extra mile? Top each slice with a small swirl of whipped cream and a sprinkle of edible glitter.
These go beautifully with cold milk, a strawberry milkshake, or alongside other pastel sweets on a dessert table.
Storing Your Slices
| Storage Method | How Long | Tips |
|---|---|---|
| Refrigerator | Up to 5 days | Airtight container; parchment between layers if stacking |
| Freezer | Up to 1 month | Wrap each slice in plastic wrap, then place in a freezer bag. Thaw overnight in fridge. |
| Room Temperature | Up to 2 hours | They soften in warm environments — don’t leave them out too long |
Tips for Getting It Right
A few things I’ve learned that make a real difference:
- Sift the powdered sugar. Lumps in the sugar = lumps in your bars. Always sift.
- Grease your spatula. The marshmallow mixture is seriously sticky. A lightly oiled spatula makes spreading it so much easier.
- Don’t skip the chill time. Two hours is the bare minimum. Slice too early and they won’t hold together.
- Taste your syrup first. Bubblegum syrups vary a lot in sweetness. If yours is very sweet, pull back slightly on the powdered sugar.
- Clean knife cuts matter. Run your knife under hot water, dry it, then cut. Repeat between each slice.
- Room temperature fluff is easier to work with. Cold marshmallow fluff is stiff and frustrating. Let it sit out for 10 minutes before you start.
Nutrition
| Nutrient | Per Slice (1 of 12) |
|---|---|
| Calories | ~145 kcal |
| Total Fat | 0.1 g |
| Saturated Fat | 0 g |
| Cholesterol | 0 mg |
| Sodium | 20 mg |
| Total Carbohydrates | 36 g |
| Sugars | 32 g |
| Dietary Fiber | 0 g |
| Protein | 0.3 g |
Values are estimates. They’ll vary depending on the specific brands you use.

Bubblegum Cloud Slices
Course: No-Bake Desserts12
slices15
minutes145
kcal2
hours 15 minutesIngredients
3 tablespoons (45ml) bubblegum-flavored syrup
1 jar (7 oz / 198g) marshmallow fluff
2 cups (240g) powdered sugar, sifted
1 teaspoon pure vanilla extract
3–5 drops pink food coloring
Directions
- Prepare the Pan: Line an 8×8 inch pan with parchment paper, leaving overhang on two sides.
- Beat the Fluff: In a large bowl, beat marshmallow fluff with a hand mixer for 1 minute until slightly loosened.
- Add Flavor: Mix in bubblegum syrup and vanilla extract on low speed until fully combined.
- Incorporate Sugar: Sift in powdered sugar gradually, mixing continuously until a thick, smooth mixture forms.
- Color: Add pink food coloring drop by drop and fold until evenly distributed.
- Press: Transfer to the pan and press into an even layer using a lightly greased spatula.
- Chill: Cover and refrigerate for a minimum of 2 hours.
- Slice: Remove from pan, place on a cutting board, and cut into 12 rectangular slices. Wipe the knife between cuts.
FAQs
Can I use homemade marshmallow fluff? Yes, totally fine — as long as it’s thick and sticky like store-bought. Thin or runny fluff will stop the bars from setting properly.
Where do I find bubblegum-flavored syrup? Most well-stocked grocery stores carry it in the coffee or beverage aisle. You can also find it online easily. Torani and Monin both make bubblegum varieties.
My mixture is too sticky to press down. Help. Lightly wet your fingertips, or lay a piece of greased parchment over the top and press through that. Works like a charm.
Are these dairy-free? Standard marshmallow fluff is typically dairy-free, and none of the other ingredients contain dairy either. So yes — these are naturally dairy-free as written. That said, always check your specific brand labels just to be sure.
My slices are too soft and won’t hold their shape. What went wrong? Most likely they just needed more chill time. Stick them back in the fridge for another hour. If the problem keeps happening, add an extra 2–3 tablespoons of powdered sugar to the mixture next time.
Final Thoughts
Five ingredients. No oven. About 15 minutes of actual work.
And what you get is a dessert that’s soft, sweet, nostalgic, and genuinely hard to walk past without grabbing one.
The bubblegum flavor hits that childhood note that both kids and adults respond to. The pale pink color makes them feel a little special without any real extra effort.
Make them once. They’ll probably become a regular request.