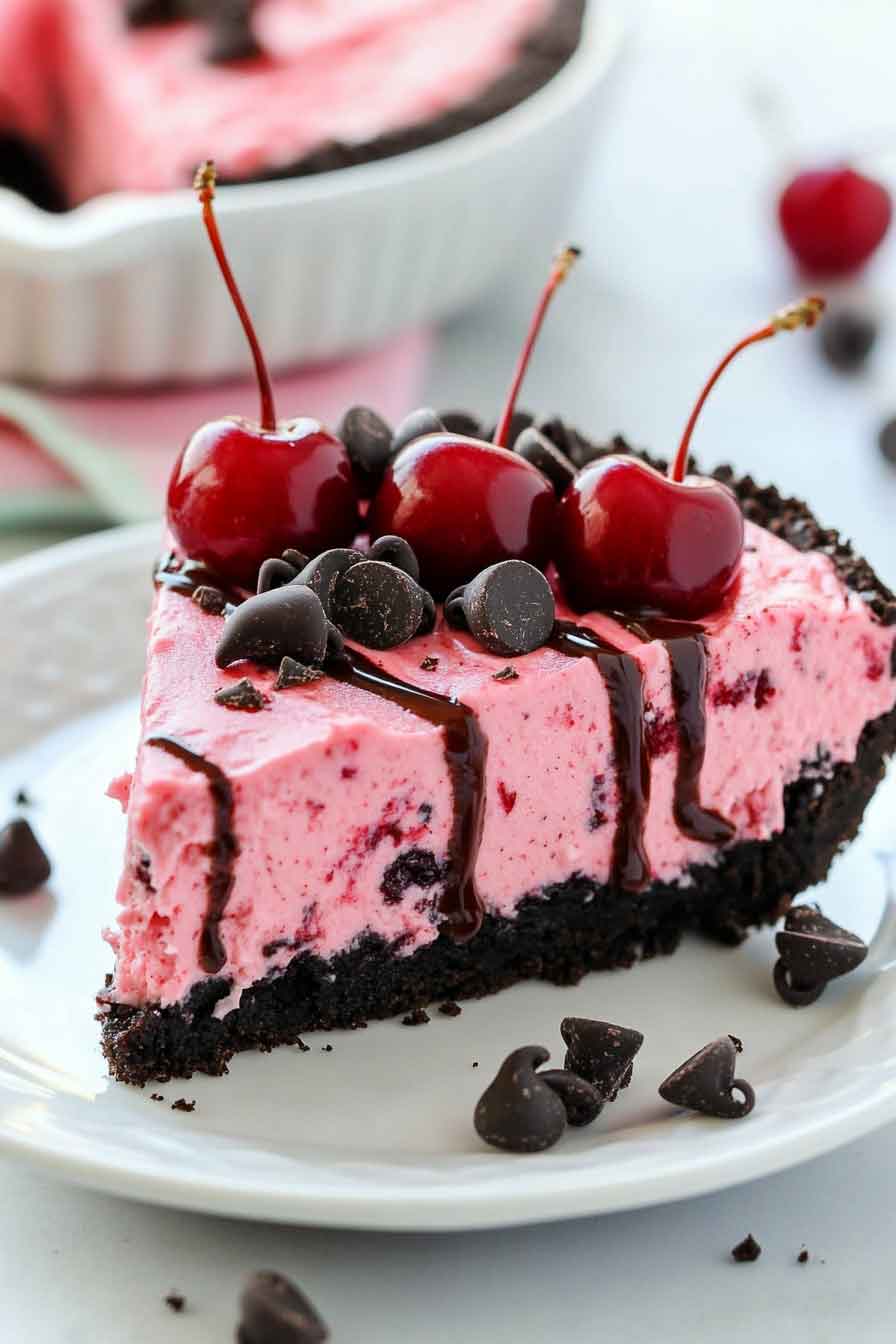
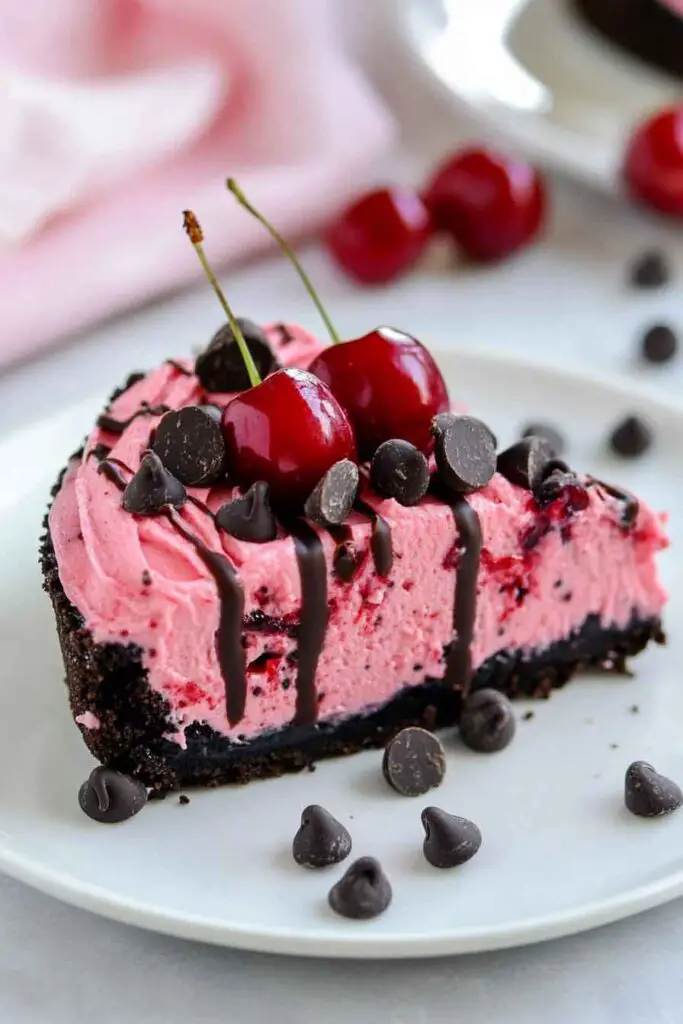
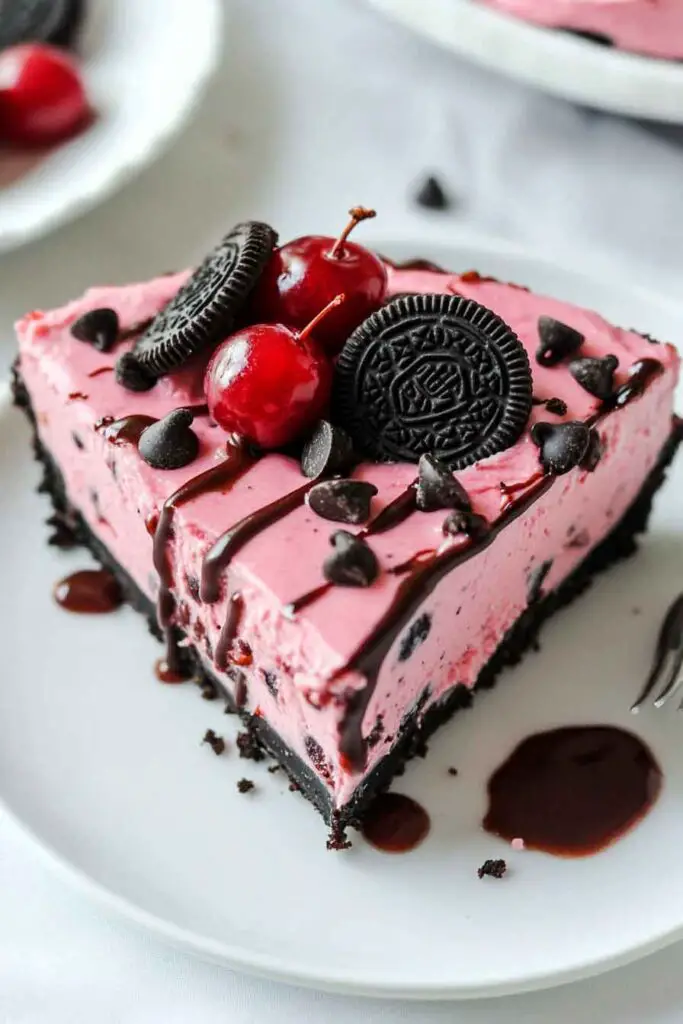
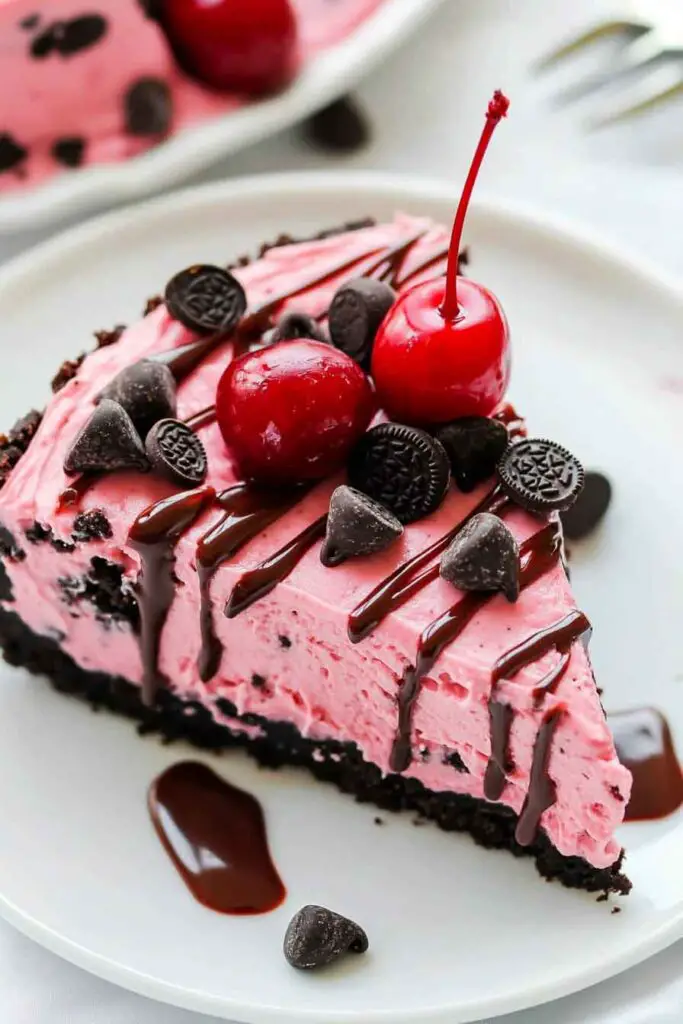
Oreo Cherry Chocolate Chip No Bake Cheesecake
Craving a dessert that’s creamy, indulgent, and absolutely irresistible? This Oreo Cherry Chocolate Chip No Bake Cheesecake combines the perfect balance of tangy cheesecake, crunchy Oreo crust, sweet cherries, and rich chocolate chips—all without turning on the oven!
Imagine a smooth, no-bake cheesecake filling, made even better with a layer of crushed Oreos, topped with juicy cherries and a sprinkle of chocolate chips. It’s a dessert that’s as easy to make as it is delicious to eat!
This cheesecake is the perfect combination of textures and flavors. The creamy filling, crunchy crust, and fruity cherry topping make it the ultimate indulgence for any occasion!

Ready for a dessert that’s both simple and decadent? Let’s make this Oreo Cherry Chocolate Chip No Bake Cheesecake and enjoy a cool, creamy treat in no time
Why You’ll Love This Recipe
- Easy to Make, No Oven Needed: No baking, no water baths, no drama—just mix, chill, and enjoy.
- Layers of Texture and Flavor: Crunchy Oreo crust, creamy filling, fruity cherry bites, and melty chocolate chips in every forkful.
- Perfect for Make-Ahead Desserts: You can prep it a day in advance, and the flavor gets better as it chills.
- Kid-Approved, Crowd-Pleaser: Sweet, colorful, and fun—this dessert’s a hit with adults and kids alike.
What You Need to Know Before You Start
Prep Time & Chill Time:
Prep Time: 25 minutes
Chill Time: 4–6 hours (or overnight)
Total Time: About 6 hours (with chill)
Servings:
This cheesecake makes about 10–12 generous slices.
Difficulty:
Very easy. No baking skills required—just a good hand mixer and a big bowl.
Required Kitchen Tools
- 9-inch springform pan
- Food processor or rolling pin (for crushing Oreos)
- Mixing bowls (at least 2)
- Hand or stand mixer
- Silicone spatula
- Measuring cups and spoons
- Rubber spatula
- Small saucepan (for gelatin)
Ingredients
Here’s everything you’ll need to bring this cool and creamy dessert together (exact measurements are in the recipe card at the end):
For the Crust:
- Oreo Cookies: Crushed finely to create a sweet, chocolatey base.
- Melted Butter: Helps hold the crust together.
- Granulated Sugar: Adds a little sweetness to the base.
For the Filling:
- Cream Cheese: Full-fat, softened. This is the rich, tangy backbone of the filling.
- Heavy Cream: Whipped and folded in for an airy, mousse-like texture.
- Granulated Sugar: For sweetness and stability.
- Powdered Sugar: Adds smoothness and sweetens the whipped cream portion.
- Cherry Gelatin: Dissolved and cooled slightly, it gives the cheesecake color and fruity flavor.
- Frozen Cherries: Thawed; half diced, half left whole for texture and juicy bites.
- Semi-Sweet Chocolate Chips: Stirred into the filling for chocolatey surprises in every bite.
Variations for Oreo Cherry Chocolate Chip No Bake Cheesecake
- Swap the Fruit: Not a cherry fan? Try raspberries, strawberries, or even blueberries. Just dice and fold them in after thawing.
- Chocolate Cookie Crust Twist: Use chocolate graham crackers or chocolate chip cookies instead of Oreos for a different base flavor.
- Mini Cheesecakes: Use a muffin tin lined with paper cups to create individual servings—great for parties!
- Add a Swirl: Drizzle some cherry jam or fudge sauce into the filling before chilling for extra flavor ribbons.
- Go Extra Crunchy: Mix chopped pecans or almonds into the Oreo crust for added texture.
How to Make Oreo Cherry Chocolate Chip No Bake Cheesecake (Step-by-Step)
1. Make the Oreo Crust
- Crush the Oreos in a food processor or place them in a ziplock bag and crush with a rolling pin until fine.
- Mix with melted butter and a bit of sugar in a bowl until it resembles wet sand.
- Press firmly into the bottom of a springform pan. Use the flat bottom of a cup to make it even.
- Chill the crust in the refrigerator while you prepare the filling.
2. Prepare the Cherry Gelatin
- Dissolve the cherry gelatin in hot water as directed on the box, then let it cool to room temperature—not set, just cool.
- Stir in the diced cherries (reserve the whole ones for topping or folding into the mix later).
3. Whip the Cream
- In a clean mixing bowl, whip the heavy cream with powdered sugar until stiff peaks form.
- Set aside in the fridge.
4. Make the Cream Cheese Filling
- In another bowl, beat softened cream cheese with granulated sugar until smooth and fluffy.
- Slowly fold in the cooled cherry gelatin mixture (do this gradually to avoid curdling).
- Gently fold in the whipped cream, using a spatula. Be careful not to deflate the air.
- Stir in chocolate chips and remaining whole cherries if using.
5. Assemble and Chill
- Pour the cheesecake mixture over the chilled crust.
- Smooth out the top with a spatula.
- Cover and refrigerate for at least 4–6 hours, or overnight, until set.
Serving and Decoration
You’ve waited, it’s chilled—now it’s time to serve.
- Clean Slice Tip: Run a sharp knife under hot water and wipe it clean between each slice for perfect cuts.
- Garnish Ideas: Top each slice with a dollop of whipped cream, extra cherries, a drizzle of chocolate sauce, or a few crushed Oreos.
- Serving Style: This cheesecake pairs beautifully with a cold glass of milk or coffee, especially after a savory meal.
How to Store Oreo Cherry Chocolate Chip No Bake Cheesecake
- Refrigerator: Store covered in the fridge for up to 5 days. Keep it airtight to avoid absorbing other fridge odors.
- Freezer: You can freeze this cheesecake (without topping) for up to 1 month. Wrap tightly in plastic wrap and foil. Thaw overnight in the fridge before serving.
Tips and Tricks for Success
- Soft Cream Cheese is Key: Let it come to room temp before mixing for that ultra-smooth texture.
- Cool the Gelatin: Hot gelatin can melt your filling or make it lumpy. Let it cool before adding.
- Don’t Over-Mix: Folding gently helps maintain the light, airy texture from the whipped cream.
- Chill Time Matters: The longer it chills, the better it sets. Overnight chilling gives the best texture and flavor.
Nutrition
Here’s an estimated nutritional breakdown per slice (based on 12 servings):
| Nutrient | Amount |
|---|---|
| Calories | ~430 kcal |
| Total Fat | 28g |
| Saturated Fat | 16g |
| Carbohydrates | 38g |
| Sugars | 26g |
| Protein | 5g |
| Fiber | 1g |
| Sodium | 180mg |
Oreo Cherry Chocolate Chip No Bake Cheesecake
Course: Cake Recipes25
minutes430
kcal4 – 6
hourIngredients
- For the Crust:
22 Oreo cookies, crushed finely
3 tablespoons melted butter
1 tablespoon granulated sugar
- For the Cheesecake Filling:
16 oz cream cheese, softened
16 oz heavy cream
1 cup granulated sugar
¼ cup powdered sugar
1 large box (6 oz) cherry gelatin
12 oz frozen cherries, thawed (half chopped, half whole)
2 cups semi-sweet chocolate chips
Directions
- Make the Crust:
Crush Oreos until fine. Combine with melted butter and granulated sugar. Press into a springform pan. Chill in the fridge. - Prepare Gelatin:
Dissolve gelatin in hot water per package instructions. Let it cool to room temp. Stir in diced cherries. - Whip Cream:
In a bowl, whip heavy cream with powdered sugar until stiff peaks form. Set aside. - Mix Filling:
Beat softened cream cheese with granulated sugar until smooth. Gradually fold in the cooled gelatin mixture, then fold in whipped cream. Stir in chocolate chips and reserved whole cherries. - Assemble & Chill:
Pour mixture over crust. Smooth the top. Cover and refrigerate for at least 4–6 hours, or overnight until set. - Serve:
Slice with a hot, clean knife. Garnish as desired. Store leftovers in the fridge.
Oreo Cherry Chocolate Chip No Bake Cheesecake FAQs
Can I use fresh cherries instead of frozen?
Yes, just make sure to pit and chop them. Frozen cherries are often softer and juicier, which works well for no-bake fillings.
What if I don’t have a springform pan?
You can use a regular 9-inch pie dish or a square baking pan lined with parchment for easy lifting.
Can I skip the gelatin?
You can, but the filling will be much softer. If skipping, chill it overnight for a firmer texture or add a stabilizer like instant pudding mix.
Conclusion
This Oreo Cherry Chocolate Chip No Bake Cheesecake has everything I love in a dessert—easy steps, simple ingredients, and layers of flavor that don’t require turning on the oven. It’s the kind of treat you’ll want to make ahead, stash in the fridge, and pull out when you need something sweet and impressive.