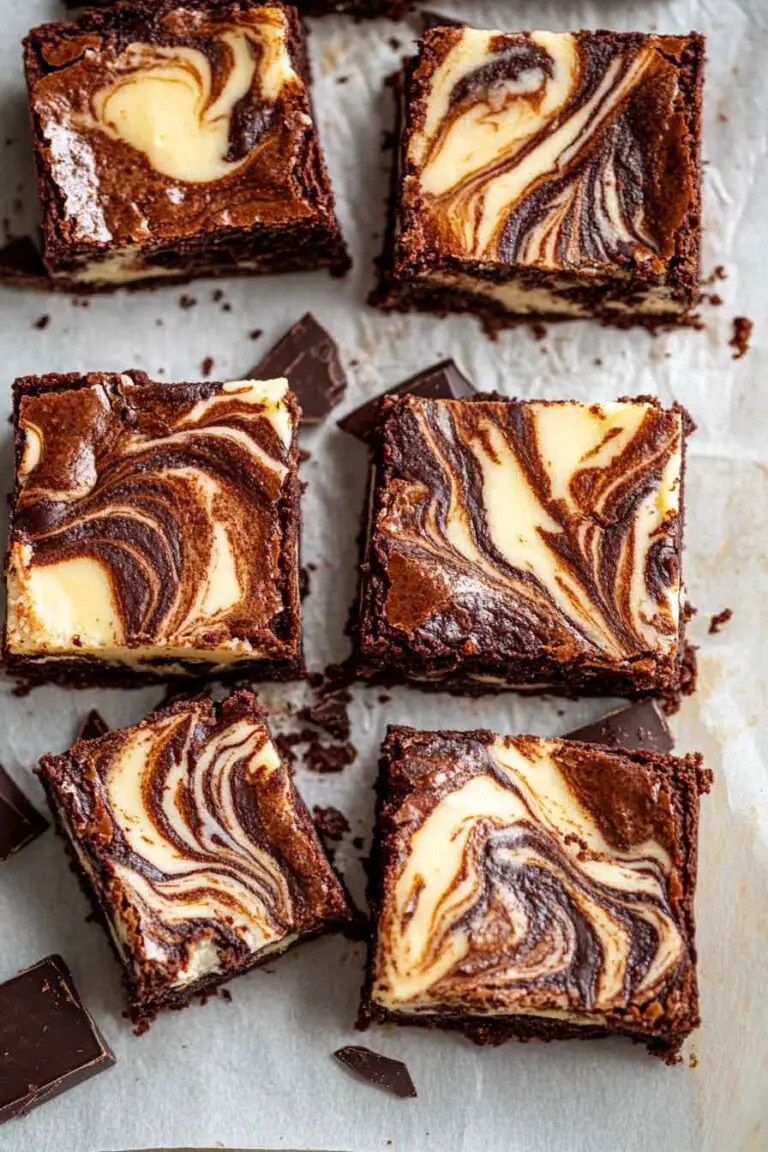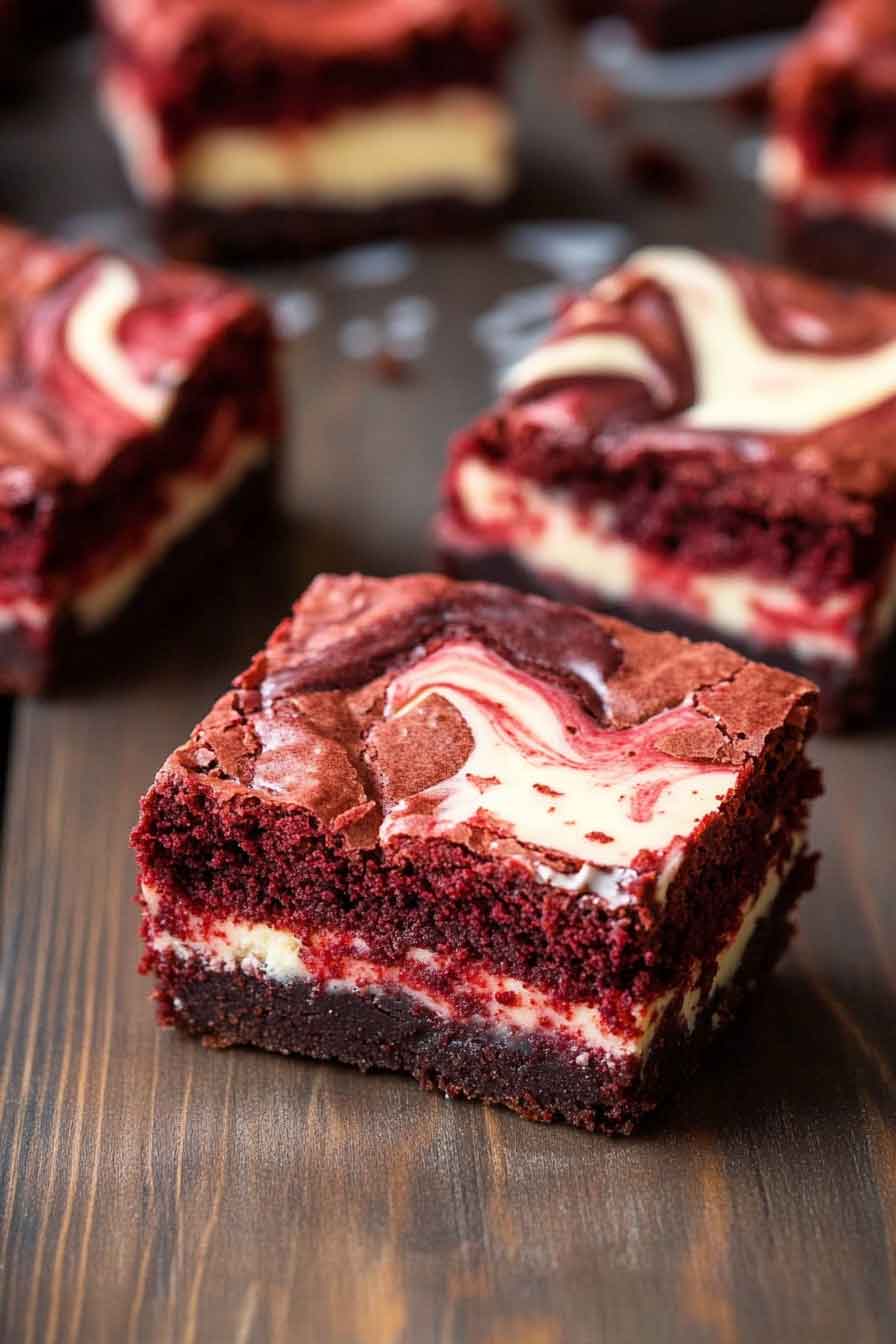
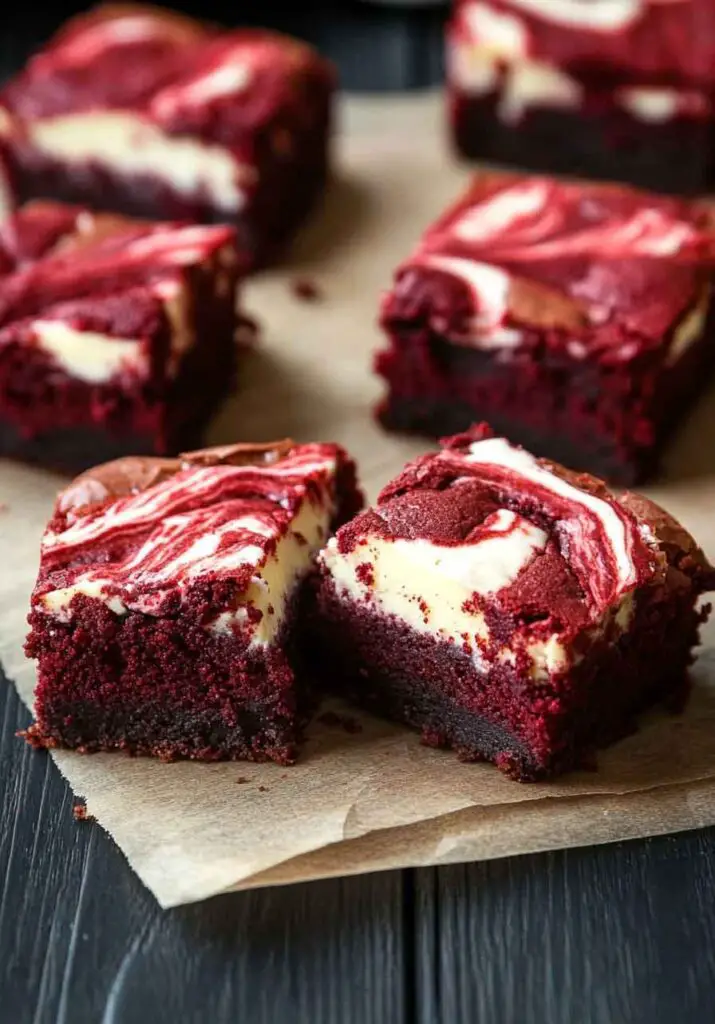
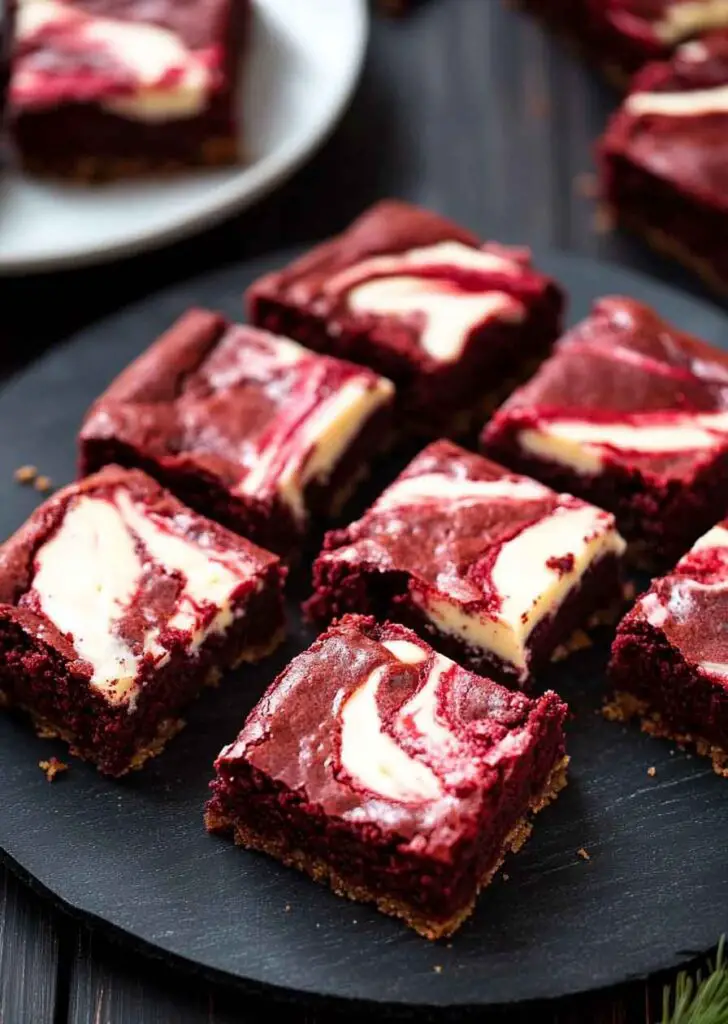
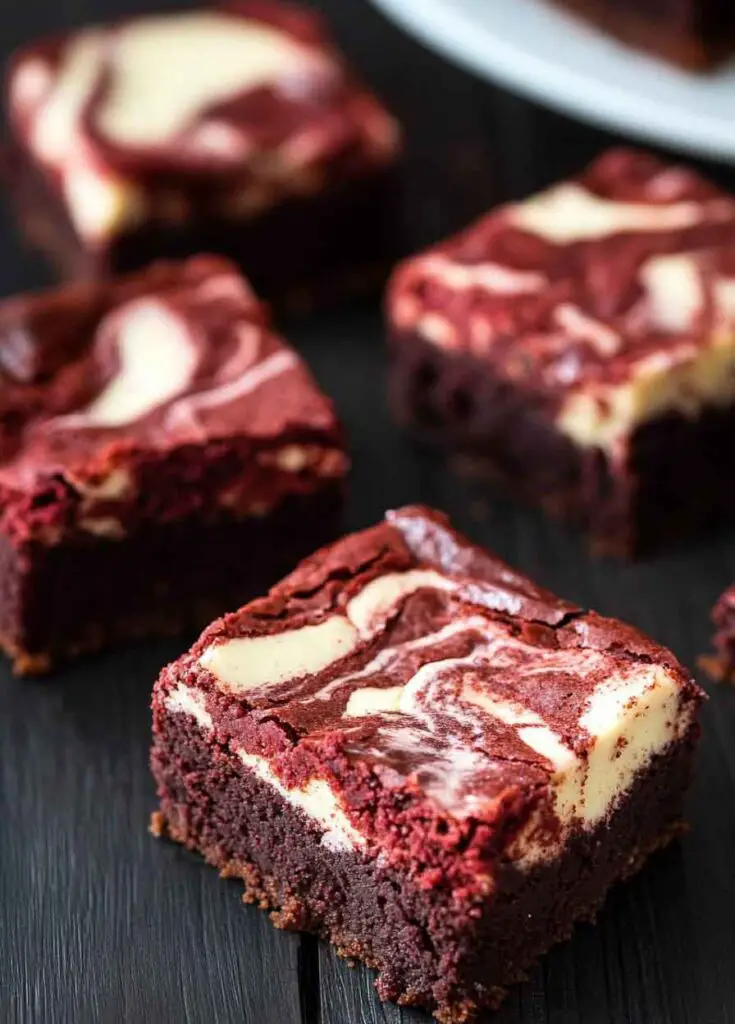
Red Velvet Cheesecake Brownies
The smell of chocolate and cream cheese baking together is pure magic.
I remember making these on a rainy afternoon, and the swirl of red and white looked almost too pretty to eat.
Each bite is soft, fudgy, and a little tangy — like brownie and cheesecake had the sweetest love story.
My friends couldn’t stop asking for more, and honestly, I couldn’t either.
If you love rich, cozy desserts that melt in your mouth, you’ll want to try these Red Velvet Cheesecake Brownies next.
Why You’ll Love This Recipe
- Visually Impressive: The contrast of red velvet against the creamy white swirl makes these brownies as eye-catching as they are flavorful. They’re perfect for Valentine’s Day, Christmas trays, or a simple after-dinner dessert.
- Rich Yet Balanced: The red velvet base carries a subtle cocoa flavor and a soft, dense crumb—somewhere between cake and brownie. The cream cheese swirl adds a cool, tangy layer that cuts through the richness.
- Simple to Prepare: No stand mixer or complicated techniques required. You can mix the base by hand, and the cheesecake swirl comes together in a single bowl.
- Make-Ahead and Freezer-Friendly: These brownies store beautifully in the fridge for several days and freeze well, making them a convenient option for entertaining or meal prepping desserts.
- Crowd Favorite: Kids love the color and flavor, while adults appreciate the balance of sweetness and texture.
What You Need to Know Before You Start
Prep Time & Cook Time
- Prep Time: 20 minutes
This includes melting the butter, mixing the brownie batter, preparing the cream cheese swirl, and assembling the pan. - Cook Time: 40–45 minutes
Bake until the edges are firm and the center is just set with a slight jiggle. Overbaking will dry them out, so monitor closely in the final 5 minutes. - Total Time: About 1 hour and 5 minutes
Plan for cooling time as well. The brownies need at least 30 minutes to set before slicing cleanly.
Servings
This recipe yields 16 medium squares. You can cut them smaller for bite-sized portions or larger if serving as plated desserts. For a crowd, simply double the ingredients and use a 9×13-inch pan.

Difficulty Level
Beginner-friendly. These brownies don’t require any specialty baking techniques. The layering and swirling might look fancy, but the process is simple and forgiving. If you can whisk and pour, you can master this recipe.
Required Kitchen Tools
To make the process smooth, gather your tools before starting:
- 8×8-inch Square Baking Pan: Glass or metal both work, but metal tends to bake more evenly.
- Mixing Bowls: One for the brownie base, one for the cream cheese swirl.
- Microwave-Safe Bowl or Small Saucepan: For melting butter.
- Whisk and Rubber Spatula: For mixing and folding ingredients.
- Electric Hand Mixer (Optional): Useful for the cream cheese layer but not essential.
- Parchment Paper: Helps lift brownies cleanly from the pan.
- Toothpick or Skewer: For swirling the cheesecake into the batter.
- Measuring Cups and Spoons: Accurate measurements matter, especially in baking.
Ingredients
For the Red Velvet Brownie Layer
- 1/2 cup (113g) unsalted butter, melted
Provides richness and that dense, chewy brownie texture. Melt and cool slightly before mixing with eggs. - 1 cup (200g) granulated sugar
Sweetens the batter while helping give the brownies a slightly glossy top. - 2 large eggs, at room temperature
Room temperature eggs mix more easily and help create a uniform texture. - 2 teaspoons vanilla extract
Adds warmth and flavor depth that complements the chocolate and cream cheese. - 1 tablespoon red food coloring (liquid or gel)
Gives the signature deep red hue. Gel is more concentrated and vibrant, while liquid works fine in a pinch. - 1/4 teaspoon salt
Balances the sweetness and enhances the overall flavor. - 3/4 cup (95g) all-purpose flour
Provides structure. Spoon and level the flour for accurate measuring. - 1/4 cup (20g) Dutch process cocoa powder
This type of cocoa gives a darker color and smoother chocolate flavor. You can substitute natural cocoa, but the flavor and color may be slightly different.
For the Cream Cheese Swirl
- 8 oz (226g) full-fat cream cheese, softened
Softened cream cheese mixes smoothly. Use full-fat for best flavor and texture. - 1/4 cup (50g) granulated sugar
Sweetens the swirl just enough without overpowering the tang of the cheese. - 1 large egg yolk
Adds richness and helps the cream cheese layer bake smoothly without cracking. - 1/2 teaspoon vanilla extract
Enhances the creamy flavor and balances the tang.
Variations for Red Velvet Cheesecake Brownies
- Chocolate Lovers: Fold in 1/2 cup of dark chocolate chips or chunks into the brownie batter.
- Nutty Texture: Add 1/3 cup chopped pecans or walnuts for crunch and richness.
- Swirl Designs: Use a toothpick to create intricate swirl patterns. Drag gently in an “S” motion for marbling.
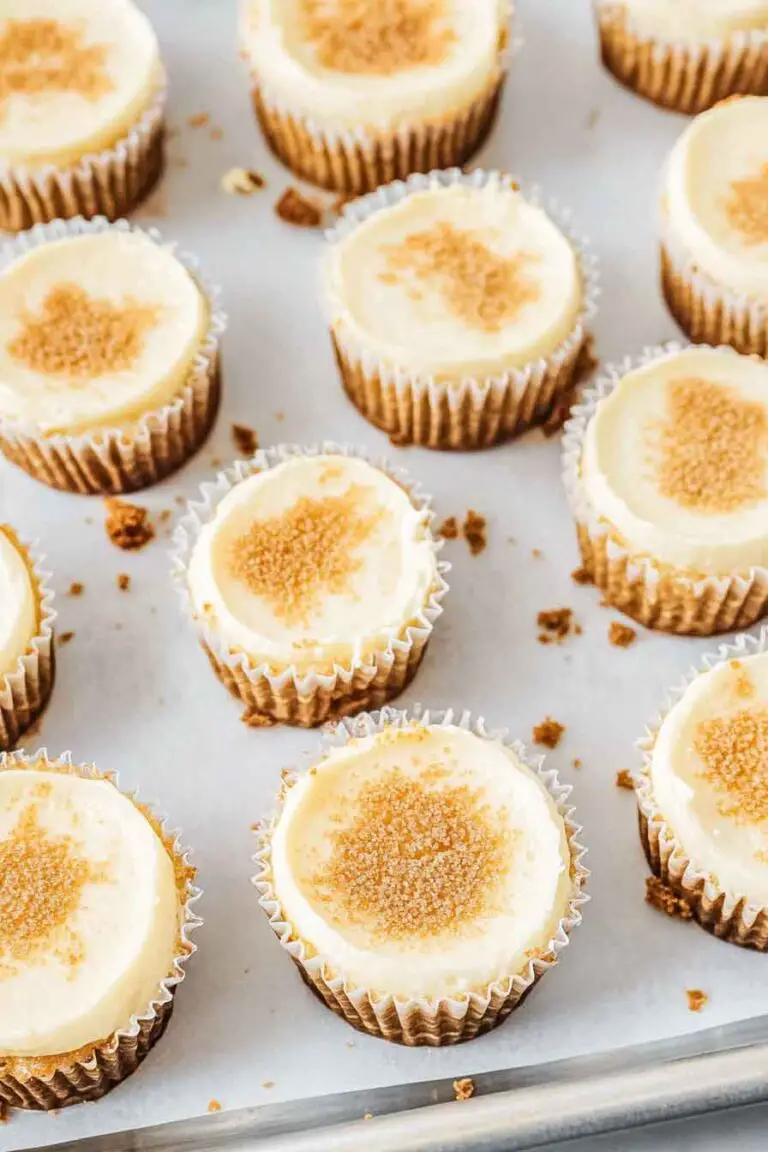
- Mini Versions: Bake in muffin tins lined with paper cups for individual brownie bites.
- Frosted Finish: Chill completely, then top with a thin layer of whipped cream cheese frosting for an extra dessert bar vibe.
How to Make Red Velvet Cheesecake Brownies – Step-by-Step Instructions
Follow these detailed steps to get perfect results every time. Make sure your ingredients are pre-measured and at room temperature before starting for best texture and consistency.
1. Preheat and Prepare Your Pan
- Preheat oven to 350°F (175°C).
- Line an 8×8-inch square baking pan with parchment paper, letting it hang slightly over the sides. This will help lift the brownies out cleanly after baking.
- Lightly grease the parchment and sides of the pan with butter or nonstick spray.
2. Make the Red Velvet Brownie Batter
- In a medium bowl, whisk together the melted butter and granulated sugar until the mixture looks glossy and thick—about 30 seconds.
- Add the eggs, one at a time, whisking well after each addition to incorporate air and structure.
- Stir in the vanilla extract and red food coloring. The mixture should turn a vivid red.
- Sprinkle in the salt, then sift in the flour and cocoa powder.
- Switch to a rubber spatula and gently fold everything together until no dry streaks remain. Do not overmix—stop once the batter is just combined.
- Set aside about 1/4 cup of the red batter in a separate bowl for swirling later.
3. Prepare the Cream Cheese Swirl
- In a separate medium bowl, combine the softened cream cheese, sugar, egg yolk, and vanilla extract.
- Use a hand mixer or whisk to beat until smooth, creamy, and free of lumps. Scrape the sides of the bowl as needed.
- The texture should be thick but pourable, similar to pancake batter.
4. Assemble the Brownies
- Pour the main portion of the red velvet batter into the prepared pan and use a spatula to spread it evenly into the corners.
- Spoon the cream cheese mixture in dollops over the top of the red batter, spacing them evenly.
- Drop small spoonfuls of the reserved red batter over the cream cheese in 4–5 spots.
- Using a toothpick, skewer, or butter knife, gently swirl the two batters together by dragging it through the layers in “S” or figure-eight patterns. Avoid over-mixing—you want to see both red and white areas.
5. Bake the Brownies
- Place the pan in the center of the preheated oven and bake for 40–45 minutes.
- Begin checking at the 38-minute mark. The edges should look set, while the center may jiggle slightly—this is normal and will firm up as it cools.
- A toothpick inserted 1 inch from the edge should come out mostly clean with a few moist crumbs.
6. Cool and Slice
- Allow the brownies to cool completely in the pan on a wire rack—at least 1 hour.
- Once cool, use the parchment overhang to lift them out onto a cutting board.
- For cleaner cuts, refrigerate the brownies for 30 minutes before slicing with a sharp, damp knife.
- Wipe the blade between each cut for best presentation.
How to Serve Red Velvet Cheesecake Brownies
These brownies are rich, so smaller portions go a long way. Here are a few ways to serve them:
- Chilled: After refrigeration, the texture becomes denser and the cream cheese layer firms up—perfect for a neater bite.
- Room Temperature: Let them sit out for 10–15 minutes if you prefer a softer texture with a melt-in-your-mouth effect.
- Dusted with Powdered Sugar: A light sprinkle before serving adds a bakery-style touch.
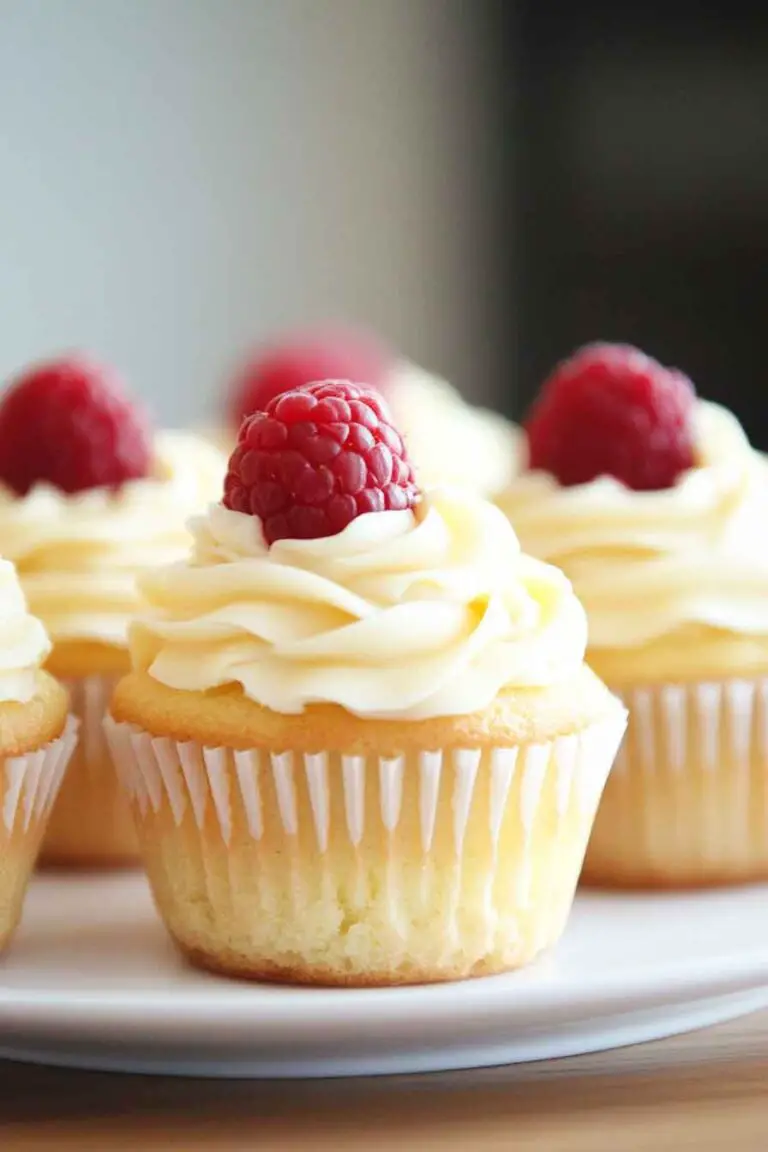
- With Fresh Berries: A few raspberries or strawberries balance the sweetness and bring a pop of freshness.
- As Dessert Bars: Cut into neat squares and add to dessert trays alongside cookies, fudge, or lemon bars.
Storing Red Velvet Cheesecake Brownies
- Refrigerator: Store in an airtight container in the fridge for up to 5 days. Keep parchment between layers if stacked to prevent sticking.
- Freezer: Freeze for up to 2 months. Wrap individual brownies tightly in plastic wrap and place in a freezer-safe bag or container. Thaw in the fridge overnight or at room temperature for 1–2 hours.
Tips and Tricks for Success
- Room Temperature Ingredients: This is crucial for smooth blending and even baking.
- Don’t Overmix: Gently fold the flour and cocoa into the wet ingredients to keep the brownies tender.
- Avoid Overbaking: The cream cheese should look set but not cracked. The center may jiggle slightly when done—it will firm up as it cools.
- Chill Before Slicing: For clean, professional-looking cuts, refrigerate the brownies and use a sharp knife.
Nutrition
| Nutrient | Per Serving (1 of 16) |
|---|---|
| Calories | ~210 kcal |
| Total Fat | 13g |
| Saturated Fat | 7g |
| Cholesterol | 55mg |
| Sodium | 90mg |
| Carbohydrates | 22g |
| Sugar | 14g |
| Protein | 3g |
| Fiber | 1g |

Red Velvet Cheesecake Brownies
Course: Brownie Recipes16
brownies2
minutes40
minutes210
kcalIngredients
Red Velvet Brownie Layer:
1/2 cup (113g) unsalted butter, melted
1 cup (200g) granulated sugar
2 large eggs, room temperature
2 tsp vanilla extract
1 tbsp red food coloring (liquid or gel)
1/4 tsp salt
3/4 cup (95g) all-purpose flour
1/4 cup (20g) Dutch process cocoa powderCream Cheese Swirl:
8 oz (226g) cream cheese, softened
1/4 cup (50g) granulated sugar
1 egg yolk
1/2 tsp vanilla extract
Directions
- Preheat oven to 350°F (175°C). Line an 8×8-inch baking pan with parchment and lightly grease.
- Whisk melted butter and sugar until glossy. Add eggs one at a time, then vanilla and red food coloring. Stir in salt.
- Sift in flour and cocoa powder. Gently fold until combined. Set aside 1/4 cup of batter.
- In another bowl, beat cream cheese, sugar, egg yolk, and vanilla until smooth.
- Spread brownie batter in pan. Drop spoonfuls of cream cheese mixture on top. Add reserved red batter. Swirl gently.
- Bake 40–45 minutes, until edges are set and center jiggles slightly.
- Cool completely, then chill before slicing for clean edges.
Red Velvet Cheesecake Brownies FAQs
Can I use natural cocoa powder instead of Dutch process?
Yes, but the flavor and color may differ slightly. Dutch process cocoa gives a smoother chocolate taste and deeper color. If using natural cocoa, the brownies may be a bit tangier due to the natural acidity.
What’s the best way to swirl the batters together?
Use a toothpick, knife tip, or skewer and gently drag it through the batter in loops or figure eights. Don’t over-swirl—you want distinct areas of red velvet and cream cheese.
Why do my cream cheese swirls crack?
Overbaking or using cold cream cheese can cause cracks. Make sure the cream cheese is fully softened and pull the brownies from the oven when the center is just set.
Can I make these gluten-free?
Yes, substitute a 1:1 gluten-free flour blend that contains xanthan gum. Be careful not to overmix, as gluten-free batters can become gummy.
How do I know the brownies are done?
Look for slightly set edges and a center that doesn’t wobble too much. A toothpick inserted near the center should come out with a few moist crumbs but not wet batter.
Conclusion
Red Velvet Cheesecake Brownies offer the perfect blend of rich, fudgy texture and creamy tang. With their vibrant appearance and straightforward process, they’re a go-to choice when you want a dessert that feels special without being complicated. Whether you’re baking for holidays, gatherings, or a quiet weekend treat, these brownies are designed to impress—both in taste and presentation.
From the dense red velvet base to the delicate cream cheese ribbons, every detail contributes to a bite that’s satisfying, balanced, and truly homemade.