Pink Paradise No-Bake M&M Snickers Cheesecake
If you love creamy, dreamy cheesecakes packed with crunchy, chocolatey goodness, then you are in for a real treat! This Pink Paradise No-Bake M&M Snickers Cheesecake is a no-fuss, no-bake dessert that is sweet, silky, and loaded with fun textures.
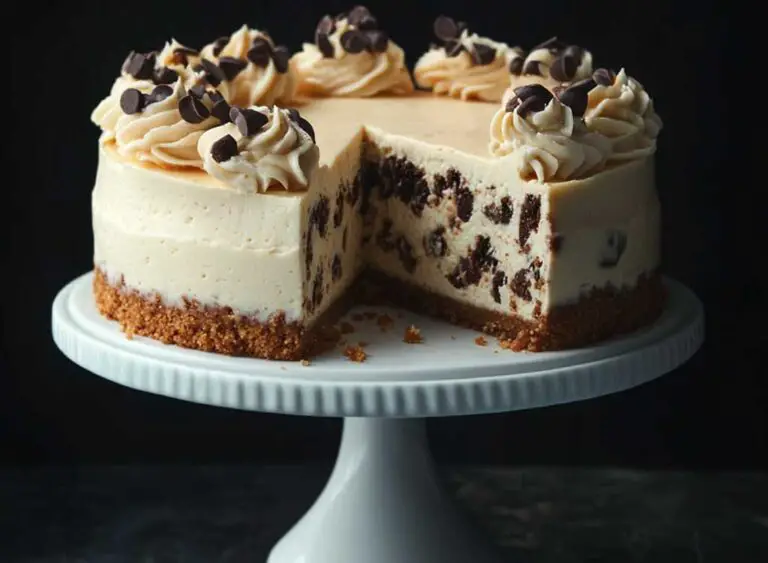
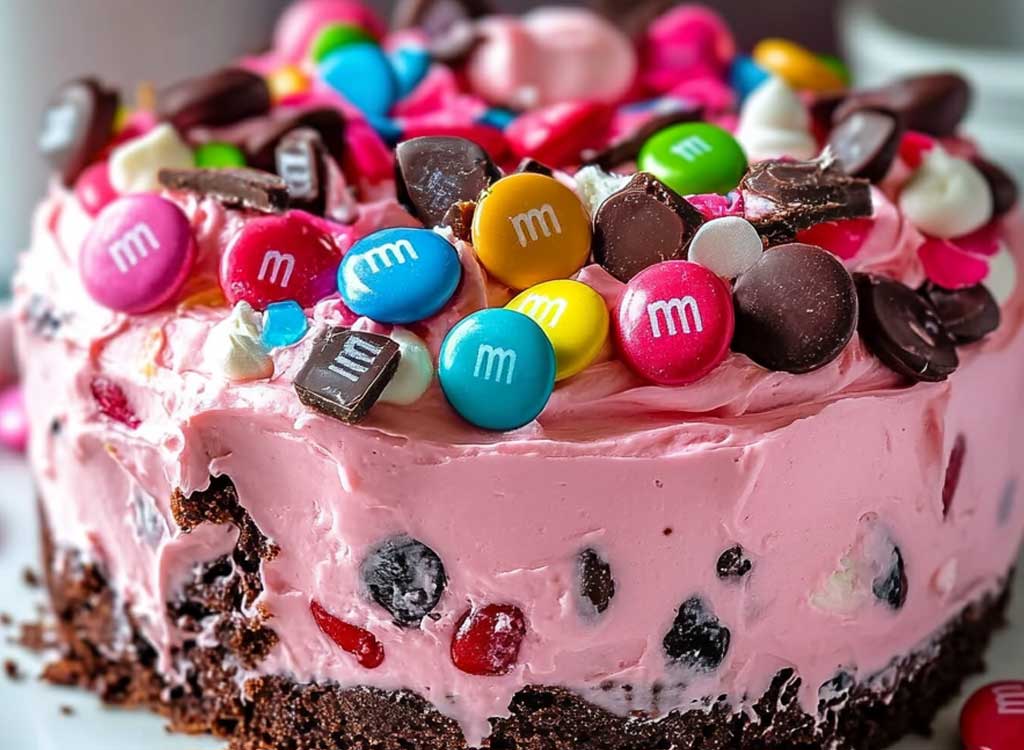
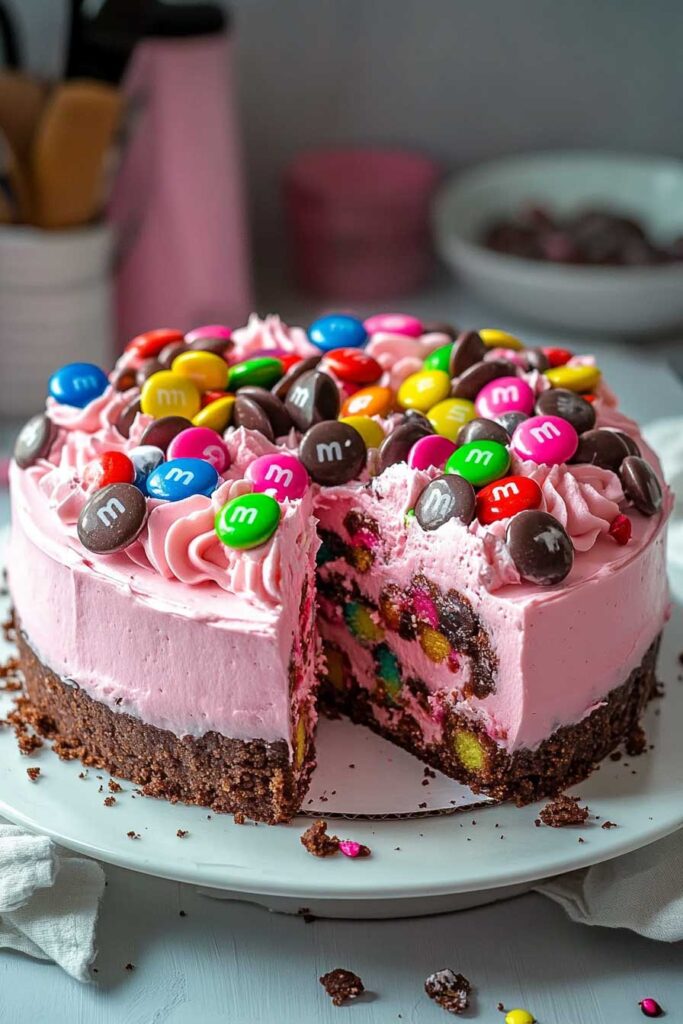
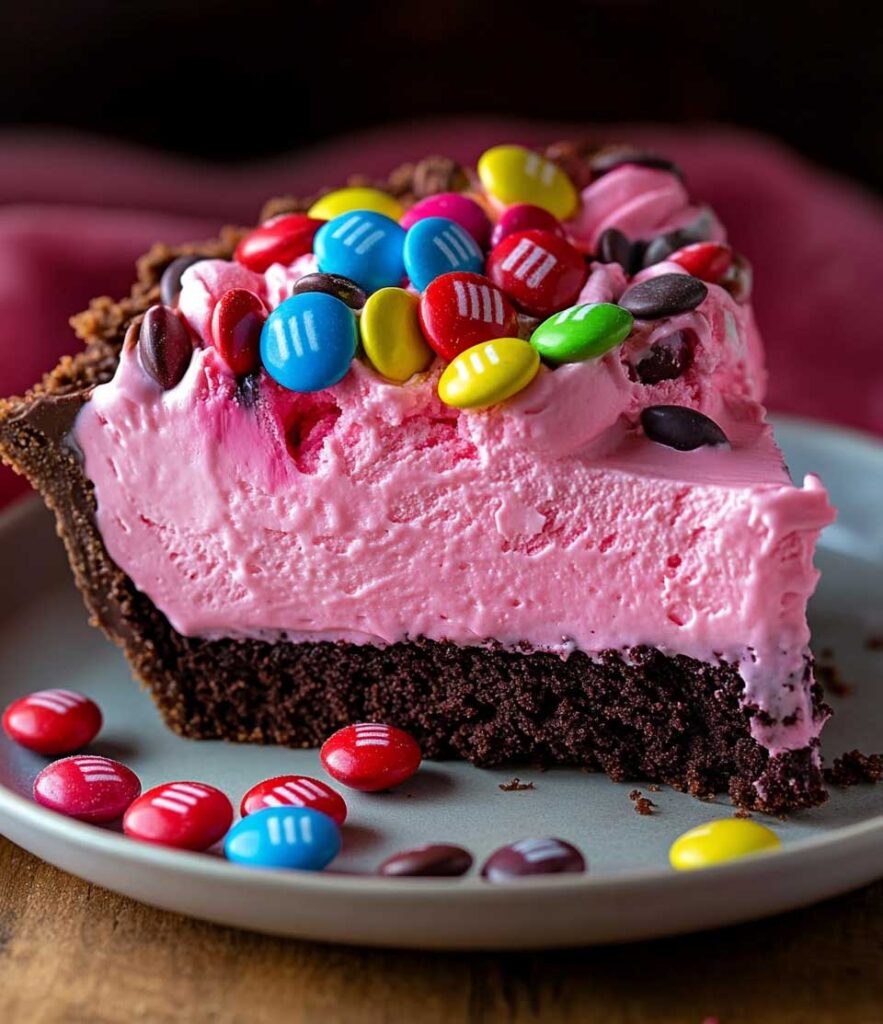
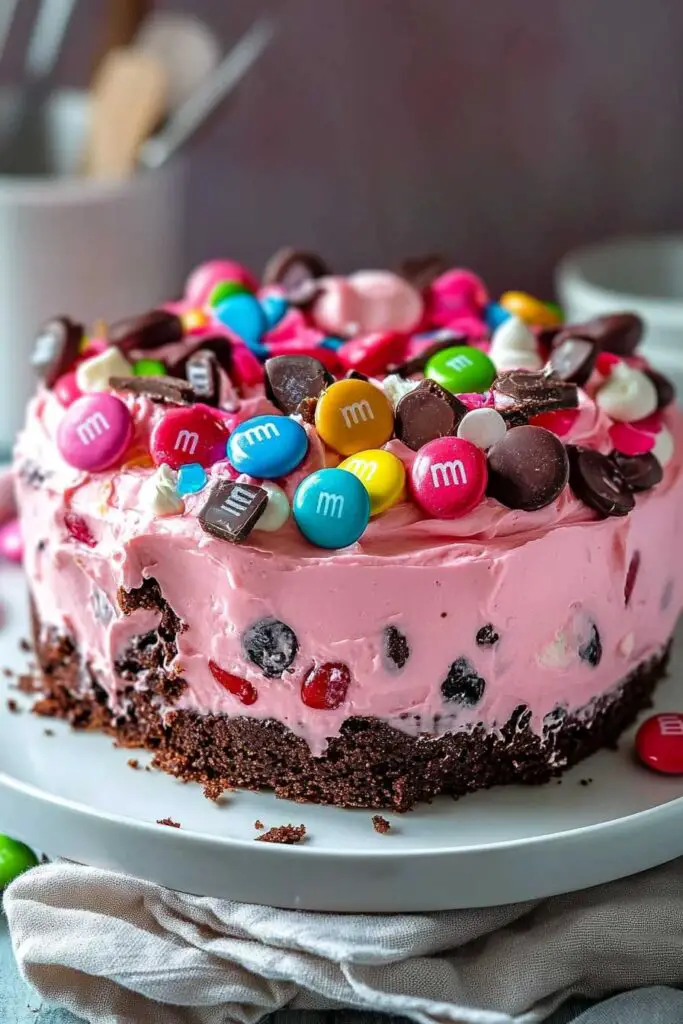
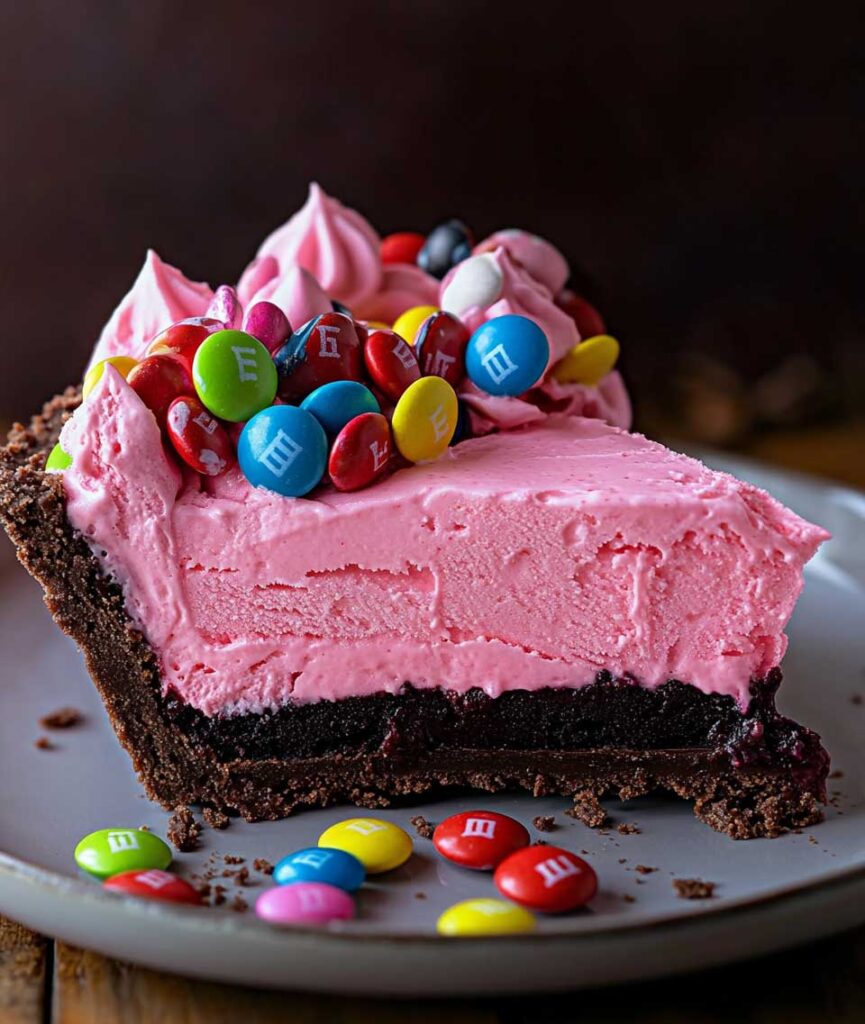
Imagine a buttery cookie crust, a rich, pink-tinted cheesecake filling bursting with chopped Snickers and M&Ms, and a light whipped topping to bring it all together. The best part? No oven needed! Just mix, chill, and enjoy.
Let’s dive into why this cheesecake is about to become your new favorite dessert!

Why You’ll Love This Recipe
- No-Bake Magic: No need to turn on the oven—just mix, chill, and dig in!
- M&M & Snickers Bliss: Every bite is packed with crunchy M&Ms and gooey caramel-filled Snickers.
- Perfect for Any Occasion: Birthday parties, holidays, or a fun weekend treat—this cheesecake fits every event!
- Stunning & Fun: The pretty pink color makes this cheesecake a showstopper.
- Make-Ahead Friendly: Prep it the day before, chill overnight, and it’s ready when you are!
Required Kitchen Tools
✔️ Mixing Bowls – To mix up the crust and creamy filling.
✔️ Electric Mixer – For a light and fluffy cheesecake base.
✔️ Springform Pan (9-inch) – Makes it easy to remove the cheesecake once set.
✔️ Spatula – To spread the filling evenly.
✔️ Refrigerator – For chilling and setting the cheesecake.
✔️ Plastic Wrap or Foil – To cover the cheesecake while it chills.
Key Ingredients for Pink Paradise No-Bake M&M Snickers Cheesecake
Here’s everything you need to make this sweet, creamy, candy-packed dessert:
For the Crust
- Graham Cracker Crumbs – A classic cheesecake base with a buttery crunch.
- Melted Butter – Holds the crust together and adds rich flavor.
- Brown Sugar – Just a touch for extra sweetness.
For the Cheesecake Filling
- Cream Cheese – The heart of the cheesecake! Softened for smooth mixing.
- Powdered Sugar – Sweetens without making the cheesecake grainy.
- Heavy Whipping Cream – Adds lightness and a silky texture.
- Vanilla Extract – For a warm, sweet flavor.
- Pink Food Coloring – Gives it that gorgeous pink hue!
- Chopped Snickers – Gooey caramel, peanuts, and chocolate in every bite.
- M&Ms – A pop of color and crunch inside the cheesecake!
For the Topping
- Whipped Topping – Light and fluffy for the perfect finish.
- Extra M&Ms & Snickers Pieces – Because more candy is always a good idea!
- Chocolate Drizzle (Optional) – For an extra indulgent touch.
Step-by-Step Instructions
1. Make the Crust
First, let’s get that buttery crust ready!
- In a large mixing bowl, combine:
- Graham cracker crumbs
- Melted butter
- Brown sugar
- Mix it all together with a spoon until it looks like wet sand.
- Pour the crumb mixture into a 9-inch springform pan. Press it down firmly using the back of a spoon or a flat measuring cup. Make sure the crust is even and well-packed.
- Place the pan in the fridge to let the crust set while you make the filling.
2. Prepare the Cheesecake Filling
This is where the magic happens!
- In a large mixing bowl, beat softened cream cheese with an electric mixer on medium speed until smooth and creamy.
- Add the powdered sugar and continue beating until it’s fully mixed and fluffy.
- Pour in the vanilla extract and beat again to combine.
- In a separate bowl, whip the heavy cream until stiff peaks form. This means when you lift the beaters, the cream should hold its shape.
- Gently fold the whipped cream into the cream cheese mixture. Be careful not to overmix—we want to keep it light and fluffy!
3. Add the Candy and Color
Now for the fun part—candy time!
- Add a few drops of pink food coloring to the filling and gently fold it in until you reach your desired shade. You can go for a soft blush pink or a vibrant hot pink, depending on your style!
- Fold in the chopped Snickers and M&Ms, making sure they’re evenly distributed throughout the filling.
4. Assemble the Cheesecake
- Take the springform pan out of the fridge and pour the cheesecake filling over the chilled crust.
- Spread the filling evenly with a spatula, making sure the top is smooth and level.
- Cover the pan with plastic wrap or foil and place it in the fridge to chill for at least 6 hours, but overnight is even better.
5. Decorate and Serve
Once the cheesecake is set, it’s time to decorate!
- Remove the cheesecake from the springform pan and place it on a serving plate.
- Spread a layer of whipped topping on top.
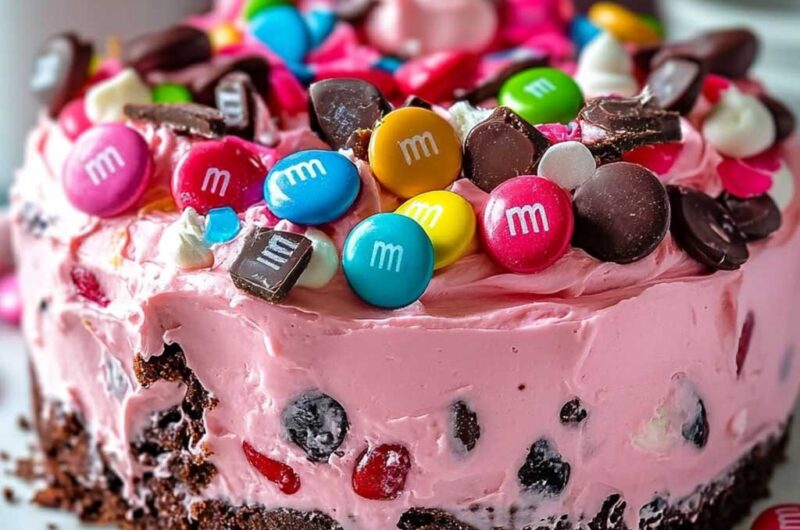
- Sprinkle extra M&Ms and chopped Snickers pieces all over the top.
- For an extra touch, drizzle melted chocolate over the top in zigzag lines.
- Slice and serve!
Serving and Decoration Ideas
This cheesecake is already a showstopper, but let’s make it even more fun!
🎀 Extra Pink Vibes: Add a sprinkle of pink sugar crystals or heart-shaped sprinkles for a pretty touch.
🍫 Chocolate Lover’s Dream: Drizzle with melted white or dark chocolate for extra indulgence.
🍦 Ice Cream Pairing: Serve with a scoop of vanilla or caramel ice cream to make it extra special.
☕ Perfect with Coffee: A slice of this cheesecake pairs beautifully with hot chocolate, coffee, or a vanilla latte.
🎉 Party Ready: Add birthday candles, a candy border, or a drizzle of caramel sauce for an extra festive look!
How to Store Your Cheesecake
Want to save some for later? Here’s how to store it:
Refrigerator Storage
- Keep the cheesecake covered in the fridge for up to 5 days.
- Store it in an airtight container or cover it with plastic wrap to keep it fresh.
Freezing Instructions
- This cheesecake freezes beautifully!
- To freeze whole: Wrap the entire cheesecake tightly in plastic wrap, then in foil, and store it in the freezer for up to 2 months.
- To freeze slices: Wrap individual slices in plastic wrap and place them in a freezer-safe bag.
- To thaw: Let it sit in the fridge for a few hours or at room temperature for 15-20 minutes before serving.
Variations & Fun Twists
Want to change things up? Try these fun variations:
💜 Oreo Twist: Swap the graham cracker crust for an Oreo cookie crust for a cookies-and-cream vibe.
🍓 Berry Bliss: Add fresh strawberries or raspberries to the cheesecake filling for a fruity kick.
🥜 Peanut Butter Love: Swirl in peanut butter for a Snickers-inspired flavor boost.
🍋 Lemon M&M Cheesecake: Skip the pink food coloring and add lemon zest for a bright, citrusy version.
🌈 Rainbow Candy Explosion: Use multiple M&M colors for a fun, rainbow-inspired cheesecake.
Tips & Tricks for Success
✔️ Use Room-Temperature Ingredients: Softened cream cheese blends more smoothly—no lumps!
✔️ Chill for the Best Texture: Let it set overnight for the creamiest, dreamiest results.
✔️ Slice with a Warm Knife: Dip a knife in warm water, wipe dry, and cut for clean slices every time.
✔️ Don’t Overmix the Whipped Cream: Fold it in gently so the cheesecake stays light and fluffy.
✔️ Make it Extra Crunchy: Add crushed pretzels to the crust for a sweet-salty balance!
Pink Paradise No-Bake M&M Snickers Cheesecake
Course: Cake RecipesYield: 10-12
servings20
minutes6
minutes420
kcalIngredients
- For the Crust
2 cups graham cracker crumbs
½ cup melted butter
2 tbsp brown sugar
- For the Cheesecake Filling
For the Cheesecake Filling
1 cup powdered sugar
1½ cups heavy whipping cream
1½ tsp vanilla extract
2-3 drops pink food coloring
1 cup chopped Snickers
¾ cup M&Ms
- For the Topping
1½ cups whipped topping (store-bought or homemade)
½ cup extra M&Ms
¼ cup chopped Snickers
¼ cup melted chocolate for drizzling (optional)
Directions
- Make the Crust
In a bowl, combine graham cracker crumbs, melted butter, and brown sugar.
Press the mixture into a 9-inch springform pan in an even layer.
Place in the fridge while you prepare the filling. - Prepare the Cheesecake Filling
In a large bowl, beat cream cheese until smooth.
Add powdered sugar and beat again until fluffy.
In a separate bowl, whip heavy cream until stiff peaks form.
Gently fold the whipped cream into the cream cheese mixture.
Add vanilla extract and pink food coloring, stirring gently until evenly mixed. - Add the Candy & Assemble
Fold in chopped Snickers and M&Ms into the cheesecake mixture.
Pour the filling over the prepared crust and smooth the top with a spatula.
Cover with plastic wrap and refrigerate for at least 6 hours or overnight. - Decorate & Serve
Remove cheesecake from the pan and spread whipped topping over the top.
Sprinkle with extra M&Ms, Snickers pieces, and drizzle melted chocolate for extra indulgence.
Slice, serve, and enjoy!
Nutrition Information (Per Serving)
| Nutrient | Amount |
|---|---|
| Calories | ~420 |
| Carbs | 45g |
| Protein | 6g |
| Fat | 25g |
| Sugar | 32g |
| Fiber | 1g |
Pink Paradise Cheesecake FAQs
Can I make this ahead of time?
Yes! It actually tastes better the next day after chilling overnight.
Can I use a different crust?
Absolutely! Try an Oreo crust, chocolate cookie crust, or pretzel crust for a fun twist.
Can I freeze this cheesecake?
Yes! Wrap it tightly and freeze for up to 2 months. Let it thaw in the fridge before serving.
What’s the best way to cut clean slices?
Dip a sharp knife in warm water, wipe it dry, and slice. Repeat between cuts for perfect slices!
Can I use other candies?
Of course! Try Reese’s, Twix, Kit-Kats, or any of your favorites.
Conclusion
And there you have it—Pink Paradise No-Bake M&M Snickers Cheesecake! This dessert is creamy, fun, and packed with candy goodness, making it perfect for birthdays, parties, or a sweet treat just because!
It’s super easy to make, no oven required, and totally customizable to fit your favorite flavors. Try it out, share it with family and friends, and let us know how you like it!
Happy no-baking!