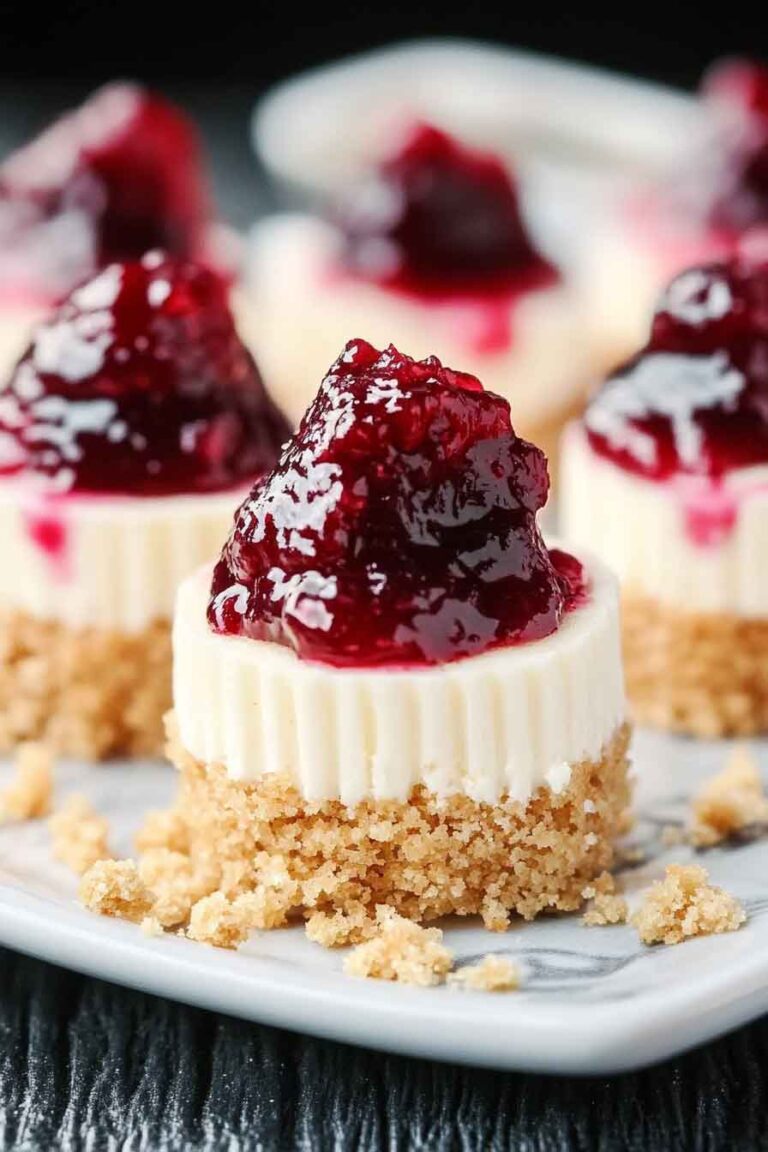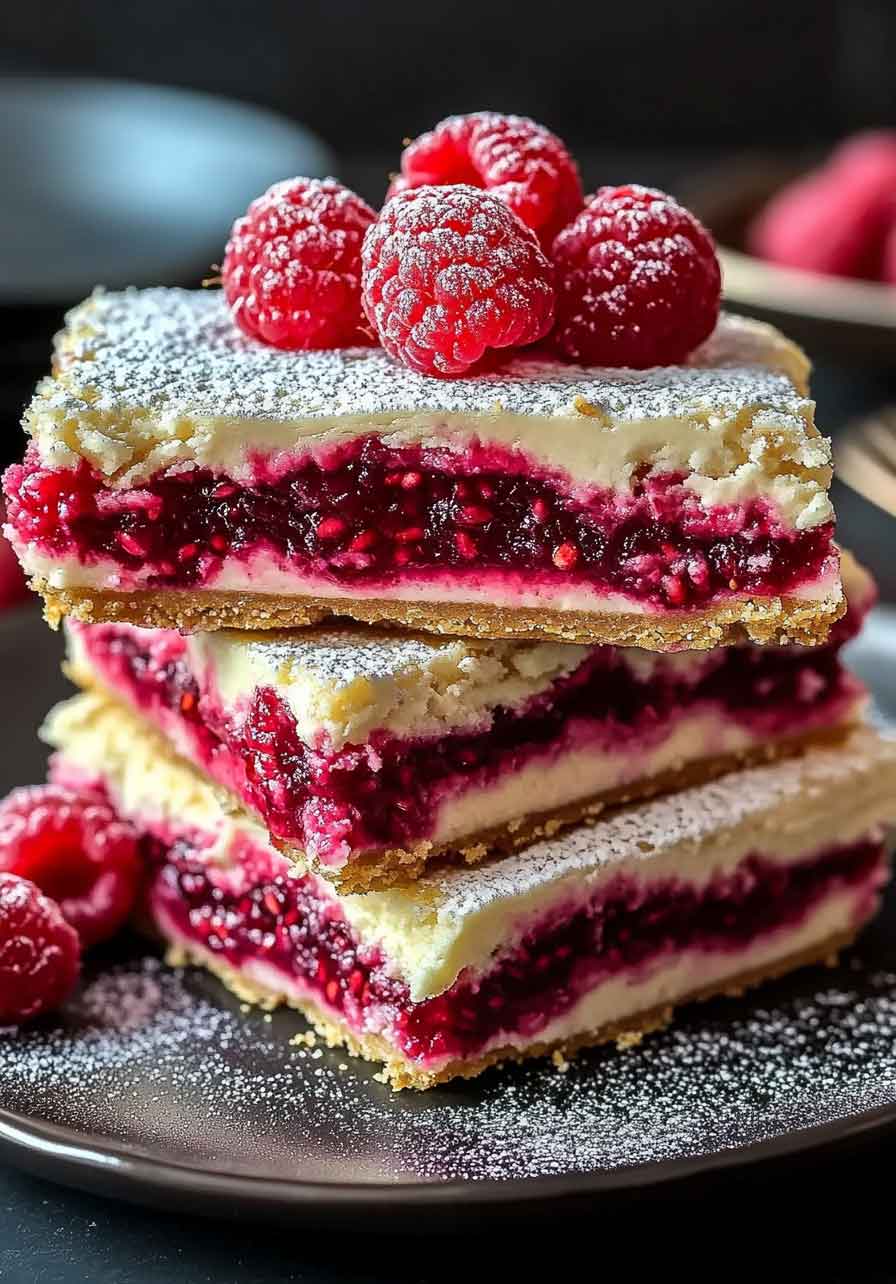
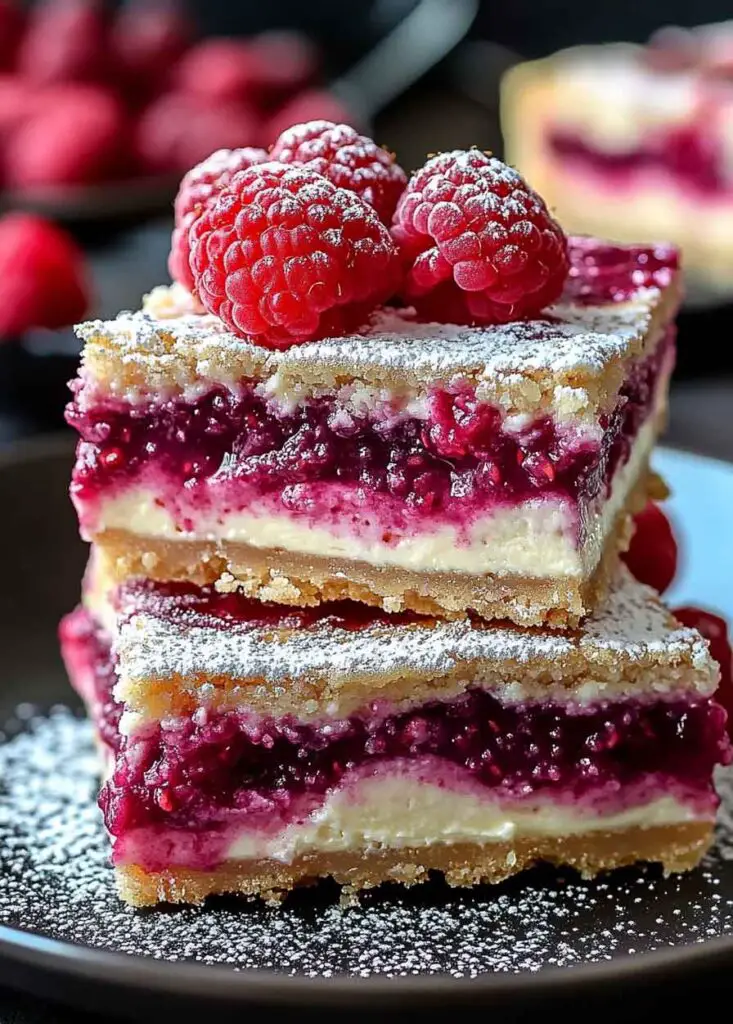
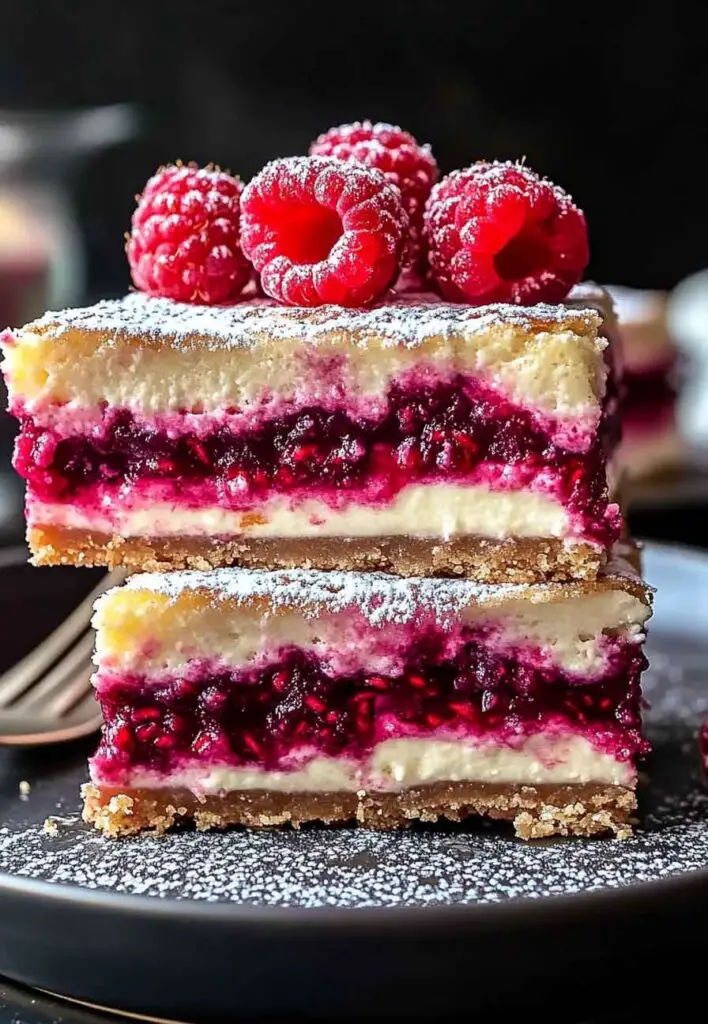
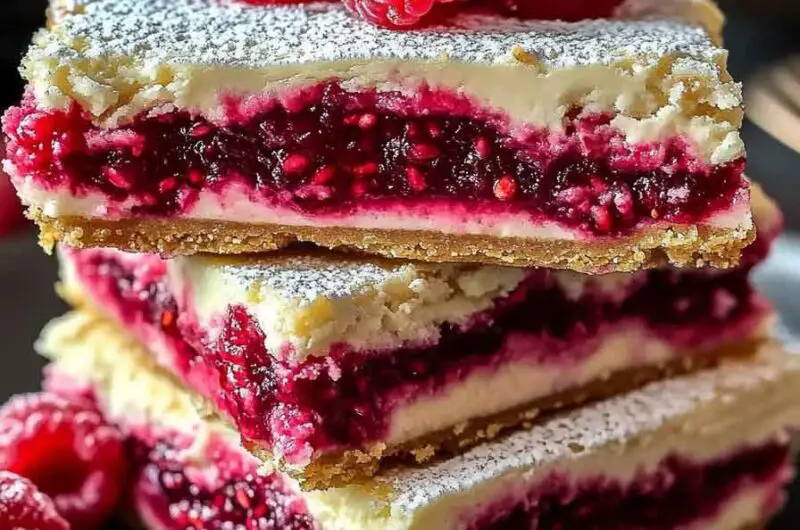
Heavenly Raspberry Cheesecake Bars
These Heavenly Raspberry Cheesecake Bars are smooth, fruity, and full of flavor. They’ve got a buttery crust, creamy cheesecake filling, and sweet raspberry swirls on top. Every bite feels light, fresh, and just the right amount of sweet.
I made them for a picnic once, and they were gone in minutes. The raspberry adds a tangy pop that balances the rich, velvety cheesecake. Plus, they cut into perfect squares—easy to serve and so pretty to look at.
Perfect for spring gatherings, brunch tables, or just a little weekday treat. I’ll walk you through the steps to make them. They’re simple, stunning, and totally worth it.

Why You’ll Love This Recipe
- Creamy Texture with Tart Swirl: The cream cheese filling is soft and silky, while the raspberry layer adds a fruity contrast that cuts through the richness just enough.
- Reliable and Beginner-Friendly: No water bath, no springform pan—just straightforward steps that work every time.
- Easy to Transport and Serve: These bars are baked in a square pan, sliced cleanly, and hold up well when chilled. Great for potlucks, brunches, bake sales, or family dinners.
- Make-Ahead Friendly: These need to chill for at least 2 hours, but you can make them up to 2 days in advance and store them tightly covered in the fridge.
- Customizable: You can tweak the base or the filling to suit your taste—add lemon zest, swirl in jam, or change the crust.
What You Need to Know Before You Start
Prep Time & Bake Time
- Prep Time: 25 minutes
- Bake Time: 35 to 40 minutes
- Chill Time: Minimum 2 hours in the fridge
- Total Time: Around 3 hours, including cooling and chilling
Yield
- Makes 16 small squares or 9 large bars
- Great for a small party or as single servings for dessert all week
Difficulty Level
- Easy for beginners
- Requires basic baking skills: pressing a crust, mixing filling, and swirling puree
- No advanced techniques or equipment needed
Required Kitchen Tools
To ensure even mixing, smooth texture, and easy baking, gather these tools before starting:
- 8×8-inch or 9×9-inch square baking pan: Metal pans work best for even baking. Glass can be used, but expect slightly longer bake times.
- Mixing bowls: At least two medium-sized bowls—one for the crust, one for the filling.
- Hand mixer or stand mixer: Creaming the cheese until smooth is essential. A strong whisk can work if you’re thorough.
- Spatula: For scraping down the sides and evenly spreading the filling.
- Small saucepan: Used to make the raspberry puree.
- Fine mesh strainer (optional): Use if you want a seedless raspberry swirl.
- Parchment paper: For lining the pan and making clean-up and slicing much easier.
Ingredients
These bars use simple ingredients you likely already have or can find at any grocery store. Here’s a breakdown of each layer:
For the Graham Cracker Crust:
- 1 and 1/2 cups (150g) graham cracker crumbs: Use a food processor for a fine, even crumb. Pre-crushed graham crumbs work, too.
- 2 tablespoons (25g) granulated sugar: Helps the crust brown and firm up during baking.
- 6 tablespoons (85g) unsalted butter, melted: Binds the crumbs and adds flavor. Make sure it’s fully melted and slightly cooled.
For the Cheesecake Filling:
- 16 ounces (450g) full-fat cream cheese, softened: This is the star ingredient. Let it sit at room temp for 30 minutes so it blends easily and smoothly.
- 2/3 cup (135g) granulated sugar: Sweetens the filling without overpowering the raspberries.
- 2 large eggs, at room temperature: They give the filling structure. Add one at a time and mix gently to avoid overbeating.
- 1 teaspoon vanilla extract: Adds warmth and enhances the raspberry flavor.
- 1/4 cup (60g) sour cream: Makes the texture extra creamy and slightly tangy.
- 2 tablespoons (15g) all-purpose flour: Just enough to stabilize the filling so the bars slice cleanly without cracking.
For the Raspberry Swirl:
- 3/4 cup (90g) fresh or frozen raspberries: Fresh is ideal, but frozen raspberries work perfectly as long as they’re not packed in syrup.
- 1 tablespoon (12g) granulated sugar: Balances the tartness of the raspberries.
- 1 teaspoon fresh lemon juice: Brings out the bright raspberry notes.
- Optional: Strain the mixture through a fine mesh sieve to remove seeds for a smoother swirl. This step is optional but adds a touch of refinement.
Variations for Raspberry Cheesecake Bars
- Switch the Crust: Try crushed digestive biscuits, Biscoff cookies, or Oreos for a new base flavor.
- Add Lemon Zest: Stir 1 teaspoon of lemon zest into the filling for a citrusy brightness.
- Swirl in Jam: No fresh raspberries? Use seedless raspberry jam instead. Warm slightly before swirling so it’s easy to drizzle.
- Add Chocolate: A thin layer of dark chocolate ganache on top of the chilled bars adds a richer, more decadent finish.
- Use Mixed Berries: Blueberries, strawberries, or blackberries all work well and add visual interest with their different colors.
How to Make Raspberry Cheesecake Bars Step-by-Step
Step 1: Preheat and Prepare the Pan
- Preheat your oven to 325°F (163°C).
- Line an 8×8-inch square baking pan with parchment paper, letting the paper hang over two sides. This makes it easy to lift the bars out later.
- Lightly grease the sides of the pan if not using parchment.
Step 2: Make the Graham Cracker Crust
- In a medium bowl, mix together graham cracker crumbs and sugar.
- Add melted butter and stir until the mixture resembles wet sand.
- Pour into the prepared pan and press firmly into an even layer using the bottom of a measuring cup or glass.
- Bake the crust for 8–10 minutes until slightly golden and set.
- Let it cool while you prepare the filling.
Tip: A well-packed crust helps the bars hold together when sliced. Be sure to press it tightly into all corners.
Step 3: Make the Raspberry Swirl
- In a small saucepan over medium heat, combine raspberries, sugar, and lemon juice.
- Stir and cook for about 5–7 minutes, mashing the berries gently until the mixture thickens slightly.
- Remove from heat and, if desired, strain through a fine mesh sieve to remove seeds. Set aside to cool slightly.
Tip: The swirl should be thick enough to sit on top of the cheesecake layer without sinking.
Step 4: Make the Cheesecake Filling
- In a large bowl, beat the softened cream cheese with a hand mixer (or stand mixer) on medium speed until very smooth—about 2 minutes.
- Add granulated sugar and mix for another 1 minute, scraping down the sides of the bowl.
- Beat in eggs, one at a time, just until combined. Do not overmix.
- Add vanilla extract, sour cream, and flour. Mix until smooth and creamy.
- Pour the filling over the cooled crust and gently spread into an even layer.
Tip: Overmixing the batter adds too much air and can cause cracks while baking. Keep mixing gentle once the eggs are added.
Step 5: Add the Raspberry Swirl
- Drop small spoonfuls of the raspberry puree over the top of the cheesecake batter.
- Use a toothpick, knife, or skewer to swirl the raspberry puree into the cheesecake. Drag the tool through the batter in loops and figure-8s for a marbled look.
Tip: Less is more. Over-swirling blends the puree too much and can muddy the colors. A light hand creates the best visual effect.
Step 6: Bake
- Bake at 325°F (163°C) for 35–40 minutes, or until the center is set but still slightly jiggly in the middle.
- The edges should look puffed, and the top should no longer be shiny.
Tip: Don’t overbake. The bars will continue to firm up as they cool.
Step 7: Cool and Chill
- Remove the pan from the oven and place it on a wire rack. Let the bars cool in the pan for 1 hour at room temperature.
- Transfer the pan to the refrigerator and chill for at least 2 hours, or preferably overnight.
- Once chilled, lift the bars out using the parchment paper and place on a cutting board.
- Slice into clean, even squares using a sharp knife. Wipe the knife between cuts for tidy edges.
How to Serve Raspberry Cheesecake Bars
These bars are meant to be served cold, straight from the fridge. Their texture firms up perfectly after chilling, which makes them easy to slice and hold. For a clean look:
- Serve each bar on a small plate with a fork.
- Garnish with fresh raspberries or a light dusting of powdered sugar if desired.
- For a fancy touch, add a thin strip of lemon zest or a drizzle of melted white chocolate before serving.
These are excellent as a dessert after dinner, for brunch spreads, or even at bake sales.
How to Store Raspberry Cheesecake Bars
Refrigerator:
Place the bars in an airtight container or cover tightly with foil or plastic wrap. Store in the fridge for up to 5 days.
Freezer:
You can freeze them for longer storage. Wrap each bar individually in plastic wrap, then place in a zip-top freezer bag. Freeze for up to 2 months. Thaw overnight in the fridge before serving.
Tips and Tricks for Success
- Use Room Temperature Ingredients: This ensures a smooth batter that blends easily and bakes evenly.
- Chill Fully Before Cutting: Cutting before fully chilled will lead to soft or messy slices.
- Use a Clean Knife: Wipe the blade between each cut to keep the layers neat.
- Strain the Raspberry Swirl (Optional): Removing the seeds gives a smoother finish, but if you like texture, leave them in.
- Watch the Bake Time: Don’t wait until the bars are firm in the oven. A gentle jiggle in the center means they’re just right.
Nutrition
| Serving Size | 1 bar (of 16) |
|---|---|
| Calories | ~230 kcal |
| Total Fat | 15g |
| Saturated Fat | 8g |
| Cholesterol | 55mg |
| Sodium | 160mg |
| Carbohydrates | 20g |
| Sugar | 14g |
| Protein | 3g |
| Fiber | <1g |
Note: Nutrition values are estimates and may vary based on exact brands or portion sizes used.
Heavenly Raspberry Cheesecake Bars
Course: Cake Recipes15
bars25
minutes35
minutes230
kcal2+
hourIngredients
Crust:
1 and 1/2 cups (150g) graham cracker crumbs
2 tablespoons (25g) granulated sugar
6 tablespoons (85g) unsalted butter, meltedFilling:
16 oz (450g) full-fat cream cheese, softened
2/3 cup (135g) granulated sugar
2 large eggs, at room temperature
1 teaspoon vanilla extract
1/4 cup (60g) sour cream
2 tablespoons (15g) all-purpose flourRaspberry Swirl:
3/4 cup (90g) raspberries (fresh or frozen)
1 tablespoon (12g) granulated sugar
1 teaspoon lemon juice
Directions
- Preheat oven to 325°F (163°C). Line an 8×8-inch pan with parchment paper.
- Make crust: Mix graham cracker crumbs, sugar, and butter. Press into pan. Bake for 8–10 minutes, then cool.
- Make raspberry swirl: In a saucepan, cook raspberries, sugar, and lemon juice for 5–7 minutes. Mash and cook until thick. Strain if desired.
- Make cheesecake filling: Beat cream cheese until smooth. Add sugar and beat again. Mix in eggs one at a time. Add vanilla, sour cream, and flour.
- Assemble: Pour filling over crust. Drop raspberry puree on top and swirl gently.
- Bake: Bake 35–40 minutes or until center is mostly set.
- Cool and chill: Cool for 1 hour, then chill at least 2 hours. Cut into squares.
Raspberry Cheesecake Bars FAQs
Can I use frozen raspberries?
Yes. Thaw and drain excess liquid before cooking into a puree.
Do I have to strain the raspberry mixture?
No. Straining removes the seeds, but it’s optional. Some people enjoy the added texture.
Can I double the recipe?
Yes. Use a 9×13-inch pan and increase baking time by 5–10 minutes.
How long can I store them in the fridge?
Up to 5 days, tightly covered.
Can I use a different crust?
Absolutely. Try digestive biscuits, chocolate grahams, or even shortbread cookies.
Conclusion
Heavenly Raspberry Cheesecake Bars are the kind of dessert that feels special without being complicated. With a creamy base, a fresh fruit swirl, and a crisp crust, each square delivers balance in flavor and texture. These bars are dependable, flexible, and easy to love—ideal for both new bakers and seasoned pros.
Whether you’re making a weeknight dessert or something for guests, these bars hold their own with minimal fuss.