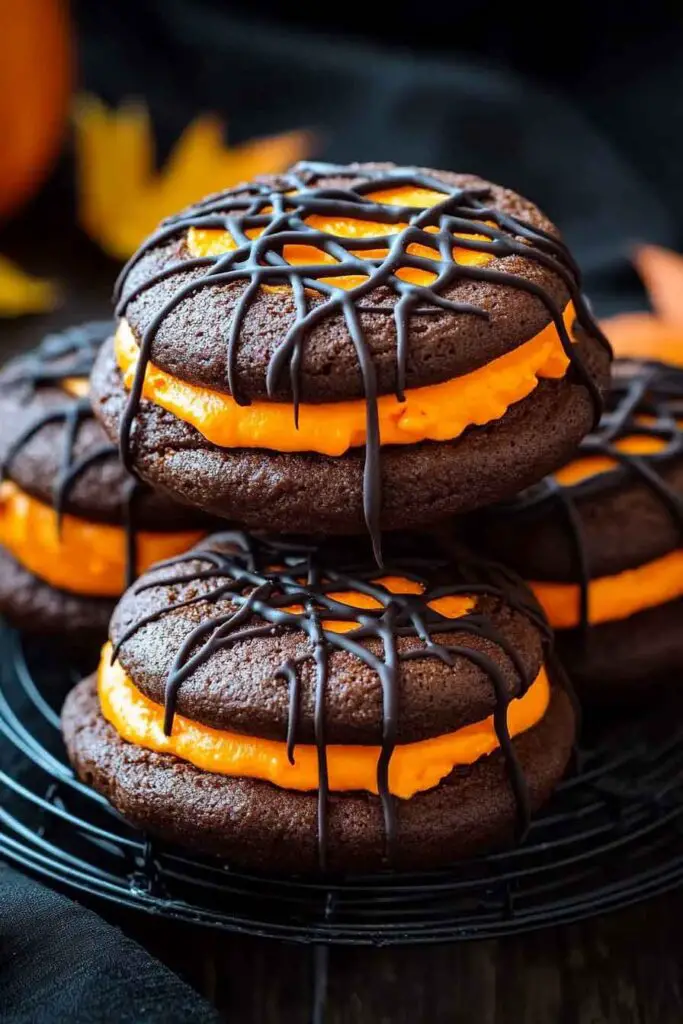
Halloween Whoopie Pies with Creamy Filling
Oh wow, these Halloween whoopie pies with creamy filling are so much fun! They’re soft, sweet, and packed with that rich creamy filling we all love. Plus, they’re super easy to make!
I baked a batch last weekend, and they turned out so cute and spooky. The pumpkin spice flavor with that fluffy cream center is just, oh my gosh, amazing. They’re perfect for a Halloween party or just a cozy night in.
Trust me, these little treats are a total crowd-pleaser. You’ll love how soft the cakes are, and that creamy filling? Oh, it’s dreamy. You’ll want to make them over and over again!

So grab your mixing bowls and let’s whip up these Halloween whoopie pies. They’re fun to decorate and totally delicious. You’re going to love them!
Why You’ll Love This Recipe
- Perfect Texture: The cookies are soft and cake-like, while the creamy filling is light and fluffy. This contrast creates a satisfying bite every time.
- Customizable: You can color the filling orange for Halloween, but it’s just as easy to adapt the colors for other holidays. The flavor is mild and pairs well with almost any extract or food coloring.
- Kid-Friendly Fun: Children can help with shaping the cookie batter and adding sprinkles. It’s a fun, hands-on recipe that keeps little ones involved from start to finish.
What You Need to Know Before You Start
Prep Time & Cook Time:
- Prep Time: 25 minutes – This includes mixing the cookie batter and the creamy filling.
- Bake Time: 10-12 minutes per batch – You’ll likely bake in two or three batches depending on your oven size.
- Assembly Time: 10-15 minutes – Allow the cookies to cool completely before filling.
- Total Time: About 1 hour and 15 minutes from start to finish.
Servings:
This recipe makes about 12 large whoopie pies (or 24 minis if you scoop smaller portions). Perfect for a gathering, Halloween party, or family dessert.
Difficulty Level:
Beginner-friendly. The steps are simple, and there’s room for creativity in decorating. The key is to make sure the cookies are completely cooled before adding the filling, to keep it from melting.
Required Kitchen Tools
Here’s what you’ll need to make these Halloween Whoopie Pies:
- Mixing bowls: One for dry ingredients and one for wet ingredients.
- Electric mixer: Either a stand mixer with paddle attachment or a hand mixer will work.
- Measuring cups and spoons: For precise measurements.
- Rubber spatula: For folding and scraping down the sides of the bowl.
- Baking sheets lined with parchment paper: This keeps the cookies from sticking and makes cleanup easy.
- Cookie scoop or spoon: To portion out the batter evenly.
- Cooling rack: Essential for cooling the cookies completely before filling.
Ingredients for the Whoopie Pies and Creamy Filling
Here’s a closer look at what you’ll need. Exact amounts will be listed in the recipe card later on.
For the Whoopie Pies:
- All-purpose flour: Provides structure and a tender crumb.
- Unsweetened cocoa powder: Gives a rich chocolate flavor and deep color, perfect for Halloween.
- Baking powder and baking soda: Help the cookies rise and stay soft.
- Salt: Balances the sweetness and enhances the chocolate.
- Unsalted butter (softened): Adds moisture and flavor.
- Brown sugar and granulated sugar: Brown sugar adds a bit of molasses flavor, while granulated sugar keeps the sweetness light.
- Eggs (room temperature): Help bind the dough and add richness.
- Vanilla extract: Adds a warm, aromatic flavor.
- Whole milk or buttermilk: Creates a tender crumb and light texture.
For the Creamy Filling:
- Unsalted butter (softened): Forms the base of the filling and adds a rich flavor.
- Powdered sugar: Sweetens and helps create a smooth, spreadable filling.
- Vanilla extract: Provides a subtle warmth that complements the chocolate.
- Marshmallow creme (or fluff): Adds volume and a light, fluffy texture to the filling.
- Orange food coloring: Optional, but perfect for a festive Halloween theme. You can also use gel coloring for a more vibrant color.
Variations for Halloween Whoopie Pies
- Spiced Version: Add 1 teaspoon pumpkin pie spice or ground cinnamon to the dry ingredients for a warm, seasonal flavor.
- Different Flavors: Swap the vanilla extract in the filling for almond, orange, or even a hint of peppermint if you’re making these for other occasions.
- Decorate the Edges: After filling the cookies, roll the edges in Halloween-themed sprinkles, mini chocolate chips, or crushed candy for extra texture and color.
- Mini Versions: Use a smaller scoop to make bite-sized whoopie pies that are perfect for a dessert platter.
How to Make Halloween Whoopie Pies with Creamy Filling – Step-by-Step
Step 1: Preheat and Prepare
Preheat your oven to 350°F (175°C). Line two baking sheets with parchment paper to prevent sticking and make cleanup easy.
Step 2: Mix the Dry Ingredients
In a medium bowl, whisk together the flour, cocoa powder, baking powder, baking soda, and salt. This step helps distribute the leavening agents and removes any lumps from the cocoa.
Step 3: Cream the Butter and Sugars
In a large mixing bowl, use a stand mixer or hand mixer to beat the softened butter with the brown sugar and granulated sugar on medium speed until the mixture is light and fluffy, about 2-3 minutes. This creates air pockets that help the cookies rise.
Step 4: Add Eggs and Vanilla
Add the eggs one at a time, beating well after each addition. Then add the vanilla extract. Mixing thoroughly at this stage helps ensure a uniform texture.
Step 5: Combine Dry and Wet Ingredients
With the mixer on low speed, add the dry ingredients to the butter mixture in three additions, alternating with the milk or buttermilk. Start and end with the dry ingredients. This prevents overmixing and keeps the batter light. Mix just until everything is combined.
Step 6: Scoop the Batter
Use a cookie scoop or a spoon to portion out the batter onto the prepared baking sheets. Leave about 2 inches of space between each mound, as the cookies will spread while baking. For large whoopie pies, scoop about 2 tablespoons per cookie; for minis, use 1 tablespoon.
Step 7: Bake
Bake the cookies for 10-12 minutes, or until they are set and spring back lightly when touched. They should be soft and slightly puffy. Avoid overbaking, as this can make the cookies dry.
Step 8: Cool Completely
Remove the cookies from the oven and let them cool on the baking sheet for 5 minutes, then transfer them to a cooling rack. They need to be completely cool before you add the filling, or the butter in the filling will melt.
Step 9: Make the Creamy Filling
In a medium bowl, beat the softened butter until smooth. Gradually add the powdered sugar, a little at a time, beating until fluffy. Add the vanilla extract and marshmallow creme, and continue beating until the mixture is light and airy. For a festive touch, add orange food coloring and mix until the color is even.
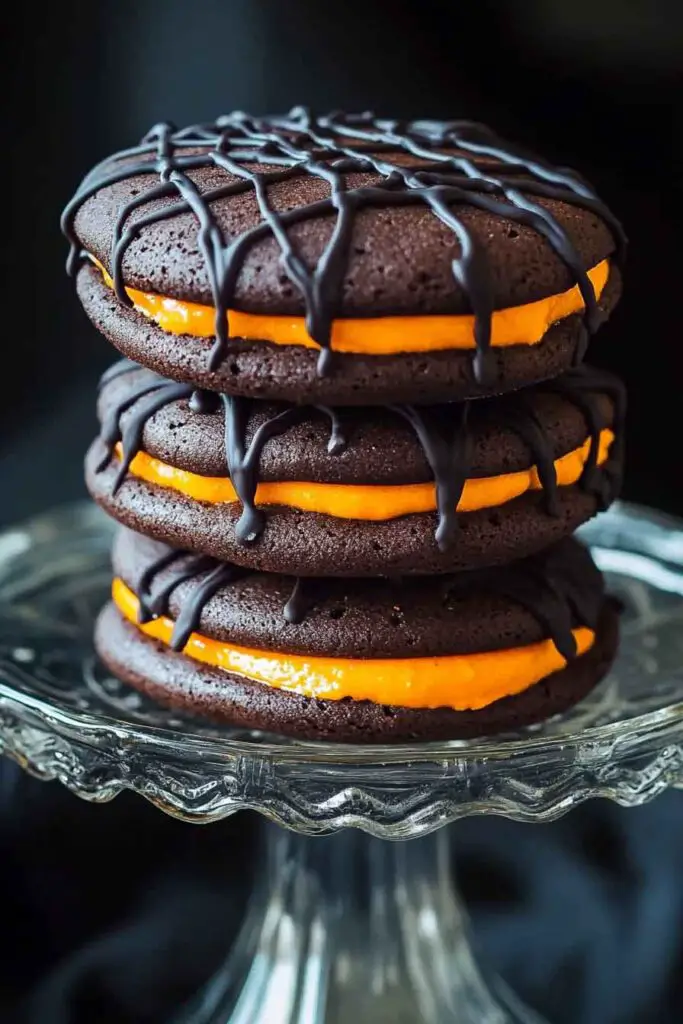
Step 10: Assemble the Whoopie Pies
Pair the cooled cookies by size. Spread or pipe a generous dollop of creamy filling onto the flat side of one cookie. Top with a second cookie, pressing gently to create a sandwich. If desired, roll the edges in sprinkles for extra flair.
Step 11: Chill (Optional)
For a firmer filling, place the assembled whoopie pies in the refrigerator for about 30 minutes. This helps the filling set and makes them easier to handle.
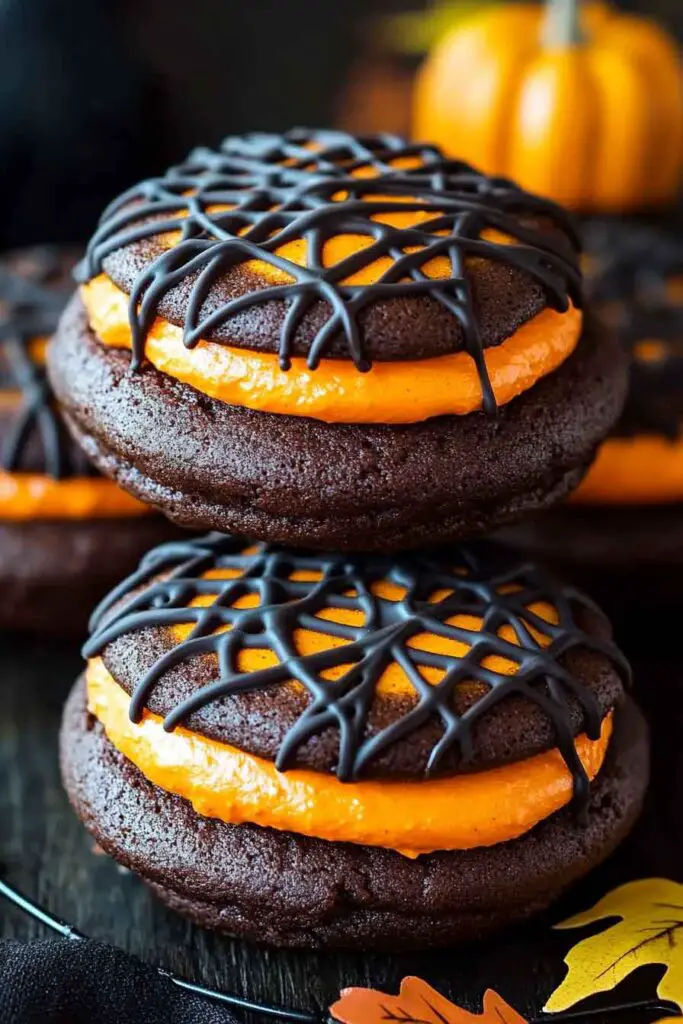
Serving and Decorating
These Halloween Whoopie Pies are a fun dessert for parties, potlucks, or a sweet surprise for family. Here’s how to make them stand out:
- Halloween-Themed Display: Arrange them on a festive tray with orange and black napkins. Add some candy corn or mini pumpkins around for extra decor.
- Creative Fillings: Besides coloring the filling orange, consider tinting it green or purple for a playful twist.
- Add Toppings: Dip the tops in melted chocolate and sprinkle with crushed cookies or candies for a fancy touch.
How to Store Halloween Whoopie Pies
- At Room Temperature: Store assembled whoopie pies in an airtight container at room temperature for up to 2 days.
- In the Refrigerator: If it’s warm, or if you want them to last longer, store them in the fridge for up to 5 days. The filling will firm up slightly, which makes them easier to handle.
- Freezing: The cookies (without filling) can be frozen for up to 2 months. When ready to serve, thaw at room temperature and add the fresh filling.
Tips and Tricks for Success
- Don’t Overmix: Overworking the batter can make the cookies tough. Mix just until combined.
- Cool Completely: Assembling while cookies are warm can cause the filling to melt and slide.
- Use a Cookie Scoop: This ensures even-sized cookies that bake uniformly.
- Play with Colors: Use different gel food colorings in the filling to match the occasion.
Nutrition (Per Whoopie Pie Sandwich)
| Nutrient | Amount |
|---|---|
| Calories | ~320 kcal |
| Total Fat | 15g |
| Saturated Fat | 9g |
| Carbohydrates | 44g |
| Sugar | 32g |
| Protein | 3g |
| Sodium | 140mg |
| Fiber | 1g |
Note: Values are estimates and will vary based on ingredient brands and portion sizes.
Halloween Whoopie Pies with Creamy Filling
Course: Cookie Recipes12
large whoopie pies25
minutes10
minutes320
kcal10
miniutesIngredients
- For the Whoopie Pies:
2 cups (250g) all-purpose flour
½ cup (43g) unsweetened cocoa powder
1 tsp baking powder
½ tsp baking soda
¼ tsp salt
½ cup (113g) unsalted butter, softened
½ cup (100g) packed brown sugar
½ cup (100g) granulated sugar
2 large eggs, at room temperature
1 tsp pure vanilla extract
¾ cup (180ml) whole milk or buttermilk
- For the Creamy Filling:
¾ cup (170g) unsalted butter, softened
2 cups (240g) powdered sugar, sifted
1 tsp pure vanilla extract
1 jar (7 oz/198g) marshmallow creme or fluff
Orange food coloring (optional)
Directions
- Preheat the oven to 350°F (175°C). Line baking sheets with parchment paper.
- Whisk the dry ingredients (flour, cocoa powder, baking powder, baking soda, and salt) in a medium bowl.
- Cream the butter and sugars in a large bowl with an electric mixer until light and fluffy, about 2-3 minutes.
- Add eggs one at a time, mixing well after each, then add vanilla extract.
- Alternate adding the dry ingredients and milk to the wet mixture, beginning and ending with dry. Mix just until combined.
- Scoop batter onto baking sheets, leaving 2-inch gaps. Bake 10-12 minutes, until set.
- Cool cookies completely on racks before filling.
- Make the filling by beating softened butter until smooth, then slowly adding powdered sugar. Add vanilla and marshmallow creme, and beat until light and fluffy. Tint with orange coloring if desired.
- Assemble by spreading filling on the flat side of a cookie, topping with another, and gently pressing. Optional: Roll edges in sprinkles.
- Chill if firmer filling is preferred.
Halloween Whoopie Pies FAQs
Can I make the filling in advance?
Yes! You can prepare the filling up to 2 days ahead and store it in the fridge. Bring it to room temperature and beat briefly before using.
Can I make these gluten-free?
Absolutely—use a gluten-free all-purpose flour blend. Make sure all other ingredients are gluten-free certified.
How do I prevent the cookies from spreading too much?
Chilling the dough for about 15 minutes before baking can help control spreading.
Can I use a piping bag for the filling?
Yes! It makes assembly neater and allows for a decorative touch.
Conclusion
I’ve used simple ingredients like flour, cocoa powder, butter, and marshmallow creme to create a dessert that’s both festive and delicious. These Halloween Whoopie Pies with Creamy Filling are easy enough for beginners yet satisfying for experienced bakers.