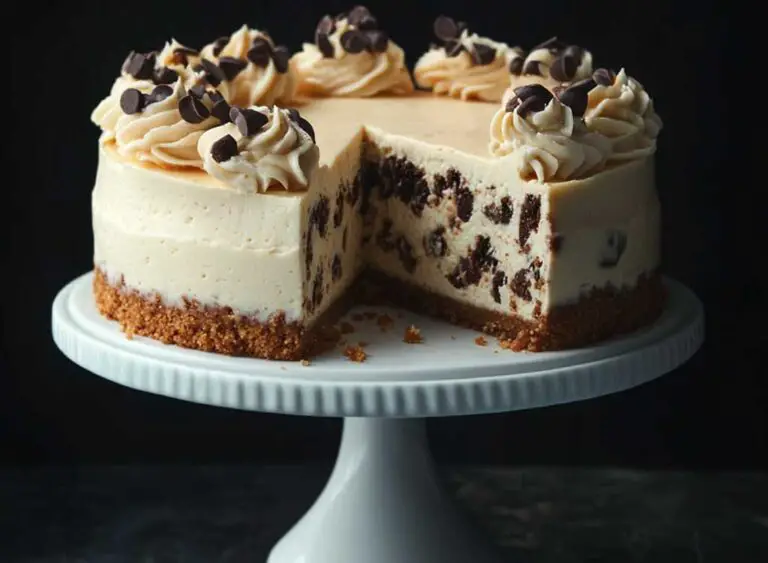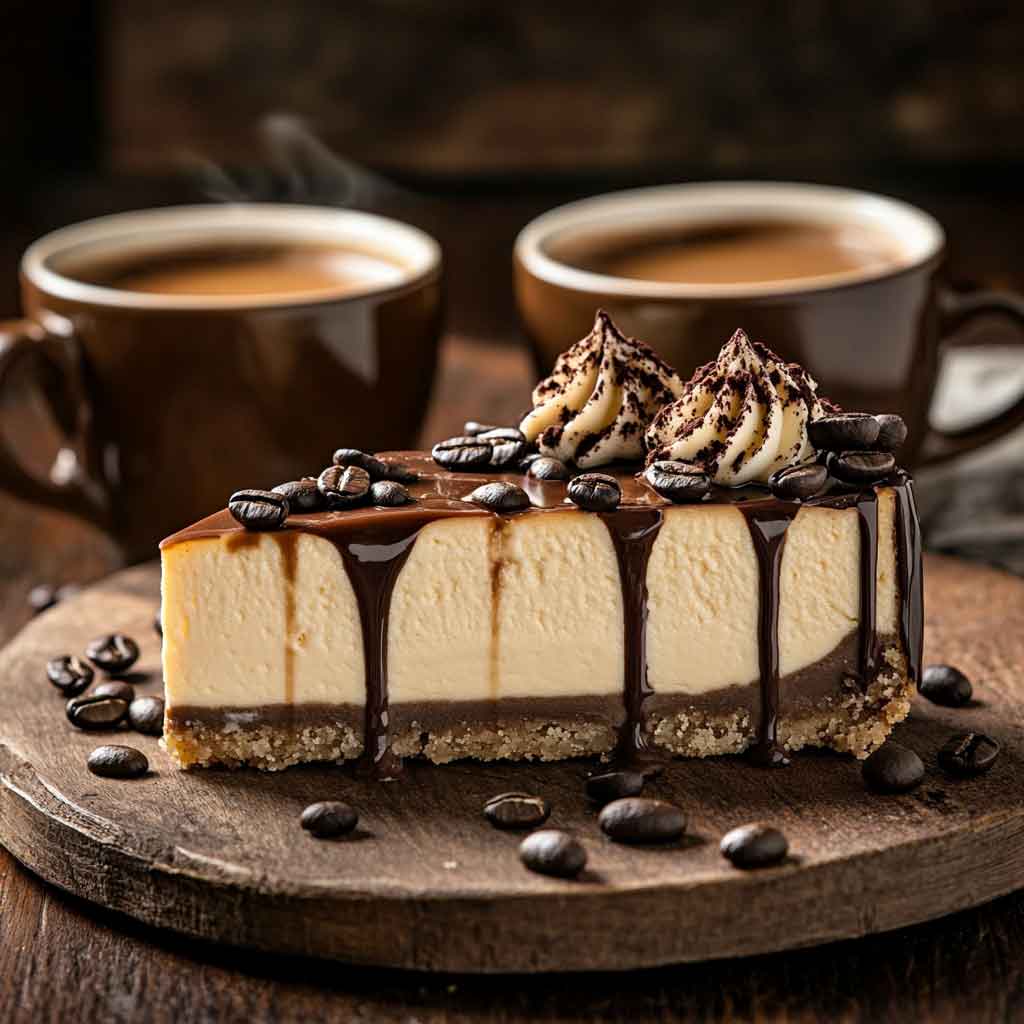
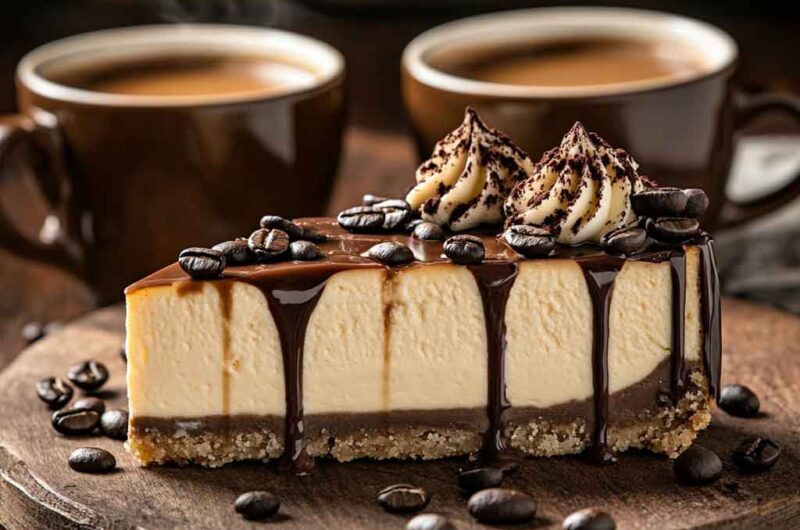
Espresso Cheesecake
Wow, I can’t stop thinking about Espresso Cheesecake. It is so rich and creamy. I love how the coffee flavor wakes up my taste buds.
Um, I tried it for the first time last week. The taste was like a happy dance in my mouth. I just had to make it again.
Now, I crave that smooth coffee kick every time. The cheesecake melts on my tongue. It makes me feel cozy inside.

Seriously, you should try it too. Grab some cream cheese and brew some espresso. Let’s enjoy this treat together!
Why You’ll Love This Recipe
- Rich and Creamy: A smooth, espresso-flavored cheesecake with the perfect balance of sweetness and coffee intensity.
- Easy Yet Impressive: Simple ingredients come together to create a restaurant-quality dessert.
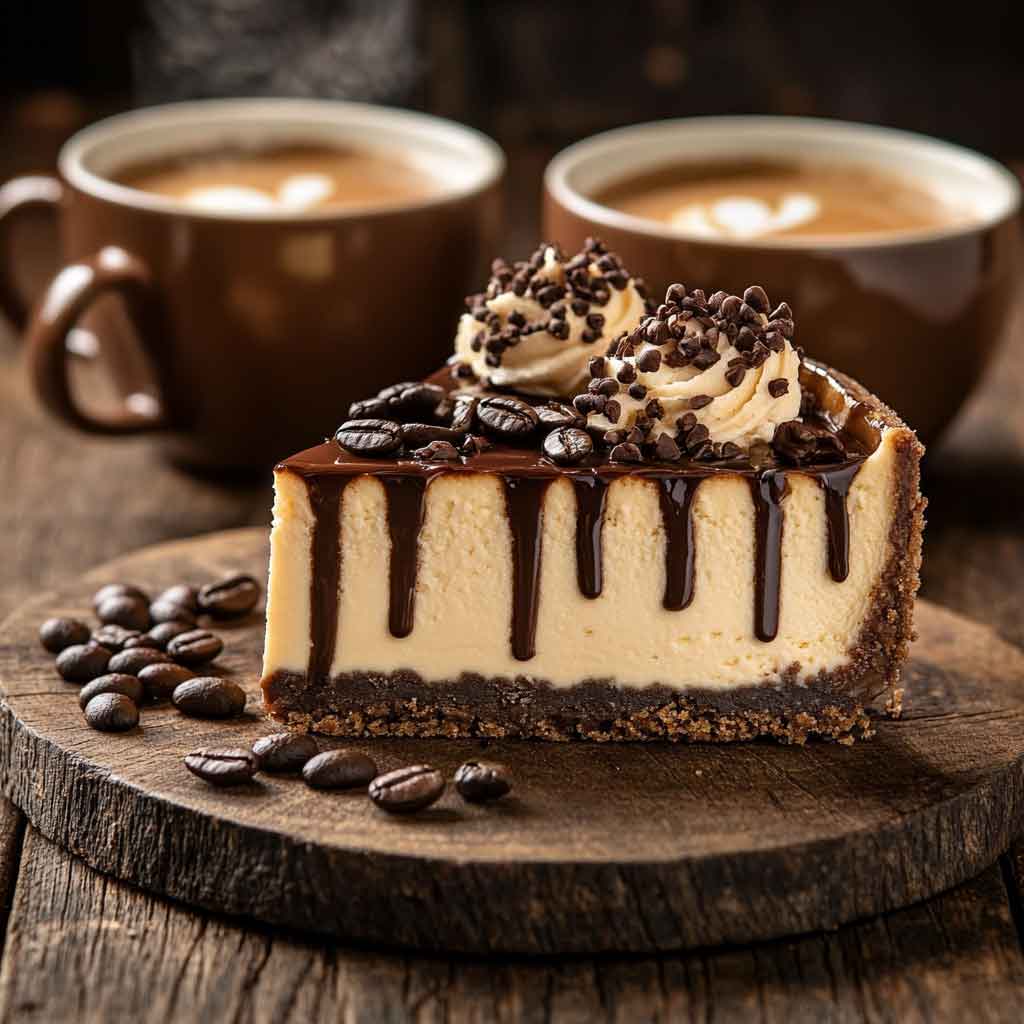
- Perfect for Coffee Lovers: The espresso enhances the chocolatey crust and complements the creaminess of the filling.
- Make-Ahead Friendly: Prepare it in advance and let the flavors develop overnight for the best taste.

What You Need to Know Before You Start
Prep Time & Cook Time:
- Prep Time: 25 minutes
- Cook Time: 55 minutes
- Chill Time: 6 hours (or overnight)
- Total Time: About 7 hours
Servings:
This recipe makes one 9-inch cheesecake, serving 12 slices.
Difficulty:
Intermediate – Requires basic baking techniques like mixing and baking in a water bath.
Required Kitchen Tools
To make the perfect espresso cheesecake, you’ll need:
- 9-inch springform pan – Helps with easy removal.
- Mixing bowls – For preparing crust and filling.
- Electric hand mixer or stand mixer – For a smooth cheesecake batter.
- Rubber spatula – Ensures even mixing.
- Measuring cups and spoons – For accurate ingredient portions.
- Baking sheet or roasting pan – Needed for the water bath.
- Aluminum foil – To wrap the pan and prevent leaks.
Ingredients for Espresso Cheesecake
Each component of this cheesecake contributes to its rich texture and deep espresso flavor. Using high-quality ingredients ensures the best results.
For the OREO Cookie Crust:
A chocolatey base that complements the espresso-infused filling.
- 2 cups (200g) OREO cookie crumbs – Use a food processor to pulse the cookies into fine crumbs. No need to remove the filling; it helps bind the crust.
- 5 tablespoons (70g) unsalted butter, melted – Acts as the binding agent for the crust. Melt it and let it cool slightly before mixing.
- 1/8 teaspoon salt – A small amount enhances the flavors and balances the sweetness.
For the Espresso Cheesecake Filling:
A smooth and creamy filling that blends espresso’s boldness with rich cream cheese.
- 24 ounces (680g) cream cheese, softened – Use full-fat cream cheese for the creamiest texture. Let it come to room temperature for easy mixing.
- 1 cup (200g) granulated sugar – Sweetens the cheesecake without overpowering the espresso flavor.
- 1 tablespoon all-purpose flour – Helps stabilize the cheesecake and prevents cracks during baking.
- 1/4 cup (60ml) espresso or strong brewed coffee, cooled – Adds a deep coffee flavor. Use fresh espresso or high-quality brewed coffee. Avoid instant coffee if possible.
- 1/2 cup (120ml) heavy whipping cream – Increases the richness and smoothness of the filling.
- 3 large eggs, at room temperature – Eggs provide structure and a creamy texture. Cold eggs can cause the batter to be lumpy, so bring them to room temperature before mixing.
- 2 teaspoons vanilla extract – Enhances the overall flavor and balances the coffee’s bitterness.
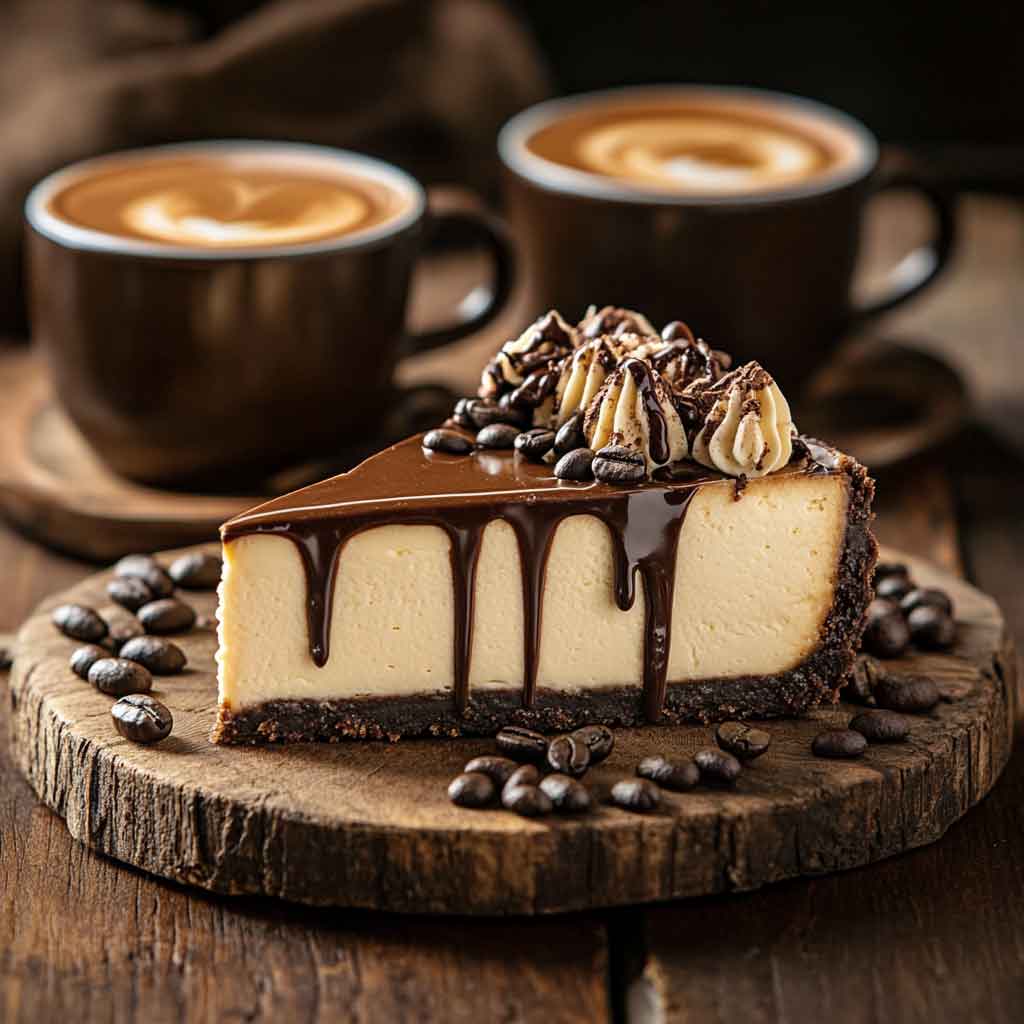
For the Chocolate Ganache Topping:
A silky chocolate layer that adds a luxurious finish.
- 1/2 cup (120ml) heavy whipping cream – Creates a rich, velvety consistency for the ganache.
- 4 ounces (115g) bittersweet or dark chocolate, finely chopped – Choose a high-quality chocolate bar with at least 60% cocoa content for a deep, intense flavor.
For the Cream Cheese Frosting (Optional, for Decoration):
A creamy, slightly tangy frosting that pairs well with espresso flavors.
- 4 ounces (113g) cream cheese, softened – Creates a smooth, spreadable texture.
- 2 tablespoons (28g) unsalted butter, softened – Adds richness and stability to the frosting.
- 1/2 teaspoon vanilla extract – Rounds out the sweetness with a warm, aromatic touch.
- 3/4 cup (90g) powdered sugar, sifted – Provides sweetness without a grainy texture.
- Whole espresso beans (for garnish, optional) – Adds a decorative touch and extra coffee flavor if desired.

How to Make Espresso Cheesecake (Step-by-Step Instructions)
Step 1: Prepare the OREO Cookie Crust
- Crush the OREOs:
- Place the OREO cookies (filling included) into a food processor.
- Pulse until the cookies turn into fine crumbs. If you don’t have a food processor, place them in a ziplock bag and crush them with a rolling pin.
- Mix with Butter and Salt:
- In a medium bowl, combine the OREO crumbs with melted butter and a pinch of salt.
- Stir until the mixture resembles wet sand and holds together when pressed.
- Press into the Pan:
- Line a 9-inch springform pan with parchment paper on the bottom for easy removal.
- Press the crust mixture firmly into the bottom using the back of a spoon or a flat-bottomed glass.
- Pre-Bake the Crust:
- Preheat the oven to 325°F (163°C).
- Bake the crust for 8-10 minutes to set it.
- Remove from the oven and let it cool while preparing the filling.
Step 2: Prepare the Espresso Cheesecake Filling
- Beat the Cream Cheese Until Smooth:
- In a large mixing bowl, use a hand mixer or stand mixer on low speed to beat the softened cream cheese until smooth and lump-free. Avoid overmixing to prevent excess air from incorporating into the batter.
- Add Sugar and Flour:
- Gradually add the granulated sugar and flour, mixing on low speed.
- The flour helps stabilize the cheesecake and prevents cracks during baking.
- Mix in Espresso and Vanilla:
- Pour in the cooled espresso (or strong brewed coffee) and vanilla extract.
- Mix until fully incorporated, scraping down the sides of the bowl.
- Blend in the Heavy Cream:
- Slowly add the heavy whipping cream and continue mixing until smooth.
- Add the Eggs One at a Time:
- Crack in the eggs, one at a time, mixing on low speed just until combined.
- Overbeating at this stage can create too much air, leading to cracks in the cheesecake.
Step 3: Prepare the Water Bath & Bake the Cheesecake
- Wrap the Springform Pan:
- Double-wrap the outside of the springform pan with two layers of aluminum foil. This prevents water from seeping into the cheesecake.
- Prepare the Water Bath:
- Place the wrapped pan into a large roasting pan.
- Pour hot water into the roasting pan until it reaches about halfway up the sides of the cheesecake pan.
- Bake at a Low Temperature:
- Place the roasting pan in the preheated oven at 325°F (163°C).
- Bake for 50-55 minutes, or until the edges are set and the center has a slight jiggle when gently shaken.
- Turn Off the Oven & Cool Gradually:
- Turn off the oven and crack the door open slightly. Let the cheesecake cool inside the oven for 1 hour.
- This gradual cooling process helps prevent cracks.
Step 4: Chill the Cheesecake
- Remove from the Water Bath:
- Carefully take the cheesecake out of the roasting pan and remove the foil.
- Refrigerate for at Least 6 Hours (or Overnight):
- Cover the cheesecake with plastic wrap and refrigerate it for at least 6 hours, preferably overnight.
- This chilling time allows the flavors to develop and gives the cheesecake a firm texture.
Step 6: Prepare the Cream Cheese Frosting (Optional, for Decoration)
This step is optional, but it adds a touch of elegance and an extra creamy element.
How to Make Cream Cheese Frosting:
- Beat the Cream Cheese and Butter:
- In a mixing bowl, beat 4 ounces (113g) softened cream cheese and 2 tablespoons (28g) unsalted butter until smooth.
- Add Vanilla and Sugar:
- Mix in ½ teaspoon vanilla extract and ¾ cup (90g) powdered sugar, beating until fully combined and fluffy.
- Pipe or Spread on Cheesecake:
- Transfer the frosting to a piping bag with a star tip and pipe small decorative swirls around the edges.
- Alternatively, spread a thin layer of frosting over the chilled ganache for extra creaminess.
- Garnish with Espresso Beans (Optional):
- Place whole espresso beans on top of the frosting swirls for a decorative touch and an extra hint of coffee flavor.
Step 7: Serving & Storage
How to Serve Espresso Cheesecake:
- Chilled & Fresh: Espresso cheesecake tastes best when served cold. Let it sit at room temperature for 5-10 minutes before slicing.
- Clean Slices: Run a sharp knife under hot water, wipe it dry, and make clean cuts. Repeat for each slice.
How to Store:
- Refrigerator: Store cheesecake in an airtight container in the fridge for up to 5 days.
- Freezer: Wrap individual slices in plastic wrap and freeze for up to 3 months. Thaw overnight in the fridge before serving.
Nutrition Information
| Serving Size | 1 Slice (out of 12 total) |
|---|---|
| Calories | 420 |
| Total Fat | 30g |
| Saturated Fat | 18g |
| Cholesterol | 110mg |
| Sodium | 280mg |
| Carbohydrates | 34g |
| Fiber | 2g |
| Sugar | 25g |
| Protein | 6g |
Note: Nutrition values are approximate and may vary depending on ingredient brands used.
Espresso Cheesecake
Course: Cake Recipes12 slices
servings25
minutes55
minutes420
kcalIngredients
- For the OREO Cookie Crust:
2 cups (200g) OREO cookie crumbs (about 22 cookies)
5 tablespoons (70g) unsalted butter, melted
1/8 teaspoon salt
- For the Espresso Cheesecake Filling:
24 ounces (680g) cream cheese, softened
1 cup (200g) granulated sugar
1 tablespoon all-purpose flour
1/4 cup (60ml) espresso or strong brewed coffee, cooled
1/2 cup (120ml) heavy whipping cream
3 large eggs, at room temperature
2 teaspoons vanilla extract
- For the Chocolate Ganache Topping:
1/2 cup (120ml) heavy whipping cream
4 ounces (115g) bittersweet or dark chocolate, finely chopped
- For the Cream Cheese Frosting (Optional, for Decoration):
4 ounces (113g) cream cheese, softened
2 tablespoons (28g) unsalted butter, softened
1/2 teaspoon vanilla extract
3/4 cup (90g) powdered sugar, sifted
Whole espresso beans (for garnish, optional)
Directions
- Make the OREO Crust
Preheat oven to 325°F (163°C).
Crush OREO cookies into fine crumbs using a food processor.
Mix with melted butter and salt until the texture resembles wet sand.
Press firmly into the bottom of a 9-inch springform pan.
Bake for 8-10 minutes, then let cool. - Make the Cheesecake Filling
Beat cream cheese until smooth.
Add sugar and flour, mixing until combined.
Pour in espresso and vanilla, then add heavy cream. Mix well.
Add eggs one at a time, mixing on low speed to prevent air bubbles. - Bake the Cheesecake
Wrap the springform pan in two layers of foil and place it in a roasting pan.
Pour hot water into the roasting pan, reaching halfway up the cheesecake pan.
Bake at 325°F (163°C) for 50-55 minutes, until the center is slightly jiggly.
Turn off the oven, crack the door, and let the cheesecake cool inside for 1 hour.
Transfer to the fridge and chill for at least 6 hours or overnight. - Make the Ganache Topping
Heat heavy cream in a saucepan until just simmering.
Pour over chopped chocolate and let sit for 2-3 minutes.
Stir until smooth, then let cool for 10 minutes.
Pour over the chilled cheesecake and spread evenly. Refrigerate for 15-20 minutes to set. - (Optional) Make the Cream Cheese Frosting
Beat cream cheese and butter until smooth.
Mix in vanilla and sifted powdered sugar.
Pipe or spread onto the cheesecake, then garnish with espresso beans. - Serve & Store
Serve chilled, letting it sit at room temperature for 5-10 minutes before slicing.
Store in the refrigerator for up to 5 days or freeze for up to 3 months.
Espresso Cheesecake FAQs
1. Can I use instant coffee instead of espresso?
Yes, but for the best flavor, dissolve 2 teaspoons of instant coffee in ¼ cup of hot water before adding it to the batter.
2. How do I prevent my cheesecake from cracking?
- Do not overmix the batter.
- Bake the cheesecake in a water bath.
- Let it cool gradually inside the oven for at least 1 hour before refrigerating.
3. What’s the best way to get clean slices?
Use a sharp knife dipped in hot water and wiped clean after each slice.
4. Can I make this cheesecake ahead of time?
Yes! Espresso cheesecake tastes even better the next day. Make it 24 hours in advance and store it in the fridge until ready to serve.
5. Can I use a different crust instead of OREOs?
Absolutely! A graham cracker crust or a chocolate cookie crust works well with this recipe.
Conclusion
This Espresso Cheesecake is a perfect dessert for coffee lovers, combining rich espresso flavor, creamy cheesecake texture, and a luscious chocolate topping. Whether you’re making it for a special occasion or just treating yourself, this cheesecake is sure to impress.
Give it a try and let me know how it turns out!