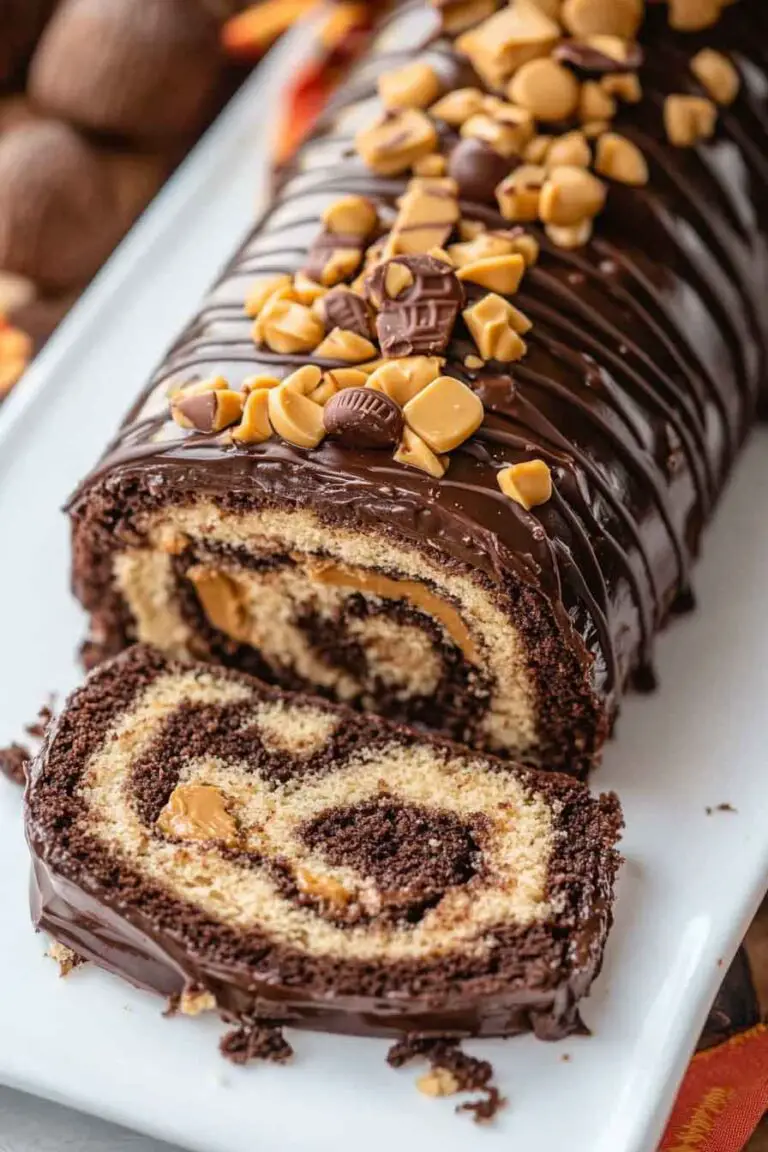
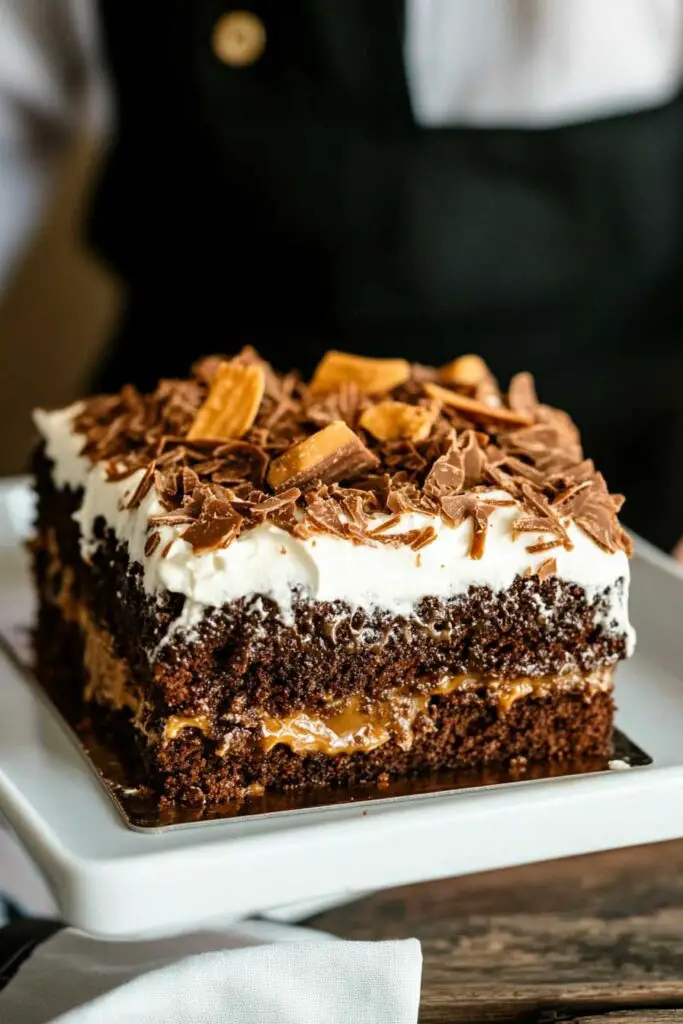
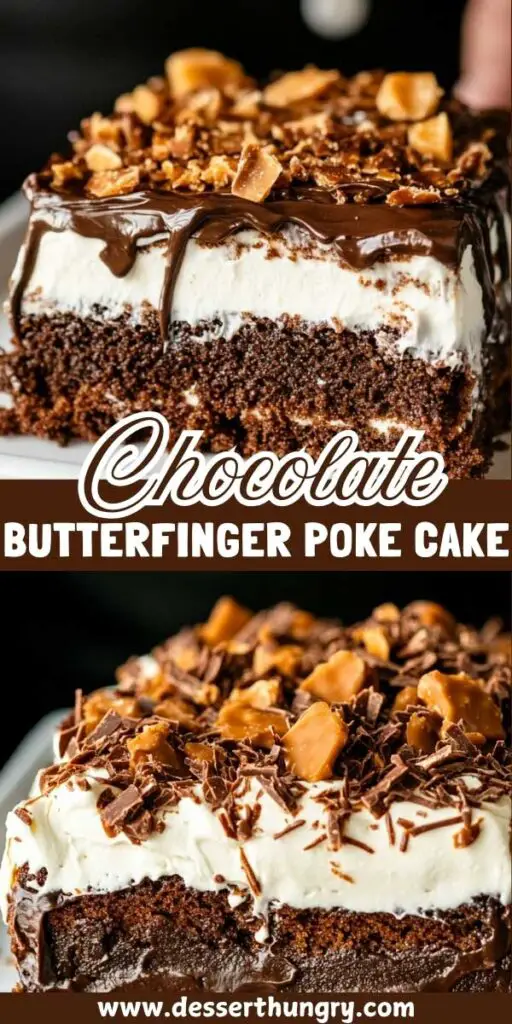
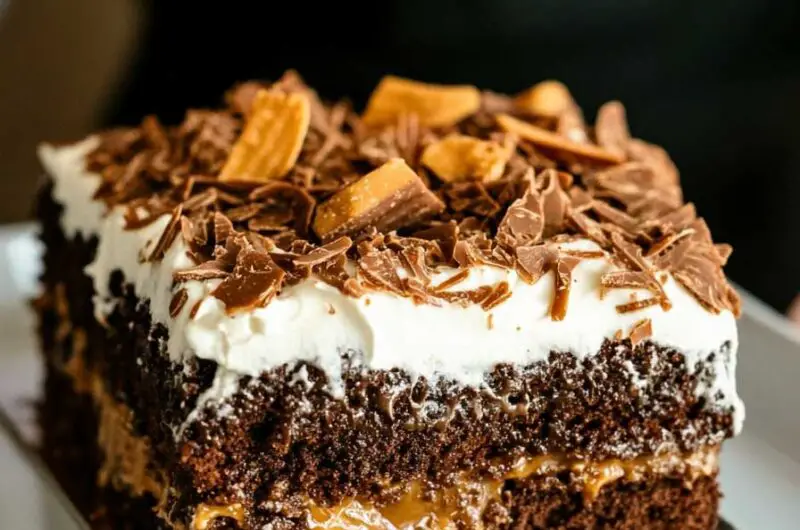
Chocolate Butterfinger Poke Cake
Oh boy, have you ever had a dessert so good it made you do a little happy dance? That’s exactly what happened the first time I made this Chocolate Butterfinger Poke Cake. I’m talking chocolate, caramel, and crunchy candy magic—yep, it’s a party in every bite!
I know, I know… poke cakes sound kinda fancy, but trust me, this one’s easy-peasy. I made it on a busy Tuesday, and it was ready before my coffee got cold. And when I took that first gooey, chocolatey bite—wow, just wow!
If you love chocolate and that sweet Butterfinger crunch, you’re gonna flip. Each forkful is soft, creamy, and has that little crispy candy surprise. Seriously, it’s like your favorite candy bar turned into cake!

So, what do you say? Let’s grab that mixing bowl and whip up something amazing. I promise—you’ll be licking your fork clean!
Why You’ll Love This Recipe
- Easy to Make: A beginner-friendly dessert that comes together with minimal effort.
- Rich and Gooey: Moist chocolate cake soaked with caramel and sweetened condensed milk for a soft, melt-in-your-mouth texture.
- Perfect Crunch: Chopped Butterfinger pieces add a crispy, peanut buttery finish.
- Crowd-Pleaser: Great for gatherings—everyone loves it.
- Make-Ahead Friendly: Prepare it in advance and let it chill until you’re ready to serve.
What You Need to Know Before You Start
Prep Time & Cook Time:
Prep Time: 15 minutes
Cook Time: 30-35 minutes
Chilling Time: 1 hour (optional, but recommended)
Total Time: About 1 hour 45 minutes
Servings:
This recipe makes 12 servings—ideal for sharing.
Difficulty:
Easy. Great for new bakers or anyone short on time.
Required Kitchen Tools
- 9×13-inch baking dish
- Mixing bowls
- Hand or stand mixer (optional)
- Whisk or spatula
- Fork or skewer (for poking holes)
- Measuring cups and spoons
Ingredients for Chocolate Butterfinger Poke Cake
Here’s everything you’ll need to create this rich, gooey dessert. Exact measurements will be in the recipe card later.
For the Cake:
- Chocolate Cake Mix: Any brand works—choose your favorite.
- Water: As directed on the cake mix box.
- Vegetable Oil: Adds moisture to the cake.
- Eggs: Also according to the cake mix instructions.
For the Filling:
- Sweetened Condensed Milk: Adds rich sweetness and helps the cake stay moist.
- Caramel Sauce: Store-bought or homemade; gives the cake its gooey texture.
For the Whipped Topping:
- Creamy Peanut Butter: Blends into the whipped cream for a nutty twist.
- Whipping Cream (or Heavy Cream): Whipped into soft peaks for a light topping.
- Powdered Sugar: Sweetens the whipped cream.
- Vanilla Extract: Adds a hint of flavor.
For Garnish:
- Chopped Butterfingers: Crushed candy bars give the cake a crunchy, peanut-buttery finish.
Variations for Chocolate Butterfinger Poke Cake
- Use a Different Cake Mix: Swap chocolate for devil’s food, fudge, or even a yellow cake mix for a different base.
- Try Another Candy: Crushed Reese’s, Heath bars, or Snickers can replace Butterfingers.
- Make It Extra Chocolatey: Drizzle melted chocolate over the whipped cream before adding the candy topping.
- Add Peanut Butter Drizzle: Warm peanut butter and drizzle over the cake for even more nutty goodness.
- Use Cool Whip: If you’re short on time, replace the homemade whipped cream with Cool Whip.
How to Make Chocolate Butterfinger Poke Cake
1. Bake the Chocolate Cake
- Preheat your oven according to the cake mix instructions (typically 350°F / 175°C).
- Prepare a 9×13-inch baking dish by lightly greasing it.
- In a large bowl, mix the chocolate cake mix, water, vegetable oil, and eggs as directed on the box. Stir until smooth.
- Pour the batter into the baking dish and bake as directed, usually 30-35 minutes, or until a toothpick inserted into the center comes out clean.
2. Poke Holes in the Cake
- Once the cake is baked and still warm, take a fork or skewer and poke holes all over the top. Space them about an inch apart.
- These holes help the filling soak into the cake, making it rich and moist.
3. Add the Filling
- In a small bowl, mix sweetened condensed milk and caramel sauce until smooth.
- Slowly pour this mixture over the warm cake, making sure it seeps into the holes.
- Let the cake cool completely to room temperature. If you have time, chill it in the fridge for at least 1 hour—this helps the flavors blend.
4. Make the Whipped Topping
- In a large bowl, add whipping cream, powdered sugar, vanilla extract, and creamy peanut butter.
- Using a hand mixer (or whisk), beat until soft peaks form. This means the cream should be thick but still smooth when you lift the whisk.
5. Assemble the Cake
- Spread the whipped topping evenly over the cooled cake.
- Sprinkle chopped Butterfingers generously over the top.
- Slice and serve. For best results, chill the cake for another 30 minutes to 1 hour before serving.
Serving Suggestions
Chocolate Butterfinger Poke Cake is best served cold. It pairs well with:
- Coffee or Hot Chocolate: Balances the sweetness with warmth.
- Vanilla Ice Cream: Adds a creamy contrast to the cake’s rich flavors.
- Fresh Berries: Strawberries or raspberries offer a tart contrast to the sweet caramel and chocolate.
It’s a great dessert for:
- Birthday parties
- Potlucks
- Family gatherings
- Weekend treats
Serving and Decoration
Chocolate Butterfinger Poke Cake is best served chilled. Once it’s topped with whipped cream and Butterfinger pieces, slice it into squares and lift each portion out gently with a spatula.
Ideas to Make It Look Even Better:
- Extra Drizzle: Warm some caramel or chocolate sauce and drizzle over the top before serving.
- More Candy: Sprinkle extra crushed Butterfingers on each slice just before serving for extra crunch.
- Peanut Butter Swirl: Heat a little peanut butter until it’s runny, then drizzle lightly over the whipped topping.
This cake is perfect for casual family gatherings, birthdays, or as a potluck favorite.
Storing Chocolate Butterfinger Poke Cake
- Refrigerator: Cover the cake tightly with plastic wrap or foil and store it in the fridge for up to 4 days.
- Freezing: You can freeze individual slices in airtight containers for up to 2 months. Thaw overnight in the fridge before serving.
- Make Ahead Tip: You can bake the cake and pour the caramel mixture a day ahead. Add the whipped topping and Butterfingers right before serving for the best texture.
Tips and Tricks for Success
- Let the Cake Cool: Don’t rush the cooling process. Letting the cake rest after the caramel mixture is poured in helps it set properly.
- Whipped Cream Consistency: Whip the cream until it’s thick but still smooth. Overbeating can make it grainy.
- Candy Crunch: Add the crushed Butterfingers close to serving time so they stay crisp.
Nutrition Information (Estimated per Serving)
| Calories | Carbs | Fat | Protein |
|---|---|---|---|
| 430 kcal | 60g | 20g | 6g |
Note: Nutrition values can vary depending on the brands used.
Chocolate Butterfinger Poke Cake
12
servings15
minutes30
minutes430
kcalIngredients
- For the Cake:
1 box chocolate cake mix (plus water, oil, and eggs as directed on the box)
- For the Filling:
1 can (14 ounces) sweetened condensed milk
1 cup caramel sauce (store-bought or homemade)
- For the Whipped Topping:
1 ½ cups heavy whipping cream (or whipping cream)
½ cup powdered sugar
1 teaspoon vanilla extract
½ cup creamy peanut butter
- For Garnish:
6-8 Butterfinger bars, chopped
Directions
- Bake the Cake:
Preheat oven to 350°F (175°C) or as directed on cake mix box.
Prepare a 9×13-inch baking dish with non-stick spray.
Mix cake ingredients as instructed on the box. Pour into dish and bake for 30-35 minutes, or until a toothpick inserted in the center comes out clean. - Poke Holes:
While the cake is still warm, use a fork or skewer to poke holes all over the top. - Add the Filling:
Mix sweetened condensed milk and caramel sauce.
Pour the mixture evenly over the cake, making sure it soaks into the holes.
Let the cake cool to room temperature, or chill for 1 hour. - Prepare the Whipped Topping:
In a large bowl, combine whipping cream, powdered sugar, vanilla extract, and peanut butter.
Beat with a hand mixer until soft peaks form. - Assemble the Cake:
Spread the whipped topping over the cooled cake.
Sprinkle chopped Butterfingers over the top. - Chill & Serve:
Chill the cake for 30-60 minutes before serving for best results.
Slice into squares and enjoy.
Chocolate Butterfinger Poke Cake FAQs
Can I Make This Cake in Advance?
Yes, you can prepare the cake and filling a day ahead. Add the whipped topping and Butterfingers just before serving.
Can I Use Cool Whip Instead of Whipped Cream?
Absolutely. Substitute with an 8-ounce tub of Cool Whip if you need a quicker option.
How Do I Keep the Butterfingers from Getting Soggy?
Add the chopped Butterfingers right before serving to maintain their crunch.
Can I Use a Different Candy?
Yes, Reese’s, Heath bars, or Snickers work well as substitutes.
Conclusion
Chocolate Butterfinger Poke Cake is a simple dessert that feels like a treat from a bakery. The soft, chocolate cake soaked in caramel, topped with light peanut butter whipped cream and crunchy Butterfingers, offers the perfect mix of textures and flavors. Whether you’re making it for a party or a weeknight dessert, it’s sure to be a hit.
Try it once, and it might become your go-to dessert for any gathering. Happy baking!