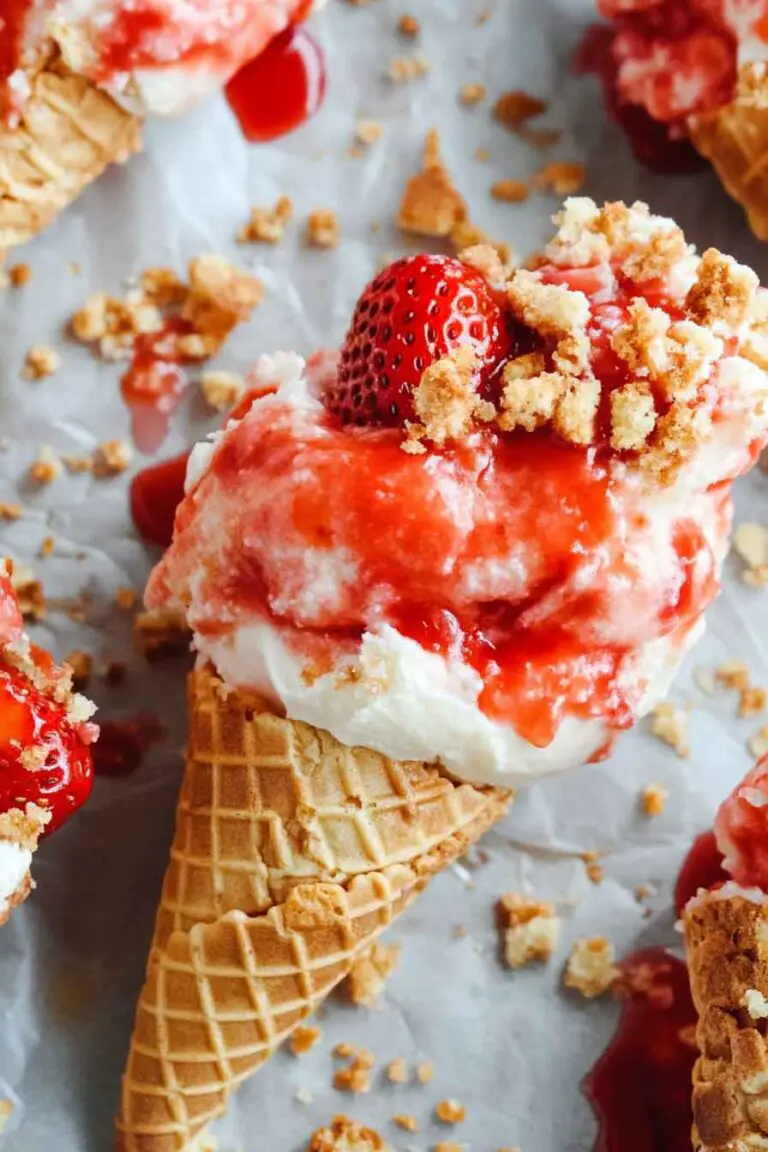
Banana Pudding Cheesecake Cones
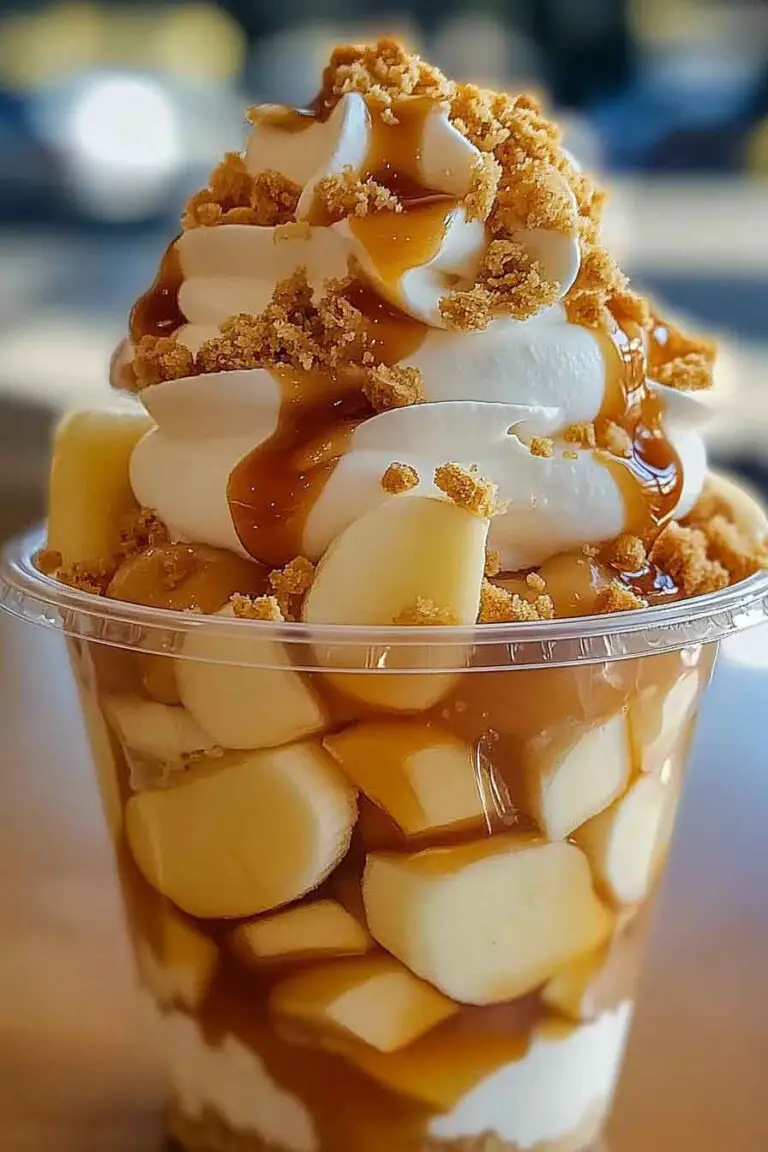
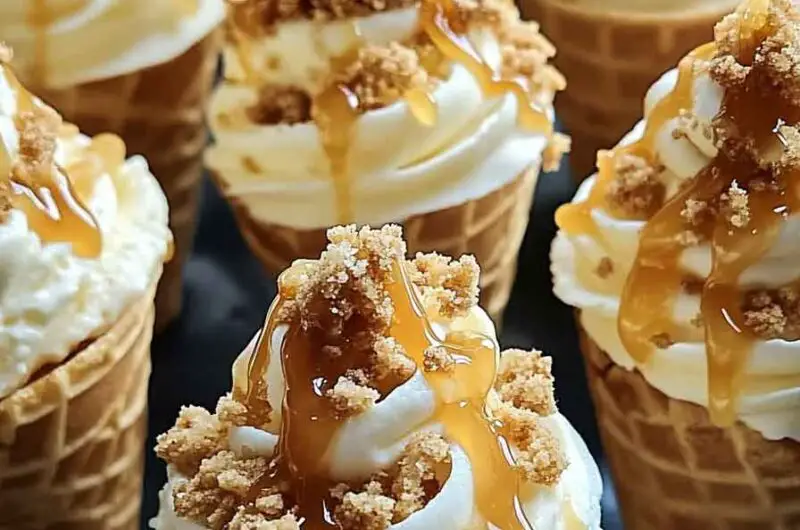
These banana pudding cheesecake cones are creamy, crunchy, and completely irresistible. They’ve got layers of smooth banana pudding, fluffy cheesecake filling, and crushed vanilla wafers all tucked inside a crispy waffle cone. Every bite tastes like comfort and fun rolled into one.
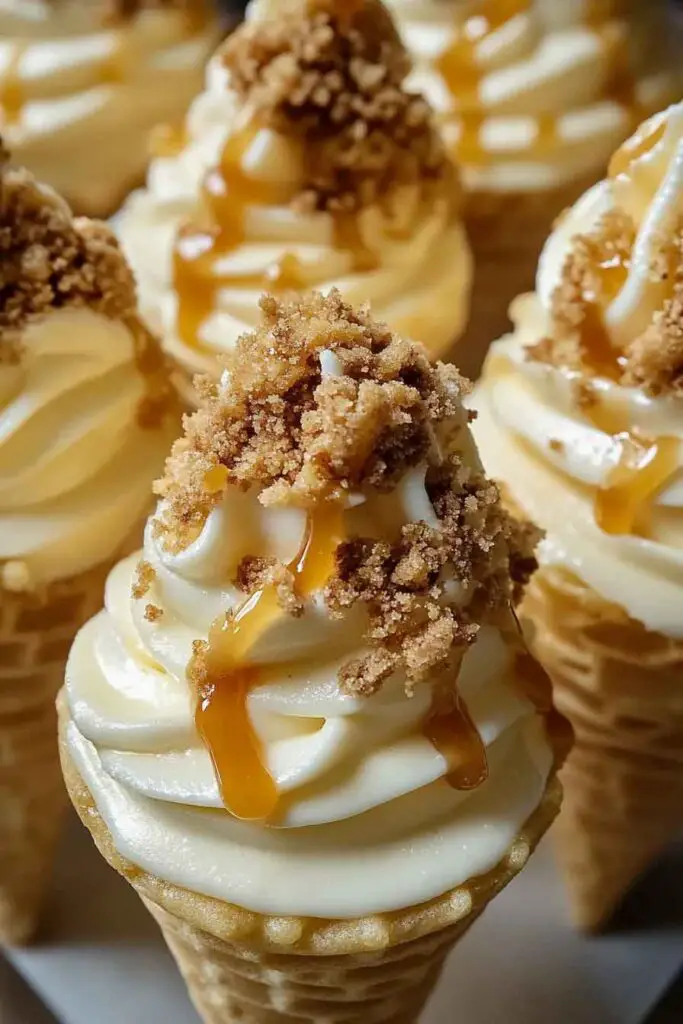
I love how playful they are—it’s classic banana pudding, but handheld and way more exciting. The mix of creamy filling and crunchy cone gives the perfect texture balance. Plus, they look beautiful with a swirl of whipped cream and a banana slice on top.
They’re perfect for parties, summer treats, or when you want something sweet without baking. Easy, rich, and full of banana flavor—these cones always disappear before you know it.

Why You’ll Love This Recipe
- No-Bake Dessert: Perfect for warm days when you don’t want to turn on the oven.
- Fun to Eat: Handheld cones make this dessert interactive and mess-free.
- Crowd-Pleaser: Kids and adults love the combination of banana pudding and cheesecake.
- Easy Assembly: Simple layers mean minimal cooking skills required.
- Make-Ahead Friendly: Prepare these cones hours before serving for stress-free entertaining.
What You Need to Know Before You Start
Prep Time & Cook Time:
- Prep Time: 20 minutes
- Chill Time: 2 hours
- Total Time: About 2 hours 20 minutes
Servings: This recipe makes 12 cheesecake cones—perfect for a family gathering or small party. Need more? Simply double the recipe.
Difficulty: Easy enough for beginners. No baking required, just mixing and layering.
Required Kitchen Tools
- Electric hand mixer or stand mixer
- Two large mixing bowls
- Whisk
- Measuring cups and spoons
- Piping bag or large plastic bag with corner cut off
- Cone holder or muffin tin (to keep cones upright while chilling)
Ingredients
These banana pudding cheesecake cones bring together creamy, sweet, and crunchy elements that create the perfect bite every time. Here’s everything you’ll need:
For the Cheesecake Layer:
- 8 ounces cream cheese, softened to room temperature
- 1/2 cup powdered sugar
- 1 teaspoon vanilla extract
- 1 cup heavy whipping cream, cold
For the Banana Pudding Layer:
- 1 package (3.4 oz) instant banana pudding mix
- 1 and 1/2 cups cold milk
For Assembly:
- 12 waffle cones
- 1 cup crushed vanilla wafers
- 1/2 cup crushed graham crackers
- Caramel sauce for drizzling
- 2 tablespoons sweetened condensed milk (optional, for extra sweetness)
- Whole vanilla wafers for garnish
Variations for Banana Pudding Cheesecake Cones
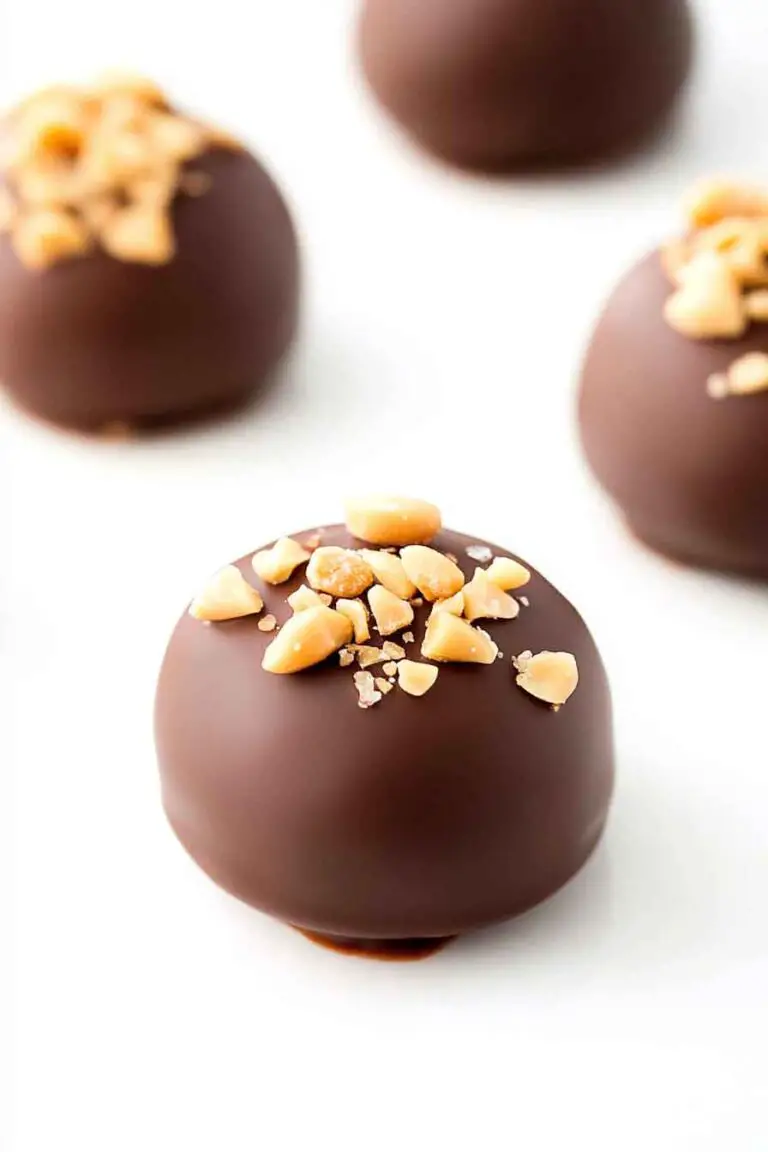
- Chocolate Lovers: Add mini chocolate chips to the cheesecake mixture or drizzle with chocolate sauce instead of caramel.
- Fresh Banana: Fold in diced fresh bananas for extra banana flavor and texture.
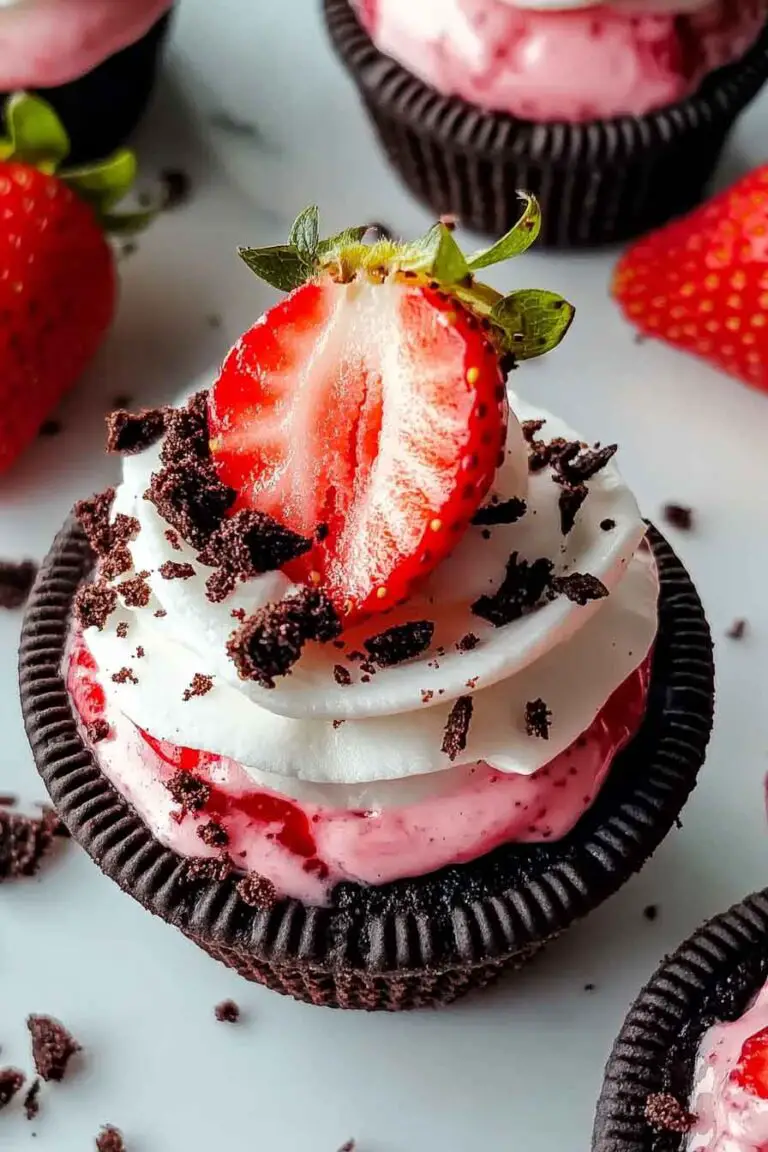
- Strawberry Twist: Replace banana pudding mix with strawberry pudding for a different flavor profile.
- Nutty Crunch: Add chopped pecans or walnuts to the vanilla wafer crumbs for extra texture.
- Peanut Butter Addition: Swirl in 2 tablespoons of peanut butter with the cream cheese for a banana-peanut butter twist.
How to Make Banana Pudding Cheesecake Cones Step-by-Step Instructions
1. Prepare the Cheesecake Layer
In a large bowl, beat the softened cream cheese with an electric mixer until smooth and fluffy. Add powdered sugar and vanilla extract, mixing until well combined. In a separate bowl, whip the cold heavy cream until stiff peaks form. Gently fold the whipped cream into the cream cheese mixture until fully incorporated. Set aside.
2. Make the Banana Pudding
In another bowl, whisk together the banana pudding mix and cold milk for about 2 minutes until the pudding thickens. Let it sit for 5 minutes to set completely.
3. Prepare the Cones
Place the waffle cones in a muffin tin or cone holder to keep them upright. Mix the crushed vanilla wafers and graham crackers together in a small bowl.
4. Layer the Cones
Start with a small spoonful of the cookie crumb mixture at the bottom of each cone. Add a layer of cheesecake mixture, followed by a layer of banana pudding. Repeat the layers, alternating between cheesecake and pudding, until the cone is filled to the top. Finish with a sprinkle of cookie crumbs on top.
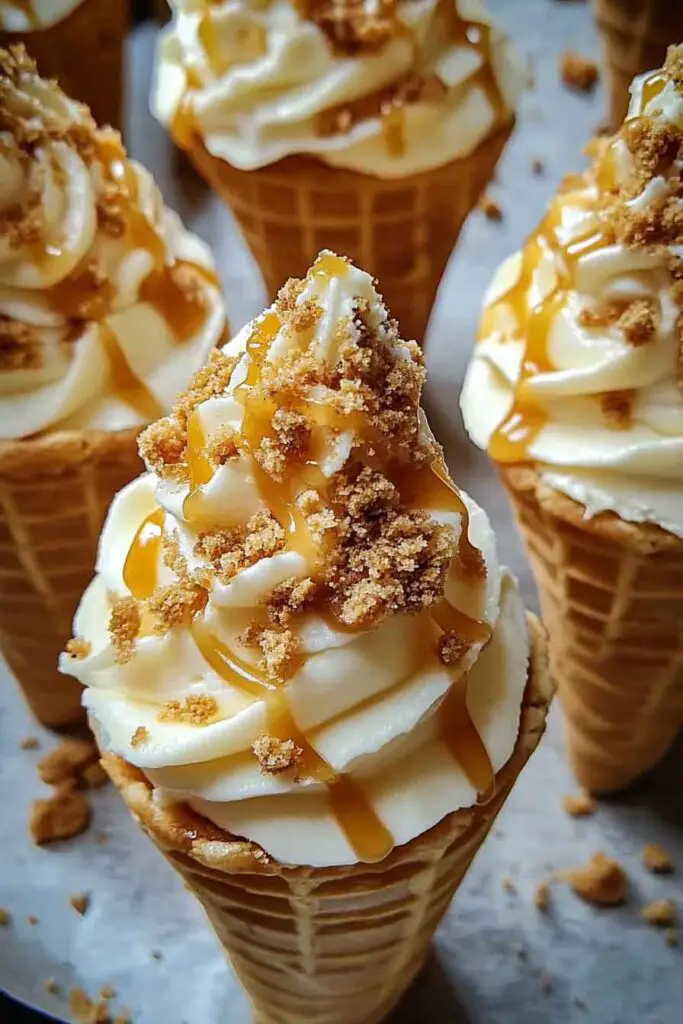
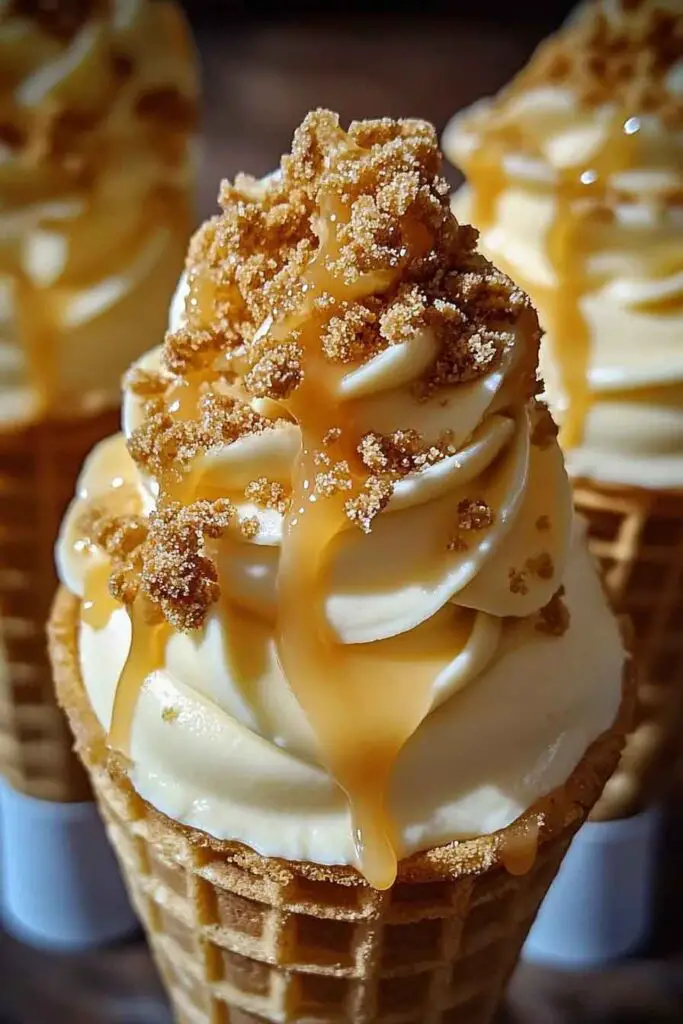
5. Add Toppings
Drizzle each filled cone with caramel sauce. If desired, lightly drizzle sweetened condensed milk over the top for extra sweetness. Insert a whole vanilla wafer into the top of each cone for decoration.
6. Chill
Place the filled cones in the refrigerator for at least 2 hours to allow the layers to set properly before serving.
Serving and Decoration
Presentation Ideas:
- Serve the cones standing upright in a cone holder or arrange them on a platter lined with parchment paper.
- Add fresh banana slices as garnish right before serving.
- Dust with a light sprinkle of cinnamon for a warm flavor note.
- Create a dessert bar where guests can add their own toppings like extra caramel, chocolate sauce, or whipped cream.
Best Time to Serve: These cones are perfect for birthday parties, summer barbecues, baby showers, or any celebration where you want a fun, portable dessert.
Storing Banana Pudding Cheesecake Cones
- Filled Cones: Store in the refrigerator for up to 24 hours. The cones may soften over time, so these are best enjoyed the day they’re made.
- Cheesecake Mixture: Keep unused cheesecake filling in an airtight container in the fridge for up to 3 days.
- Pudding: Store leftover pudding covered in the refrigerator for up to 2 days.
Storage Tip: If making ahead, wait to add the caramel drizzle and wafer garnish until just before serving to keep everything looking fresh.
Tips and Tricks for Success
Temperature Matters: Make sure cream cheese is fully softened to avoid lumps in your cheesecake mixture.
- Whip It Good: When making whipped cream, ensure your heavy cream and bowl are very cold for the best results.
- Steady Hands: Use a piping bag for neater layers and easier filling of the narrow cone bottoms.
- Cone Support: Keep cones upright during filling and chilling by using a muffin tin or specially designed cone holder.
- Quick Assembly: Work efficiently when filling cones to prevent the waffle cones from becoming soggy from the moisture in the fillings.
- Size Control: For smaller appetites, use mini waffle cones and reduce filling amounts accordingly.
Nutrition
| Nutrient | Per Serving (1 cone) |
|---|---|
| Calories | 285 |
| Total Fat | 15g |
| Saturated Fat | 9g |
| Cholesterol | 45mg |
| Sodium | 210mg |
| Total Carbohydrates | 34g |
| Dietary Fiber | 0.5g |
| Sugars | 24g |
| Protein | 4g |
Nutritional information is approximate and will vary based on specific ingredients used.
Banana Pudding Cheesecake Cones
Course: No-Bake Desserts12
cones20
minutes285
kcal2
hourIngredients
- Cheesecake Layer:
8 ounces (226g) cream cheese, softened to room temperature
1/2 cup (60g) powdered sugar
1 teaspoon pure vanilla extract
1 cup (240ml) cold heavy whipping cream
- Banana Pudding Layer:
1 package (3.4 oz/96g) instant banana pudding mix
1 and 1/2 cups (360ml) cold milk
- Assembly:
12 waffle cones
1 cup (85g) crushed vanilla wafers
1/2 cup (55g) crushed graham crackers
1/4 cup (60ml) caramel sauce for drizzling
2 tablespoons (30ml) sweetened condensed milk (optional)
12 whole vanilla wafers for garnish
Directions
- Make Cheesecake Filling: Beat cream cheese until smooth. Add powdered sugar and vanilla, mixing well. In a separate bowl, whip heavy cream until stiff peaks form. Fold whipped cream into cream cheese mixture until combined.
- Prepare Pudding: Whisk banana pudding mix with cold milk for 2 minutes. Let sit for 5 minutes to thicken completely.
- Prep Cones: Place waffle cones upright in a muffin tin. Mix crushed vanilla wafers and graham crackers together.
- Layer Filling: Add a spoonful of cookie crumbs to the bottom of each cone. Pipe or spoon in cheesecake mixture, then banana pudding. Repeat layers until cones are filled. Top with cookie crumbs.
- Garnish: Drizzle with caramel sauce and sweetened condensed milk if using. Insert a whole vanilla wafer into the top of each cone.
- Chill: Refrigerate for at least 2 hours before serving.
Banana Pudding Cheesecake Cones FAQs
Can I use sugar cones instead of waffle cones? Yes, sugar cones work well. They’re sturdier and hold up slightly better to the moisture from the fillings.
How far in advance can I make these? These cones are best made 2-4 hours before serving. Making them too far ahead may cause the cones to become soggy.
Can I freeze these cones? Freezing is not recommended as the waffle cones become very soft when thawed, and the texture of the fillings changes.
What if I don’t have a piping bag? Use a large plastic bag with one corner snipped off, or simply spoon the fillings carefully into the cones.
Can I make this with homemade pudding? Yes, but instant pudding works best because it sets quickly. If using homemade pudding, make sure it’s completely chilled and thick before using.
Conclusion
Banana Pudding Cheesecake Cones deliver all the comfort of traditional banana pudding with the richness of cheesecake in a fun, portable package. The combination of creamy textures, sweet banana flavor, and crunchy wafer cookies makes every bite satisfying. Whether you’re serving these at a party or treating your family to something special, these no-bake cones are guaranteed to bring smiles all around.